
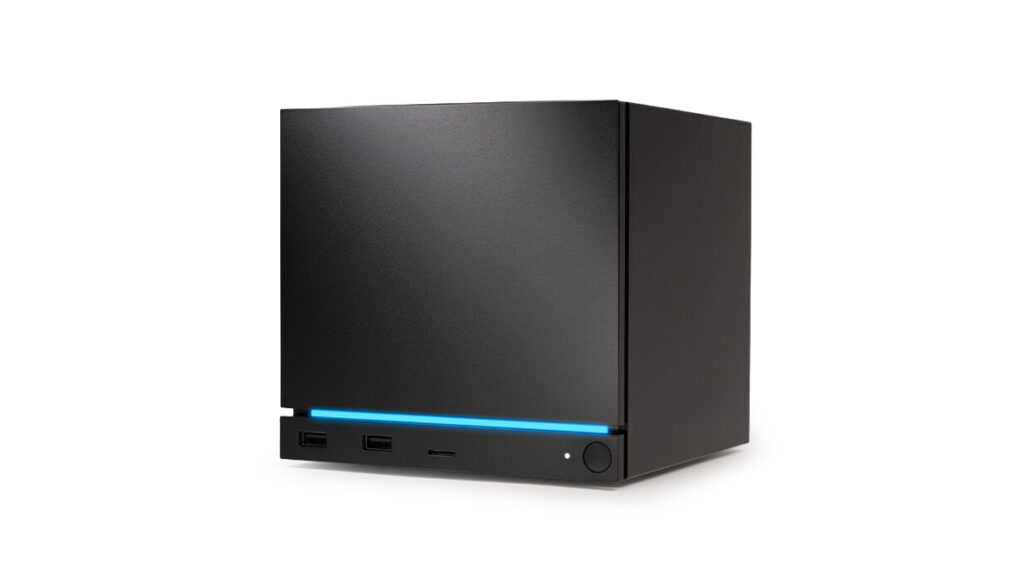
The Steam Machine vs PC build debate just got a real price to work with $1,049 for the 512GB model, ships June 30, and you can’t simply walk up and buy one there’s a random draw from a registration list that closed this morning. If you missed the window, new stock isn’t expected until 2027.
That price is higher than almost everyone predicted when this thing was announced in late 2025. Valve has been upfront about why: RAM quadrupled in price between announcement and launch, and the company doesn’t subsidise hardware the way Sony and Microsoft do. Every dollar of component cost increases shows up in the sticker price.
So the question sitting in front of anyone who’s been watching this launch is straightforward. At $1,049, is the Steam Machine a good deal compared to building the equivalent PC yourself? The honest answer requires doing the actual maths with real current prices not the prices from a year ago when everyone started assuming what this thing would cost.
What the Steam Machine Actually Is
Before comparing it to a PC build, it helps to be clear about what’s inside this box.
The Steam Machine runs a semi-custom AMD Zen 4 six-core CPU with a 4.8GHz boost clock and a 30W TDP. Paired with it is a semi-custom RDNA 3 GPU with 28 compute units, 8GB of GDDR6 VRAM, and a 110W TDP. System memory is 16GB of DDR5. Storage is a user-replaceable NVMe SSD in either 512GB or 2TB configurations, with a microSD slot for expansion.
The GPU sits roughly in RX 7600 territory for compute units, though the custom implementation and lower TDP mean it won’t match a full desktop RX 7600 in sustained workloads. Valve’s target is 4K at 60fps using FSR upscaling, and 1080p and 1440p gaming without relying on upscaling. Internal testing reportedly hit around 65fps in Cyberpunk 2077 at 4K on medium with ray tracing via FSR in which is a reasonable real-world target for this class of hardware.
The whole thing fits in a 156 x 152 x 162mm cube. That’s smaller than most mini-ITX cases. It has Wi-Fi 6E, Bluetooth 5.3, Gigabit Ethernet, DisplayPort 1.4, HDMI 2.0, two USB-A 3.2 ports on the front and two USB-A 2.0 plus a USB-C 3.2 Gen 2 on the rear. It runs SteamOS 3 Linux-based with Valve’s Proton layer handling Windows game compatibility. The vast majority of the Steam library runs. Competitive online games with kernel-level anti-cheat are the main exceptions; check compatibility before assuming your titles work.
Steam Machine vs PC Build: What the Numbers Actually Say
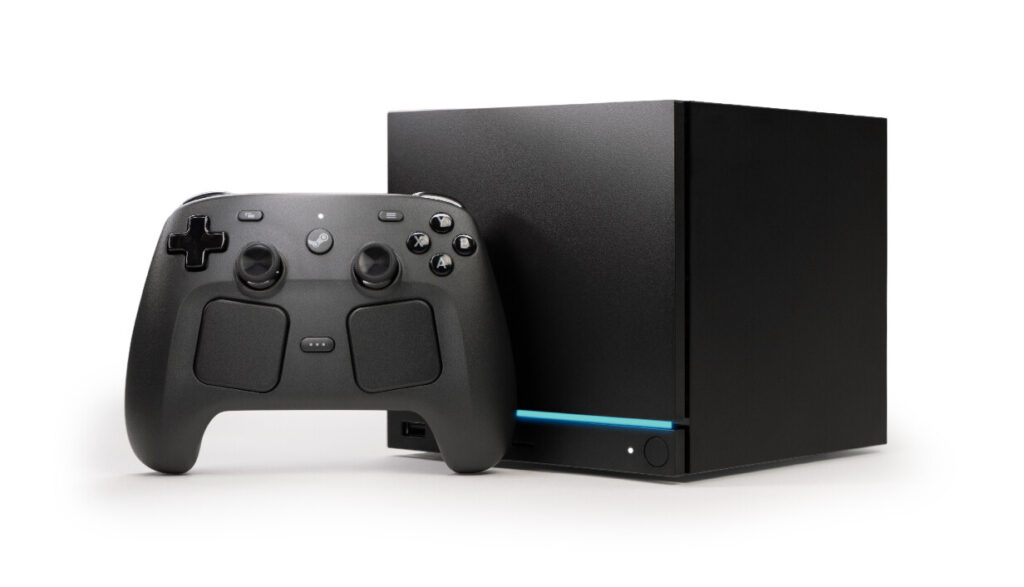

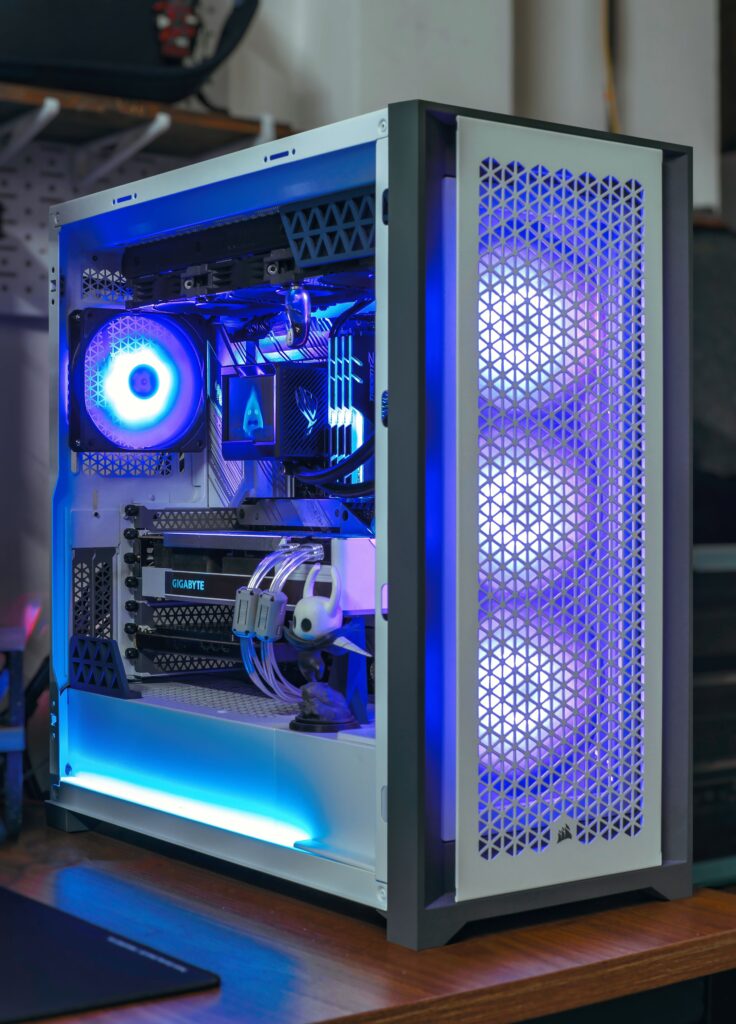
This is where the comparison gets uncomfortable for everyone who assumed the Steam Machine would be poor value.
The closest desktop equivalent to the Steam Machine’s GPU is the RX 7600 same RDNA 3 architecture, 28 compute units, 8GB GDDR6. At current pricing, a new RX 7600 runs around $279 on Amazon. That’s your GPU budget.
The CPU equivalent is a Zen 4 six-core. The Ryzen 5 7600X is the desktop match the same architecture, 6 cores, 4.7GHz base with 5.3GHz boost. On Newegg right now that’s roughly $167.
Here’s where the build stops making financial sense quickly. You need a motherboard. A budget B650 AM5 board the Gigabyte B650 Aorus Elite AX is one of the most recommended at this tier sits at around $149–$169.
Now the RAM. This is the number that has changed everything in 2026. A 32GB DDR5-6000 kit that cost $80–120 in mid-2025 is running $375–430 right now. That’s not a typo. The AI data centre buildout has caused a structural shortage in consumer DRAM that has pushed DDR5 pricing to levels nobody predicted. The Steam Machine ships with 16GB DDR5, so to match it you need a 2x8GB kit the cheapest 16GB DDR5 options at decent speeds are currently sitting around $190–240.
A 500GB NVMe SSD adds another $50–$120.
A decent budget case that includes Fractal Focus 2, DeepCool CC560 class that adds $60–70. A 650W Bronze+ PSU from a named brand adds $70–80. A CPU cooler, since the 7600X ships without one, adds another $25–40 for a budget 120mm AIO or tower cooler.
Add it up honestly:
| Component | Price |
|---|---|
| Ryzen 5 7600X | ~$196 |
| RX 7600 (8GB) | ~$279 |
| B650 motherboard | ~$149 |
| 16GB DDR5 kit | ~$200 |
| 500GB NVMe SSD | ~$112 |
| Case | ~$65 |
| PSU (650W, named brand) | ~$75 |
| CPU cooler | ~$35 |
| Windows 11 (CDKeys) | ~$20 |
| Total | ~$1,131 |
That build lands at roughly $1,131 more expensive than the base Steam Machine despite that you still end up with weaker sustained gaming performance because the desktop 7600X runs at 105W TDP versus the Steam Machine’s tightly optimised 30W/110W split, and the desktop RX 7600 is a comparable but not superior GPU at this price point.
A comparable prebuilt PC with an RX 7600 and 16GB of RAM currently sits at $900–$1,200 depending on configuration, according to multiple current sources. So the Steam Machine is priced within that range, not above it.
What the Steam Machine Gives You That the PC Build Doesn’t
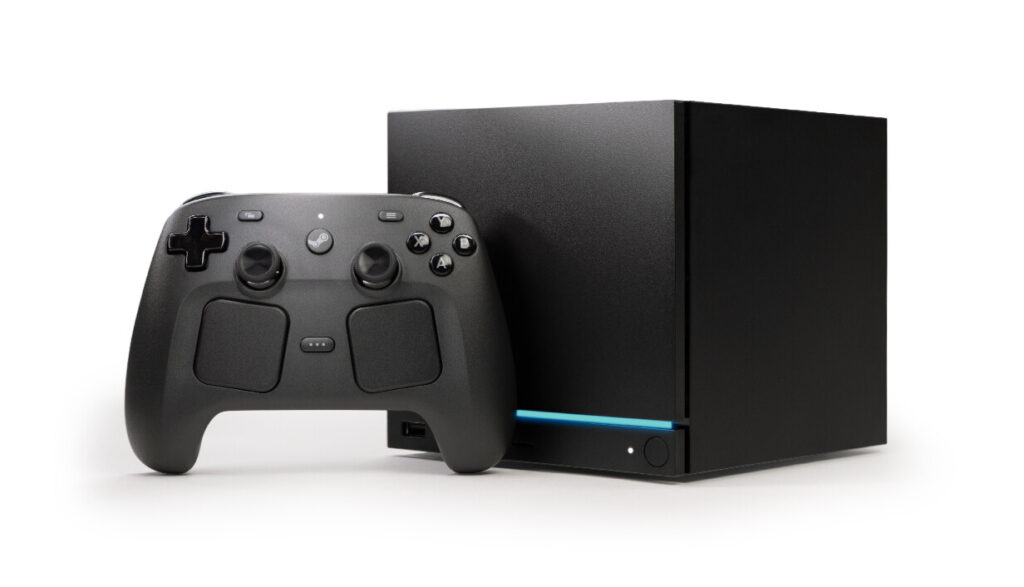
The size difference is real. A PC build at this budget goes into a mid-tower or mATX case. The Steam Machine fits next to your TV remote. If living room placement matters, no self-build matches it at any price.
HDMI CEC support means the Steam Machine can wake with your TV remote and integrate properly with an AV setup. No standard PC does this out of the box without third-party workarounds.
The suspend/resume functionality works the way a console does. Hold the button, it sleeps. Come back, pick up where you stopped. Windows does this badly. SteamOS does it properly.
The integrated 2.4GHz wireless adapter is dedicated to the Steam Controller for low-latency input makes it separate from your Wi-Fi connection entirely.
You can also upgrade the storage yourself. Both the NVMe SSD (2230 and 2280 form factors supported) and the 16GB DDR5 SO-DIMM are user-replaceable, though the DDR5 upgrade is more involved due to the compact thermal design.
And the pricing on the 2TB model deserves a mention. At $1,349 it includes the larger SSD. A 2TB NVMe SSD alone currently costs $245–274, so the upgrade from 512GB to 2TB is priced at $300 already stated which is expensive relative to standalone storage costs, but consistent with every manufacturer’s storage tier pricing.
What the PC Build Gives You That the Steam Machine Doesn’t
Game compatibility is the real one. SteamOS runs the vast majority of Steam titles through Proton, but not everything. If your library includes games with strict kernel-level anti-cheat certain competitive shooters, some newer online-only titles verify compatibility before buying. Windows runs everything.
You can also upgrade a PC build. The Steam Machine’s GPU is soldered to custom silicon. When it’s no longer fast enough in two or three years, you’re replacing the whole unit. The PC build lets you drop in a new GPU and carry on.
The performance ceiling is also higher in a PC build if you’re prepared to spend more. The Steam Machine is fixed at its hardware class. A PC gives you the option to buy a better GPU today or upgrade later.
And if you’re not living room gaming if this is going on a desk, connecting to a monitor — the Steam Machine’s advantages largely disappear. The compact form factor matters less. HDMI CEC is irrelevant. SteamOS’s couch-first interface becomes something you work around rather than with.
The 8GB VRAM Question
This comes up with the RX 7600, and it applies to the Steam Machine too. 8GB of GDDR6 at native 4K with very high texture settings in demanding 2026 titles is a real limitation. Games are shipping with texture packages that fill 8GB at 4K, and when the buffer overflows you see stuttering rather than dropped frames.
Valve’s answer is FSR. Rendering at 1440p internally and upscaling to 4K keeps VRAM usage below the ceiling for most titles. For a living room setup viewed from the couch on a large screen, FSR 3 output at 4K is genuinely hard to distinguish from native. It’s not a perfect answer, but it’s a real one.
If you’re building a desktop gaming PC and you care about future-proofing, the RX 9060 XT at 16GB is a better choice. That card doesn’t exist inside the Steam Machine, the semi-custom RDNA 3 hardware was locked in before RDNA 4 availability. It’s not a flaw so much as a consequence of the product’s development timeline.
Who Should Buy the Steam Machine
You’re already in the Steam ecosystem. You want something that sits under the TV, wakes with a controller, and runs your Steam library without a separate gaming PC. You’re not chasing the latest GPU generation and you don’t need Windows compatibility for specific titles. You value the convenience and the form factor.
At $1,049, the Steam Machine is priced where the maths actually works out yet not far off what it costs to build comparable parts yourself in the current market, delivered in a package that no self-build can replicate at that size.
Who Should Build Their Own PC Instead
You game at a desk. You care about Windows compatibility for your full library. You want the option to upgrade individual components in two years. You already own some parts and can reduce the build cost below $1,049. Or you want to spend more and get genuinely better hardware. The Steam Machine’s performance class is fixed, and you can build meaningfully faster for $200–300 more if you’re willing to go into a standard case.
The Steam Machine isn’t competing with a $1,400 desktop build. It’s competing with a $1,000–$1,100 budget PC that has to live in a mid-tower case and run Windows. At that comparison, it’s close and for the living room use case it’s designed for, it wins.
SpecClear participates in affiliate programmes. When you purchase through links on this site we may earn a commission at no additional cost to you.