
SpecClear earns a commission if you buy through Newegg links on this page, at no extra cost to you.
Swapping a GPU is one of the most straightforward upgrades in PC building. It takes under thirty minutes, requires one screwdriver, and the performance difference is immediately visible the moment you launch a game. The process is also the one where people most commonly make avoidable mistakes, skipping the driver removal step, plugging in the wrong power connectors, forgetting to enable Resizable BAR, or seating the card in the wrong PCIe slot.
This guide covers every step in the correct order. Follow it and your new GPU works correctly from the first boot. If the GPU is one of several upgrades you’re planning, our guide to upgrading your PC helps you decide what to do first.
Before You Open the Case: Software First
The most common GPU upgrade mistake is physically installing the new card before removing the old drivers. The result is a system that boots into Windows with two conflicting driver stacks installed, the old GPU’s drivers and the new GPU’s drivers, producing crashes, black screens, and display flickering that new builders mistake for hardware problems.
The correct order is always: remove old drivers, then physically swap the GPU.
Step 1: Download DDU and the New GPU Driver
Before touching the PC, finish the software prep below so you are not hunting drivers with the old card already removed.
Download Display Driver Uninstaller (DDU) from Guru3D. This is the tool that completely removes GPU drivers, not just the uninstaller that comes with the driver package, which leaves significant driver remnants behind. DDU removes everything.
Download the latest driver for your new GPU from the manufacturer’s website. For Nvidia: nvidia.com/drivers. For AMD: amd.com/support. For Intel Arc: intel.com/arc. Download the driver file but don’t install it yet, save it to your desktop or a USB drive.
Step 2: Remove the Old GPU Driver with DDU
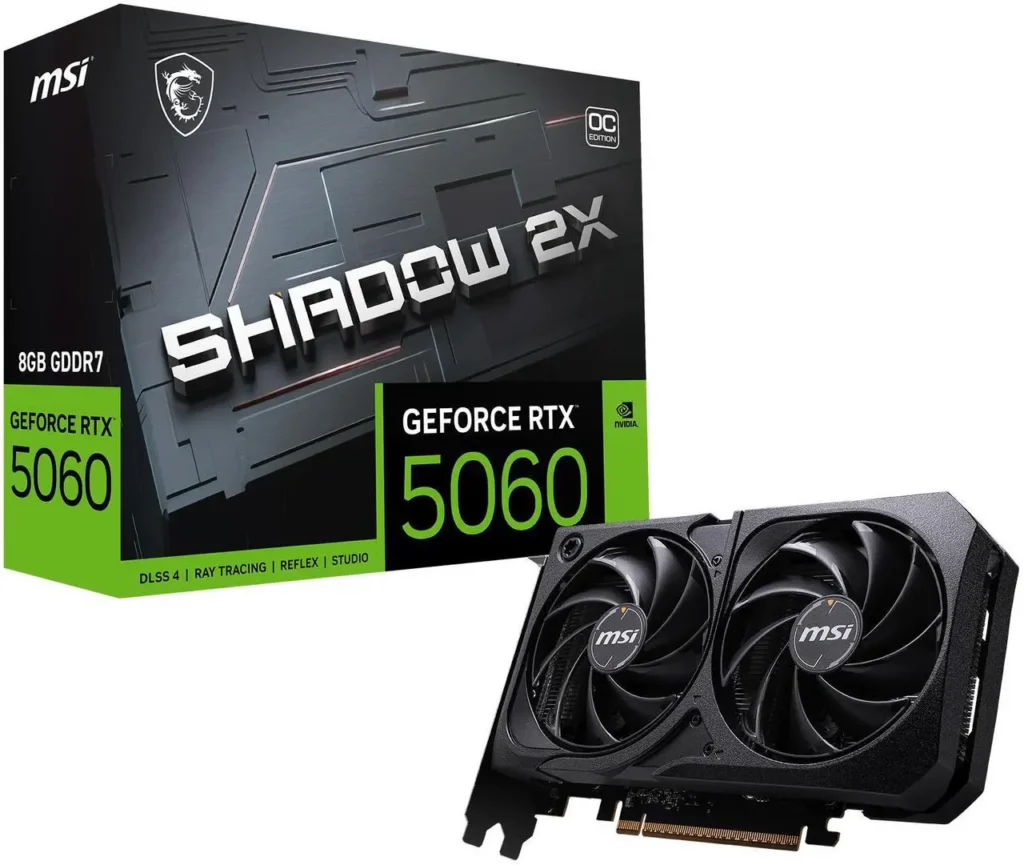
Boot into Windows Safe Mode: hold Shift while clicking the Start menu Restart option → Troubleshoot → Advanced Options → Startup Settings → Restart → press 4 for Safe Mode. RTX 5060 Ti 16GB ($779)
In Safe Mode, run DDU. Select your GPU brand from the dropdown (Nvidia, AMD, or Intel). Click “Clean and Restart.” DDU removes every trace of the GPU driver, registry entries, driver files, and background services, then restarts the system.
After the restart, Windows is running with a generic Microsoft display driver. The screen resolution may look wrong, this is expected. You’re now ready to physically swap the GPU.
Physically Removing the Old GPU
Step 3: Power Down Correctly
Shut Windows down completely. Not restart, full shut down. Switch off the PSU using the power switch on the back (the 0/I switch, switch to 0). Unplug the power cable from the wall.

Wait 30 seconds. Modern PSUs hold residual charge in their capacitors after being switched off. Waiting 30 seconds ensures this charge has dissipated safely.
Touch the metal frame of the case to discharge any static build-up from your body before touching any components.
Step 4: Remove the GPU Power Connectors
Modern GPUs use one of three power connector types:
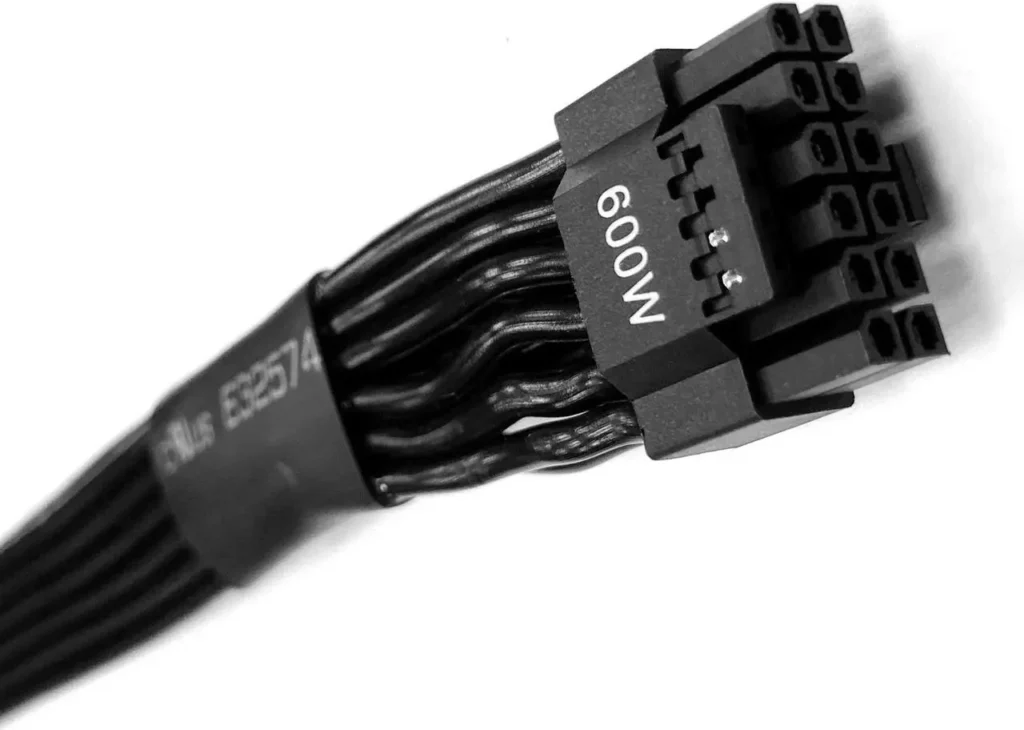
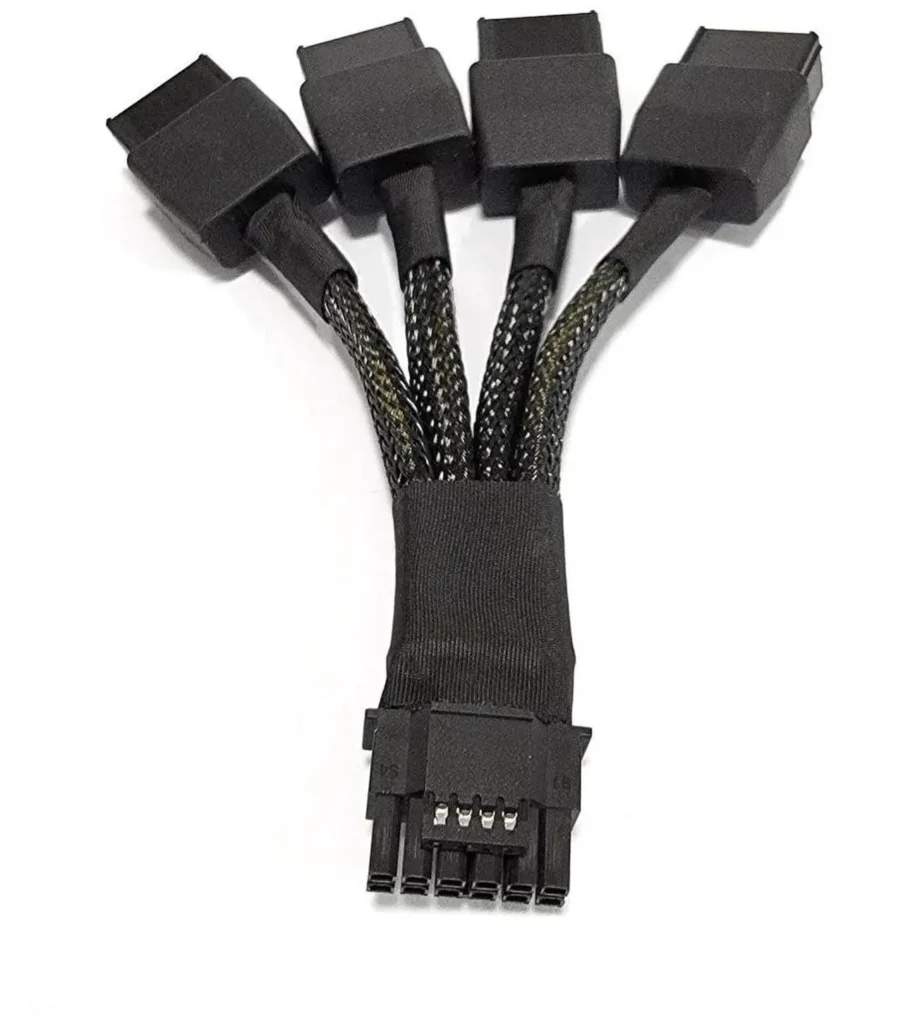
12VHPWR (16-pin): Used on Nvidia RTX 40 and RTX 50 series. A single wide connector with a retention clip on one side. Press the retention clip and pull the connector straight out, don’t rock it side to side. This is the connector involved in several high-profile melting incidents on RTX 3090 and 4090 cards when adapters were used incorrectly. On native 12VHPWR cables from a modern PSU, there’s no risk. The cable pulls straight out cleanly.
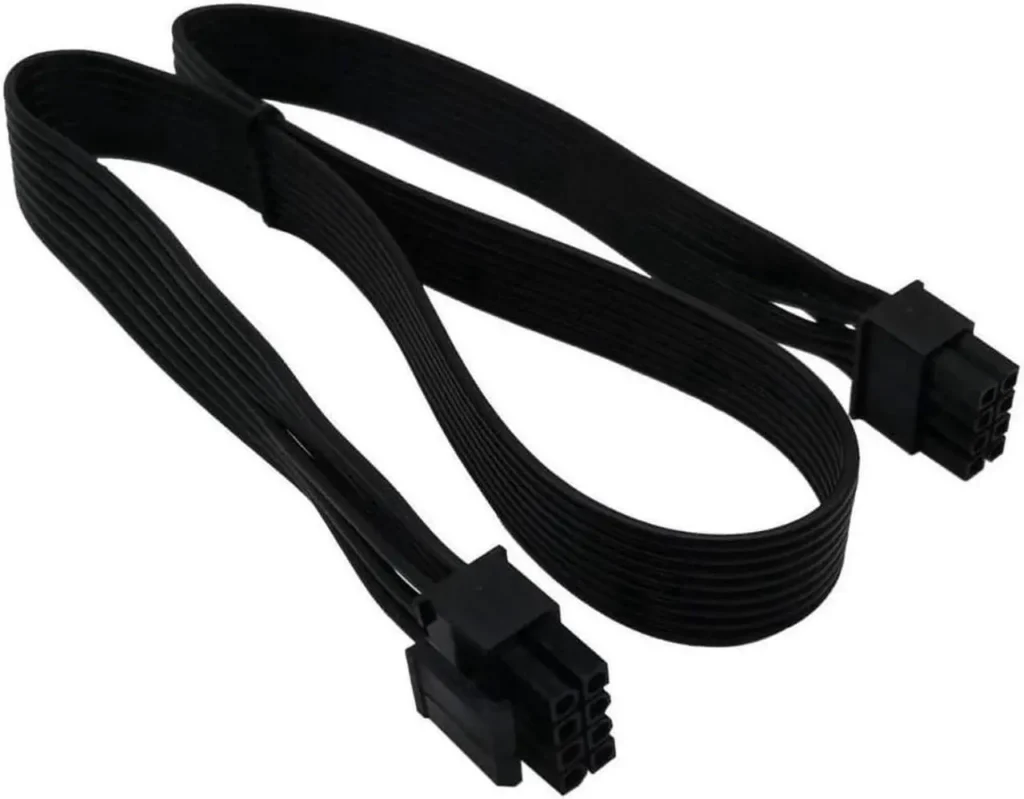
8-pin PCIe (6+2 pin): Two separate connectors that click together to form an 8-pin. Press the retention tab on each connector and pull straight out. Most mid-range GPUs from the RTX 30 and RX 7000 generation use one or two of these.
12V-2×6: Nvidia’s updated connector standard for RTX 50 series on some models. Similar to 12VHPWR but with improved retention mechanism. Grip the connector body firmly and pull straight out.
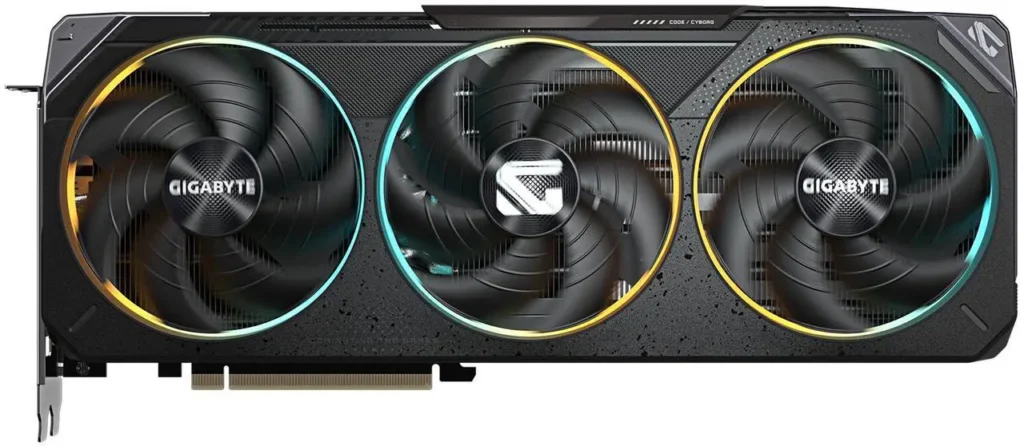
Remove all power connectors from the GPU before attempting to remove the card. RTX 5070 ($839)
Step 5: Remove the PCIe Slot Retention Clip
The GPU sits in a PCIe slot on the motherboard. At the end of the slot, away from the card’s bracket, there’s a small plastic retention clip that locks the card in place. It prevents the card from being pulled out accidentally.
The clip mechanism varies by motherboard, so look at the far end of the PCIe slot before you lever anything.
- Push-down clip: Press the clip downward to release. Common on MSI and Gigabyte boards.
- Push-sideways clip: Press the clip sideways (away from the card) to release. Common on ASUS boards.
- Lever: A small lever beside the slot that releases when pressed. Common on ASRock boards.
Don’t force the card out without releasing the clip first, doing so can damage the clip, the slot, or the card itself.
Step 6: Remove the Bracket Screws
The GPU’s metal bracket is secured to the case’s rear I/O panel with one or two screws. Remove these before attempting to remove the card.
With the screws removed and the PCIe clip released, hold the GPU by its cooler body (never by the fans or the bracket) and lift it straight up and out of the slot. Place it on a flat anti-static surface, the anti-static bag the new card came in is ideal.
Installing the New GPU
Step 7: Confirm the Correct PCIe Slot
Most ATX motherboards have two or three PCIe slots. Not all are equal. The primary PCIe x16 slot, the one closest to the CPU, runs at full x16 bandwidth and is where the GPU should always be installed. Secondary slots typically run at x4 or x1 bandwidth and are intended for other PCIe devices like capture cards or NVMe adapters. RX 9070 ($534)

Check your motherboard manual if you’re unsure which is the primary x16 slot. It’s almost always the topmost slot, the one with the longest physical connector immediately below the CPU socket. Installing the GPU in a secondary slot reduces bandwidth significantly and may limit GPU performance in GPU-limited scenarios.
Step 8: Check GPU Length Clearance
Before installing, hold the new GPU alongside the case to confirm it fits. Measure from the PCIe bracket plate to the end of the shroud. Compare this to your case’s maximum GPU length specification. If you plan to mount the card vertically, read our vertical GPU mount guide first, since clearance and riser cables bring their own problems.

If the GPU is close to the maximum length: remove any drive cages or brackets that sit in front of the GPU before installing. Most modern cases have modular components specifically to accommodate long GPUs.
Step 9: Install the GPU
Line the GPU up with the primary PCIe x16 slot. The gold contacts on the GPU edge should align with the slot. Lower the GPU into the slot evenly, both the bracket end and the far end should enter the slot simultaneously rather than one side going in first.

Press down firmly on the GPU body until the PCIe retention clip clicks into place at the far end. This click confirms the card is fully seated. A GPU that isn’t fully seated causes immediate black screen on first boot, it’s the single most common new installation failure.
Align the GPU bracket with the rear I/O panel opening. Install the bracket screws, start them by hand before tightening to avoid cross-threading.
Step 10: Connect Power Cables
Connect the correct power cables from your PSU to the GPU.
12VHPWR connector: If your PSU has a native 12VHPWR cable (a single 16-pin cable from the PSU directly, not an adapter), use it. Plug it in until it seats fully, the retention clip should click. Inspect the connector orientation before fully seating, 12VHPWR connectors are keyed but forcing them at the wrong angle can damage the pins.
If using an adapter (multiple 8-pin to 12VHPWR): Ensure all the 8-pin connectors are fully seated before connecting the 12VHPWR end to the GPU. An adapter where one 8-pin isn’t fully plugged delivers insufficient power to the GPU and causes instability. Nvidia strongly recommends using a PSU with a native 12VHPWR cable rather than an adapter for RTX 40 and RTX 50 series GPUs, check your PSU’s cable options before purchasing a high-TDP GPU.
8-pin PCIe connectors: Each connector clicks into place. Confirm each one is fully seated, a partially inserted 8-pin connector provides power but may not deliver it reliably under peak load.
Do not use SATA-to-PCIe power adapters to power the GPU. SATA power cables are rated for 54W. A GPU that draws 150-300W through a SATA adapter creates a fire risk. Use only the PCIe power cables that came with your PSU.
Step 11: Route Cables
Before closing the case, route the GPU power cables so they don’t drape across the GPU’s intake fans. A power cable running across the fan intake reduces airflow to the heatsink by restricting the air volume the fans can draw in. Route cables to the side of the GPU, behind the GPU, or tucked behind the PSU shroud, anywhere that keeps the area directly below the GPU fans clear.

First Boot and Driver Installation
Step 12: First Boot Check
Close the case. Reconnect the power cable. Switch the PSU back on (switch to I). Press the power button.
If the GPU is correctly installed: the system posts normally, you hear the Windows boot sound (if audio is connected), and the display shows the Windows desktop at low resolution, because no GPU driver is installed yet.
If the system doesn’t post (no display, fans spin but nothing appears):
- Reseat the GPU, press down firmly until the PCIe clip clicks. This is the most common cause of a no-post after a GPU install.
- Check the power connectors, ensure all are fully seated.
- Try the monitor cable in a different port on the GPU, DisplayPort or HDMI, not both simultaneously unless you’re using dual monitors.
- If still no post, test with the old GPU to confirm the system itself is working.
Step 13: Install the GPU Driver
With Windows loaded and the desktop visible (at low resolution), run the GPU driver installer you downloaded in Step 1.
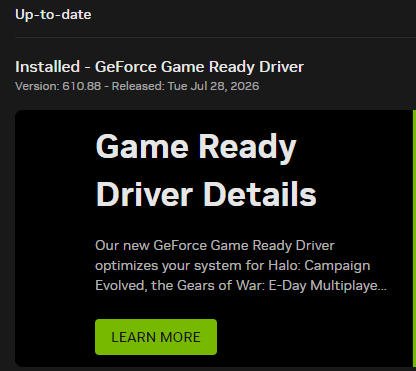
For Nvidia: run the .exe installer. Select “Custom Installation” and check “Perform a clean installation”, this removes any driver remnants DDU may have missed. Complete the installation. With the driver installed, you can fine-tune the card using our guide to overclocking and undervolting your GPU.
For AMD: run the .exe installer. Select “Factory Reset” or “Clean Install” option if available. Complete the installation.
For Intel Arc: run the .exe installer with the default options.
After installation completes, the screen may flash as the GPU driver initialises, this is normal. The system will prompt for a restart. Restart.
Step 14: Enable Resizable BAR
Resizable BAR (ReBAR) allows the CPU to access the full GPU framebuffer rather than the default 256MB window. For Nvidia cards it provides 5-15% frame rate improvement in supported games. For AMD, the equivalent is Smart Access Memory (SAM). This setting lives in the BIOS, not in the GPU driver.
Enter the BIOS (Delete or F2 during POST). Navigate to Advanced settings and find “Resizable BAR,” “Above 4G Decoding,” or “Smart Access Memory” depending on your board. Set it to Enabled.
Also confirm that “Above 4G Decoding” is enabled, ReBAR requires this as a prerequisite. Save and exit.
After rebooting, confirm ReBAR is active: download GPU-Z (free from TechPowerUp). On the Graphics Card tab, look for the “Resizable BAR” field. It should show the full VRAM size of your GPU (for example, 12288 MB for a 12GB card). If it shows 256 MB, ReBAR is not active, re-check the BIOS settings.
Step 15: Update and Verify
With the GPU driver installed and ReBAR enabled, run Windows Update to check for any additional driver components. Check the Nvidia App or AMD Adrenalin software is installed and showing the correct GPU, confirm the VRAM amount and GPU name match what you purchased.

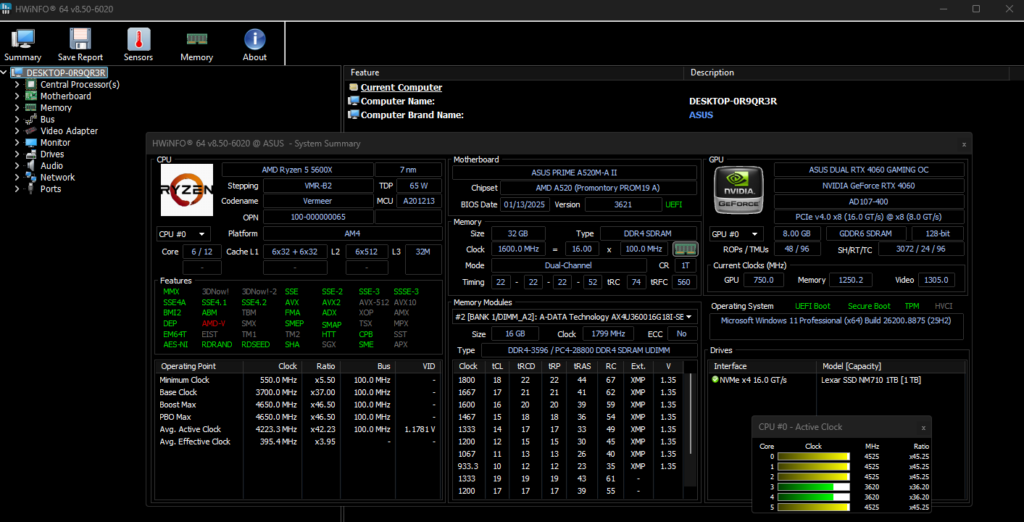
Run 3DMark Time Spy or Unigine Superposition for 10-15 minutes. This confirms the card is stable, temperatures are within safe ranges, and performance matches expectations. Check HWiNFO64 during the benchmark, GPU core temperature should stay below 85°C on Nvidia and GPU junction temperature below 100°C on AMD under sustained load.
Compare your score to the population average for your GPU. Being within 5-10% of the average score confirms correct installation. Significantly below average may indicate ReBAR is not active, the card is not in the primary PCIe x16 slot, or a power connector isn’t fully seated.
The Complete Upgrade Order: Summary
- Download DDU and new GPU driver before opening the PC
- Boot Safe Mode, run DDU, clean and restart
- Shut down fully, switch off PSU, unplug, wait 30 seconds
- Remove old GPU power connectors
- Release PCIe retention clip
- Remove bracket screws and remove old GPU
- Identify primary PCIe x16 slot
- Install new GPU until clip clicks
- Install bracket screws
- Connect power cables, native 12VHPWR preferred
- Route cables away from GPU fan intakes
- Boot, confirm display appears
- Install GPU driver with clean install option
- Enable Resizable BAR in BIOS
- Run 3DMark to confirm performance and stability