
SpecClear earns a commission if you buy through Newegg links on this page, at no extra cost to you.
This is not a shopping list dressed up as a lifestyle. It is a lived-in 1440p gaming and content machine on AM4: Ryzen 7 5800X, Palit RTX 3080 Ti 12GB, and a desk full of parts bought over years instead of one viral cart.
Nothing here is this year’s silicon, but it still does the job, and that is the point. It was slowly upgraded over the years from what it was originally to what it is now. Some parts bought new when budget allowed, while others were sourced used. It really doesn’t matter how you get the parts as long as the finished system meets your needs and requirements and you have carefully matched the parts. Don’t let anyone tell you otherwise.
The full build at a glance
| Component | Model | Approx. street (USD, Sep 2026) |
| CPU | AMD Ryzen 7 5800X | ~$150-$180 used/new clearance |
| Motherboard | MSI X570 Gaming Pro Carbon (AM4) | ~$150-$220 used depending on condition |
| RAM | G.Skill DDR4 32GB (3600) | often far under DDR5 kit money |
| GPU | Palit GeForce RTX 3080 Ti GamingPro 12GB | ~$400-$500 used when clean |
| Cooling | Cooler Master MasterLiquid 360 + push-pull | ~$100-$140 class AIO |
| Case | ASUS ROG Strix Helios | premium case money; airflow is why |
| PSU | ASUS ROG Thor 1000W | overspec for this load; headroom for GPU swaps |
| Storage | Samsung NVMe 1TB + WD Blue NVMe 1TB | NAND still above 2024 lows; check live |
| Monitor | ASUS ROG 2560×1440 144Hz | panel is the ceiling |
| Keyboard | Corsair K70 | keep; no SpecClear Corsair peripheral affiliate push |
| Mouse | Corsair Sabre (older) | still fine |
| Headset | SteelSeries Arctis 7 Wireless | daily driver audio |
| Speakers | Creative Pebble | cheap desk fill |
Treat every dollar as a last-verified band. RAM/NAND still carry AI-demand tax. The 3080 Ti is used-only. Verify sold listings before you copy this path.
CPU: Ryzen 7 5800X
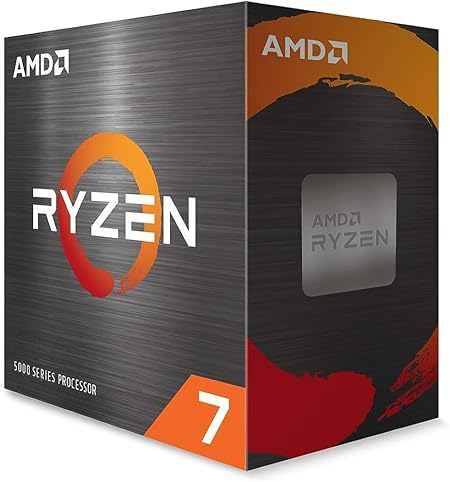
Eight cores, sixteen threads, and still enough single-thread punch for 1440p gaming when the GPU is the heavy lifter. Creation work is where the core count earns rent: exports, background encodes, browser plus editor plus Discord without the whole box wheezing.
If you are still on AM4 and hunting value, this chip (or a clean 5700X3D when the game list loves cache) beats panic-buying a full AM5 stack for a midrange FPS bump.
Motherboard: MSI X570 Gaming Pro Carbon
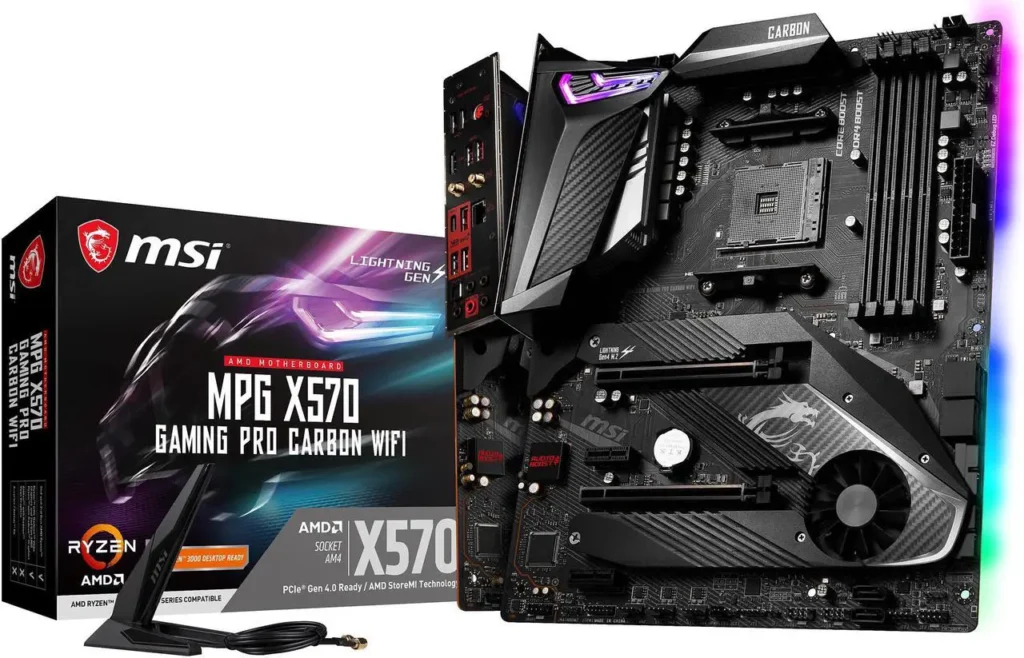
PCIe 4.0 before it was boring, VRMs that handle a 5800X without drama, dual M.2 without adapters. Used board rule: update BIOS before you drop the CPU in. Ten minutes. Saves a weekend of “why won’t it POST” theatre.
GPU: Palit RTX 3080 Ti GamingPro
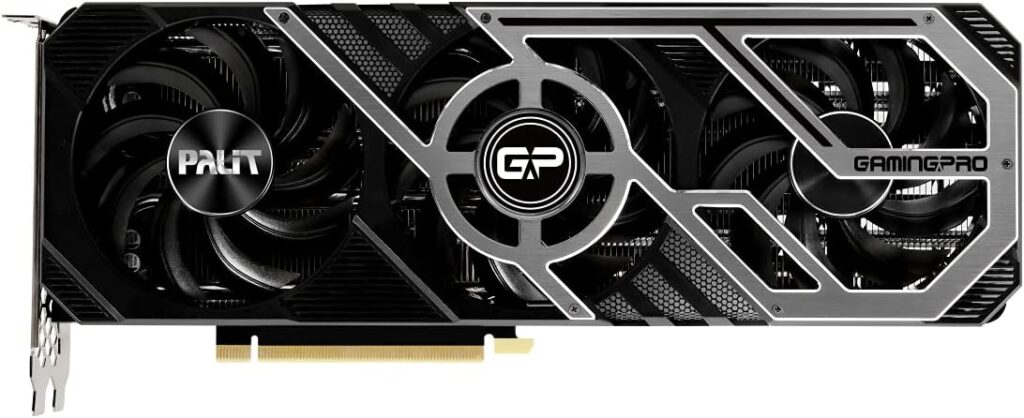
At 1440p high/ultra, this card is still the centre of the build. 12GB is the quiet advantage over 8GB midrange that people keep buying new at inflated street prices. Raster stays strong. DLSS 2 is there when you want it. NVENC still matters for creation and streaming.
Palit sits under the big three brand noise. Own cooler, own board, ThunderMaster for curves and power limits. For sustained gaming plus renders, that cooler is why the card stayed in the list.
Hard limit: do not treat a used 3080 Ti as a 4K forever card. At 1440p 144Hz it still has headroom. Chase maxed 4K RT and the math flips fast.
Cooling: 360 AIO with push-pull
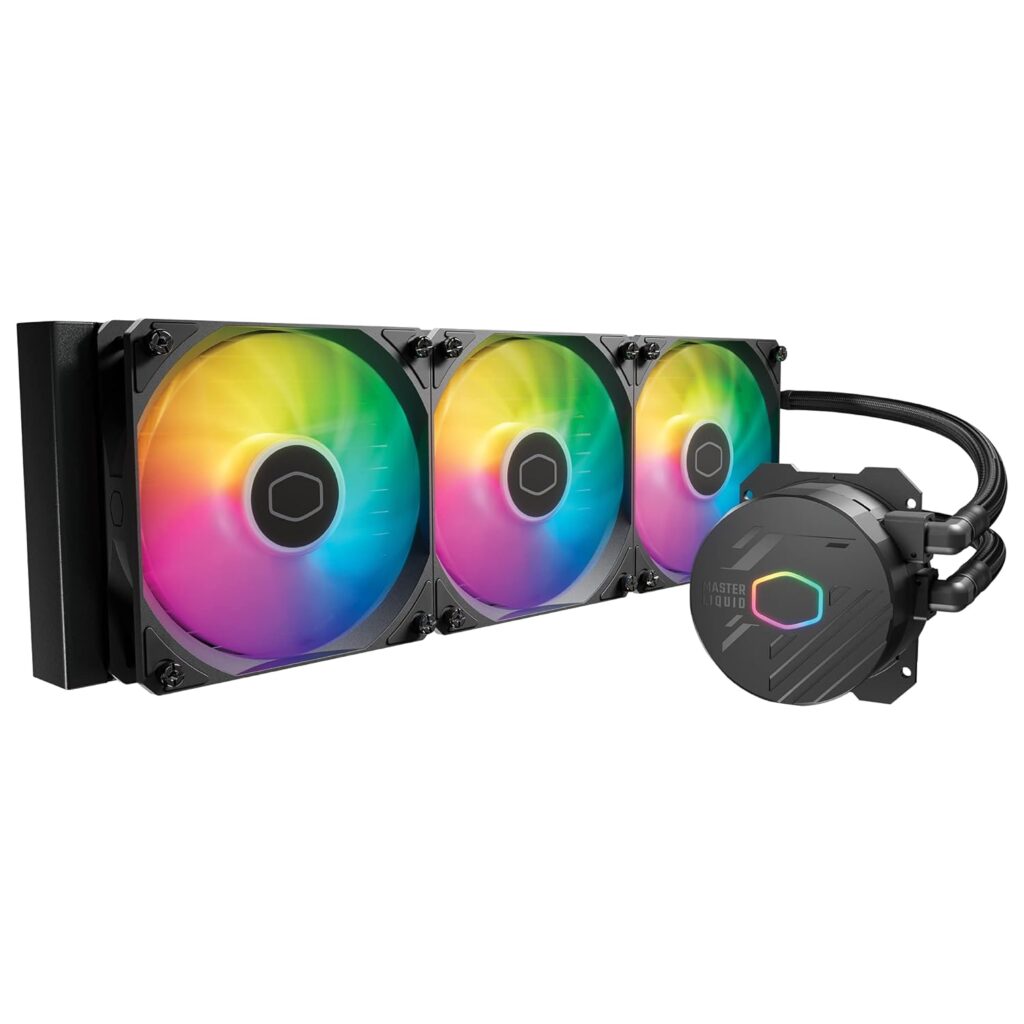
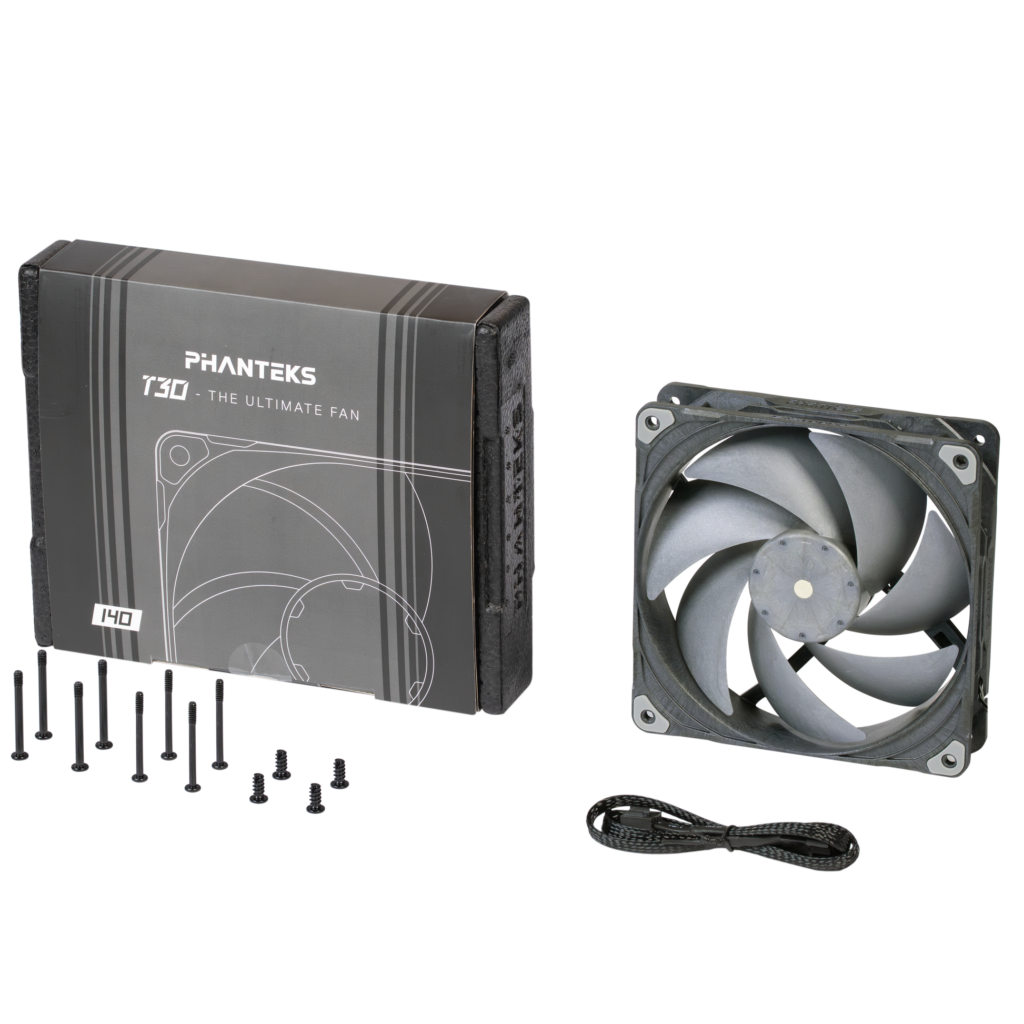
A 5800X runs warm under long renders. The 360 up top as exhaust, Cooler Master fans on one side and Phanteks high-static fans on the other, is deliberate pressure through the fins. Not stock. Quieter at the same heat move, which matters when the box is also a workstation.
Case: ASUS ROG Strix Helios
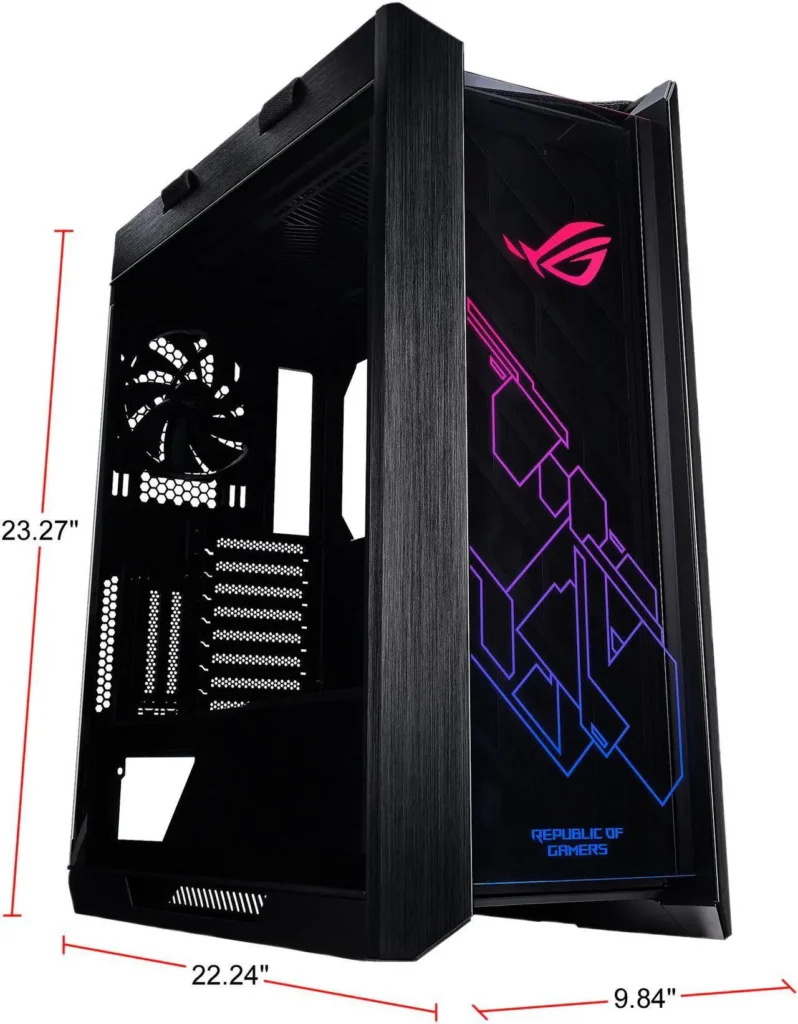
Glass gets the Instagram credit. Front-to-top airflow keeps the temps honest: triple 140mm intake, rear exhaust, 360 out the roof. Cable channels and the shroud make a 1000W modular unit look intentional instead of like a nest.
You paid for the case once so you stop fighting it every upgrade.
PSU: ASUS ROG Thor 1000W
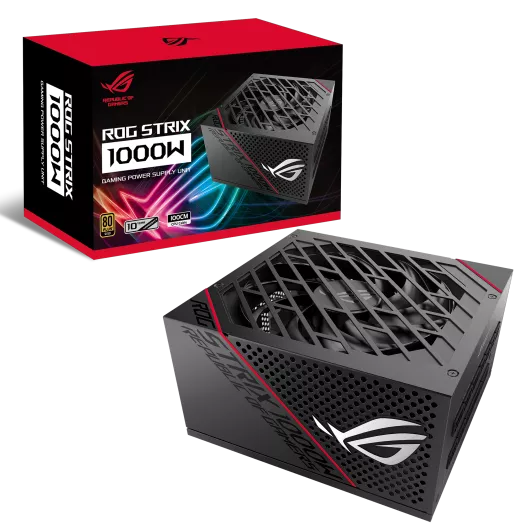
System peaks around the mid-600W range in heavy gaming. A 1000W unit sits in a happier efficiency band and absorbs GPU spikes without you staring at the watt meter. Fully modular plus Helios routing keeps the interior clean. SpecClear does not affiliate Corsair PSUs; this ASUS unit is what is in the documented build.
Storage: dual 1TB NVMe
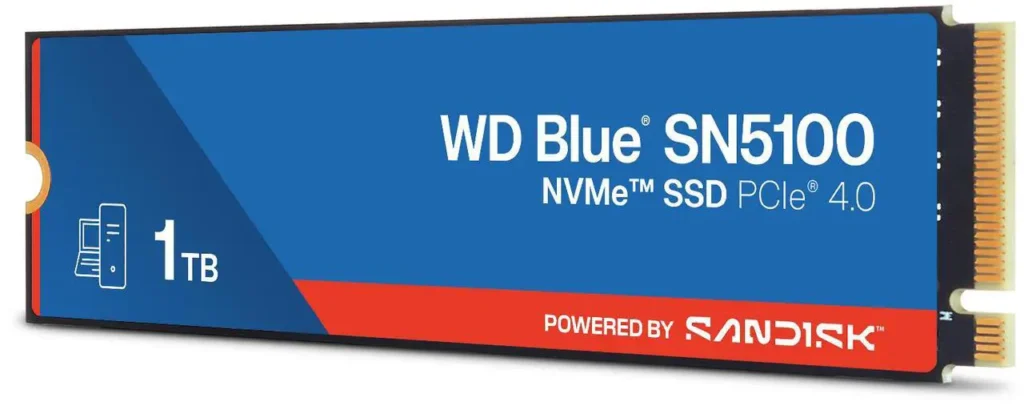
OS and apps on the faster Samsung. Games and project dumps on the WD Blue. Split load beats one huge drive fighting simultaneous reads and writes when exports and game installs overlap. Check live NAND pricing; 2026 is not 2024’s fire sale.
Peripherals
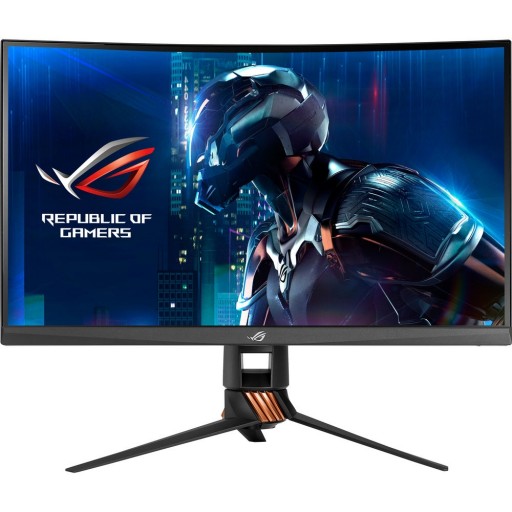
Monitor. 1440p 144Hz is why the GPU exists. A 1080p panel on this card is leaving paid performance on the floor.
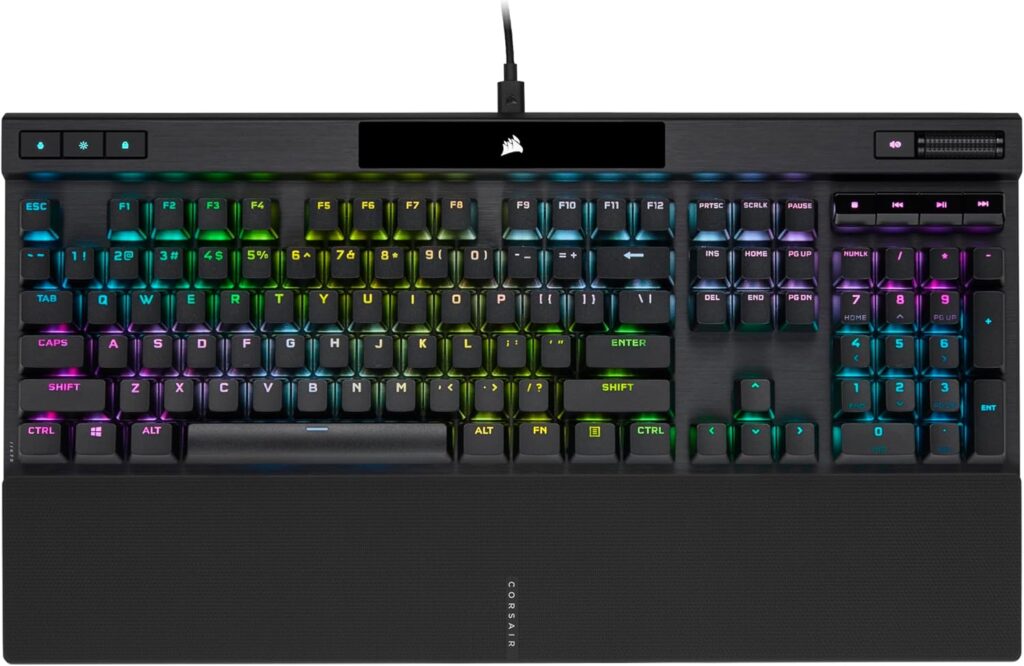
Keyboard. K70 is furniture at this point: aluminium plate, switches you already trust, media keys that still matter in an editor.
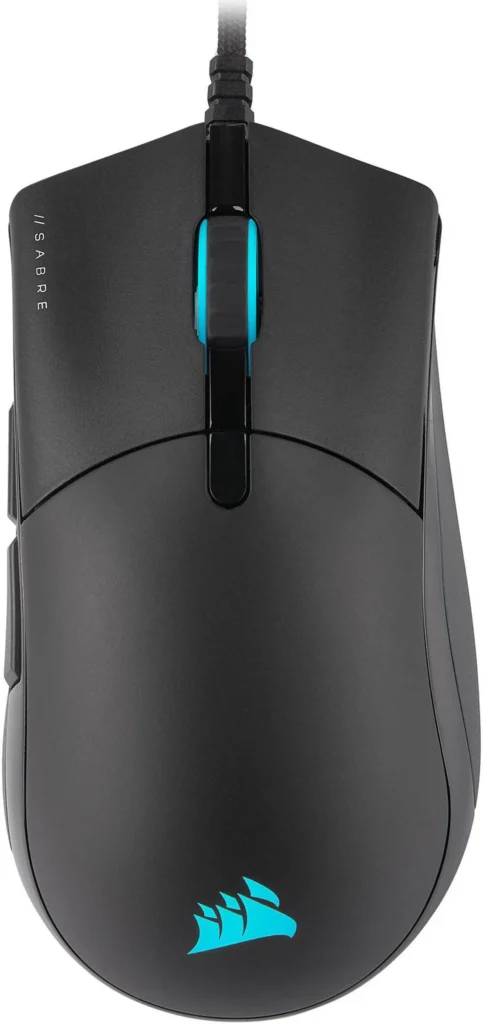
Mouse. Older Sabre. Light, boring, reliable. Buyer guides forgot it. Hands did not.

Headset. Arctis 7 wireless for long sessions without sounding like a toy outside of games.
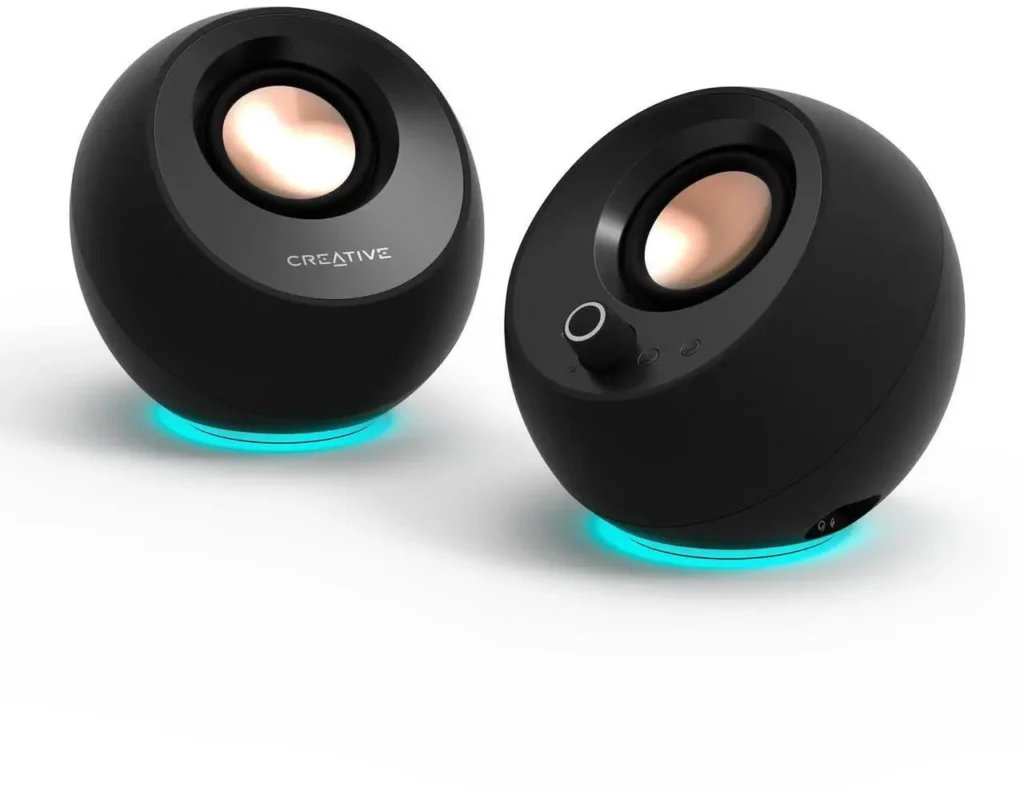
Speakers. Pebbles for “just play the video.” Headset covers serious listening.
Living with it day to day
Some evenings the Helios sits with a quiet idle glow while a timeline exports and a game waits on the second drive. Dust still finds the front mesh. Cable combs still matter more than RGB presets. The machine feels like a tool you know, not a product photo. That familiarity is why AM4 stays instead of burning a stack on a 10% average FPS chart.
What to upgrade first (and what to leave alone)
Leave the CPU and board. The 5800X is not the 1440p bottleneck. AM5 means board + DDR5 + CPU in one invoice. Bad trade while the monitor is the ceiling.
Leave the GPU for now if 1440p 144Hz is the target and settings stay sensible. New 5070-class street (~$800+) and 9070 XT (~$750) are real cards, but they are not automatic happiness upgrades from a healthy 3080 Ti 12GB at this resolution.
Upgrade the monitor first. 165Hz or 240Hz 1440p is where spare GPU frames become something you feel. That is the spend that changes daily use.
Enable XMP if the kit is loafing. Free. Thirty seconds in BIOS. Do it before you open any shopping tab.
If you are pricing a fresh AM5 rebuild instead of living with this AM4 box: buy / check street price on the 9800X3D on Newegg and RTX 5070 on Newegg before you lock a cart.
Closing
Starting from zero in September 2026, you could chase AM5 and a 16GB RDNA4 card and call it modern. This build’s lesson is narrower: buy the resolution you use, keep VRAM honest, and fix the panel before you fix the platform.
SpecClear participates in affiliate programmes. When you purchase through links on this site, we may earn a commission at no extra cost to you.