
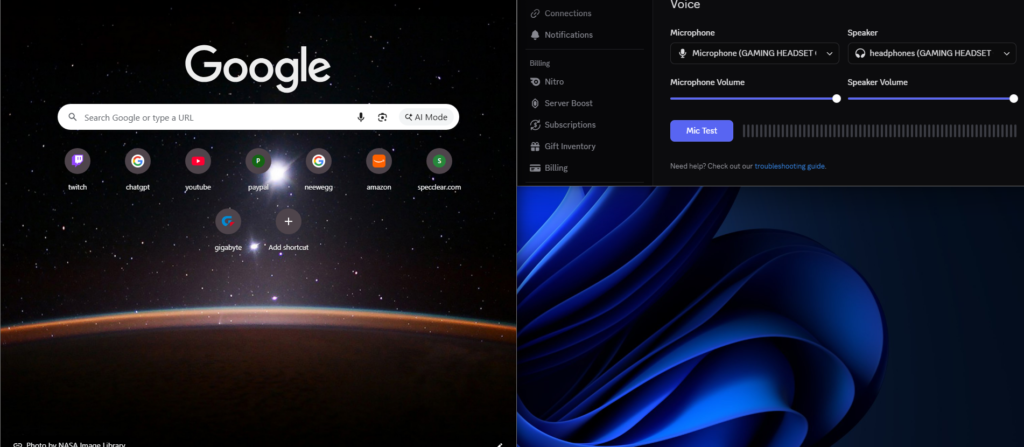
how to set up second monitor for gaming:A second monitor changes how you use a PC more than almost any hardware upgrade. Games on one screen, Discord and a browser on the other. Stream dashboard visible while you play. Spreadsheet open while you grind. The setup takes fifteen minutes if you know what you’re doing and an afternoon of troubleshooting if you don’t.
This guide covers everything from cable selection to Windows configuration to the settings most people miss that make the experience actually work properly.
Step 1 Check your GPU outputs before buying anything
Your GPU determines what monitor connections are available. Every current discrete GPU Nvidia RTX 40 and 50 series, AMD RX 7000 and 9000 series, Intel Arc B580 ships with multiple display outputs. The typical configuration is three DisplayPort 1.4 or 2.1 ports and one HDMI 2.1 port, though this varies by AIB model.
Before buying a cable or a monitor, look at the physical outputs on your GPU. They’re on the back of your PC where the GPU bracket sits not on your motherboard. Using a motherboard video output (HDMI or DisplayPort on the back panel near the USB ports) while a discrete GPU is installed will either produce no signal or significantly degraded performance. Always connect monitors to the GPU, not the motherboard.
If your second monitor has different inputs than your GPU outputs, you’ll need an adapter or a specific cable. The combinations that work cleanly: DisplayPort to DisplayPort, HDMI to HDMI, USB-C to DisplayPort (on GPUs with USB-C video output). Adapters that work: active DisplayPort to HDMI adapters for monitors without DisplayPort. Passive adapters frequently cause issues if you’re using an adapter and getting no signal or incorrect resolution, active is the fix.
Step 2 Connect the second monitor and let Windows detect it
Plug the second monitor in with the PC running. Windows 11 detects new displays automatically in most cases within a few seconds. The second monitor will either mirror your primary display or extend it Windows defaults vary.
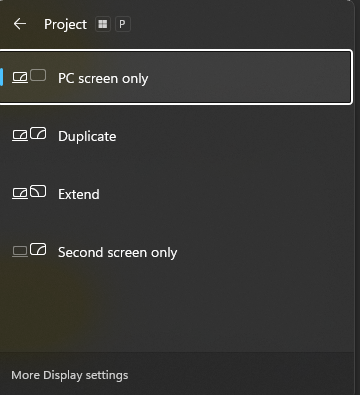
If nothing appears on the second monitor after 30 seconds, press Windows key + P. This opens the projection menu with four options: PC screen only, Duplicate, Extend, and Second screen only. Select Extend. If the monitor still shows no signal, check the monitor’s input source most monitors have multiple inputs (HDMI 1, HDMI 2, DisplayPort) and cycle through them with a button on the monitor’s OSD menu. Confirm it’s set to the input your cable is connected to.
For persistent no-signal issues, check Device Manager for display adapter errors. An exclamation mark on the GPU entry indicates a driver problem. Reinstalling GPU drivers via DDU (Display Driver Uninstaller) in safe mode resolves most driver-related display detection issues.
Step 3 Configure displays in Windows Settings
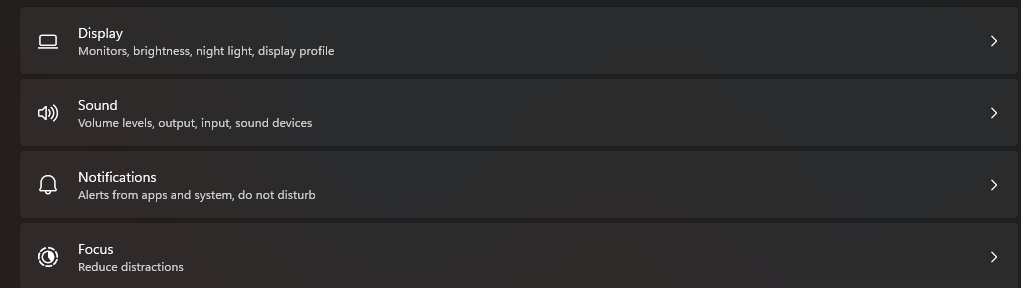
Open Settings → System → Display. You’ll see both monitors represented as numbered rectangles. This is where the actual setup happens.
Arrange the monitors correctly. Drag the display rectangles to match your physical monitor arrangement if your second monitor is to the right of your primary, the rectangle should be to the right. This determines where your cursor exits one screen and enters the other. Getting this wrong means your mouse disappears off the wrong edge.
Set the correct resolution for each monitor. Click on each display rectangle and set the resolution to its native value. A 1080p monitor at 1440p resolution looks blurry. A 1440p monitor at 1080p wastes the panel. Every monitor has a native resolution printed in its specifications match it exactly. Windows should detect this automatically, but verify it.
Set the correct refresh rate for each monitor. This is the setting most people miss. Windows frequently defaults to 60Hz even on 144Hz panels. Click on a display rectangle, scroll to Display adapter properties, then Monitor, and change the screen refresh rate to the monitor’s maximum rated value. Do this for both monitors separately. Running a 144Hz panel at 60Hz means you paid for a display feature you’re not using.
Identify which is your primary display. Scroll up in Display settings and check the “Make this my main display” box on your primary gaming monitor. The primary display is where new windows open by default and where the Windows taskbar sits unless you’ve changed that setting.
Step 4 Set up the taskbar correctly
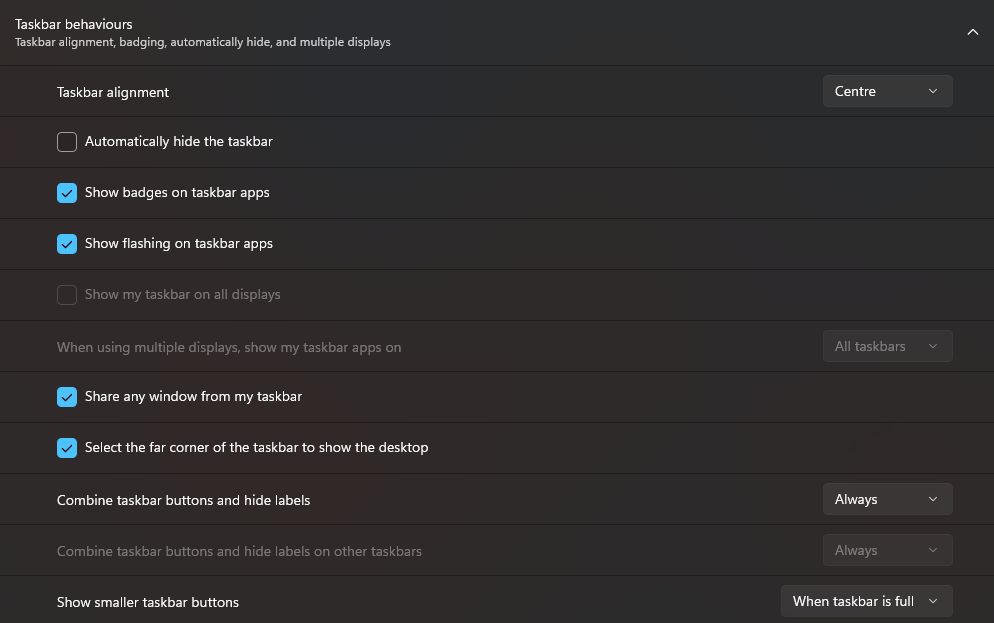
Windows 11 extends the taskbar to both monitors by default, which most people want. If it’s not showing on the second monitor, right-click the taskbar → Taskbar settings → scroll to Taskbar behaviours → check “Show my taskbar on all displays.
You can also configure where pinned taskbar apps appear on all displays, on the main taskbar only, or on the display where the relevant window is open. For a gaming setup, “Taskbar where window is open” keeps the secondary monitor’s taskbar clean while gaming.
Step 5 Configure your game and in-game settings
This is where most dual monitor gaming setups actually break down. Games need to be told which monitor to use and how to behave when you alt-tab or click on the second screen.
Windowed Fullscreen is your best friend for dual monitor use. True Fullscreen mode minimises when your cursor leaves the primary display or when a notification appears on the second monitor. Windowed Fullscreen also called Borderless Window maintains the game at full resolution and refresh rate on your primary monitor while leaving the second monitor freely accessible. In virtually every game’s graphics settings, switch from Fullscreen to Windowed Fullscreen or Borderless Window.
The one exception: if you’re chasing maximum competitive performance in games like CS2 or Valorant, true Fullscreen mode has marginally lower input latency. Most competitive players accept the alt-tab limitation in exchange for that. For everyone else, Windowed Fullscreen is the correct setting.
Set the game to display on the correct monitor. In most games this is an option in the graphics or display settings “display” or “monitor” with a dropdown selecting which screen. If the game always opens on the wrong monitor, drag it to the correct one while it’s in windowed mode, then switch to Windowed Fullscreen.
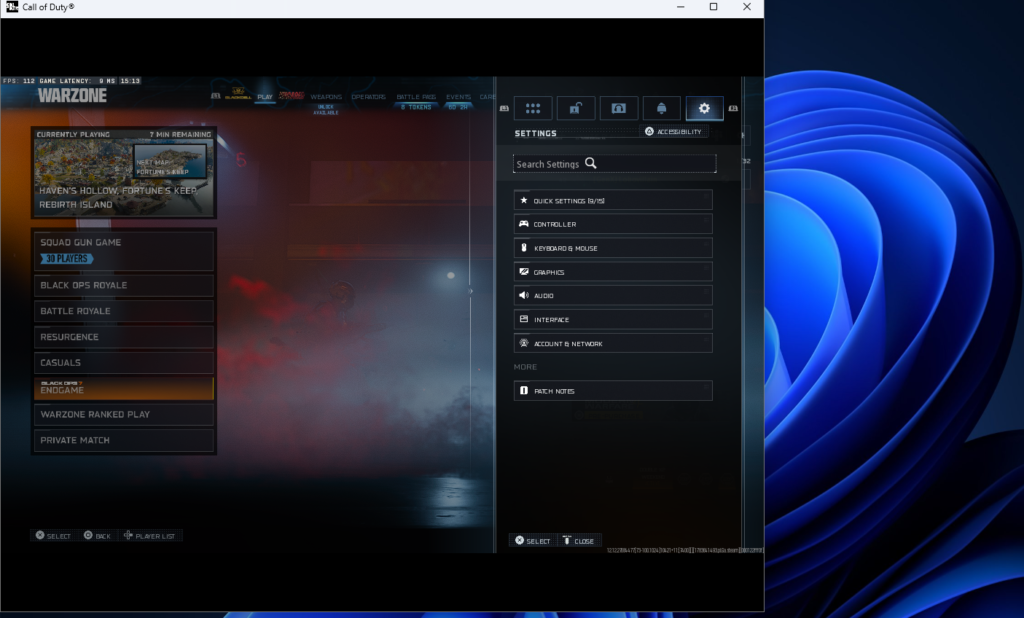
Check the in-game resolution matches your monitor’s native resolution. Some games default to a lower resolution when first launched on a new display configuration. Verify your primary monitor’s native resolution is selected in-game.
Step 6 Sort out Discord and browser on the second screen
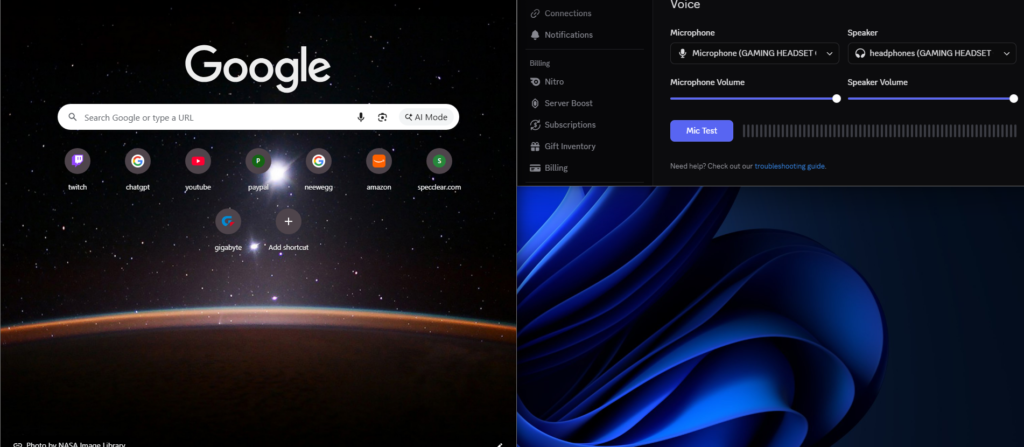
Discord’s default window opens wherever it was last closed. Drag it to your second monitor, resize it, close it, and it’ll reopen there next time. The same applies to Chrome or any browser Windows remembers the last position and size of application windows.
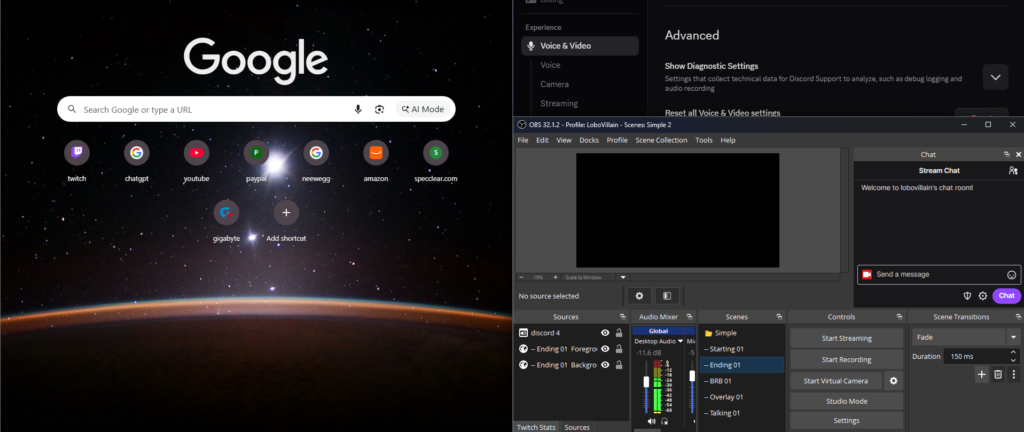
For streaming setups, OBS works best when its source canvas is configured around the primary monitor. Capture game audio from the primary display and set OBS’s preview window on the second monitor so you can monitor your stream without alt-tabbing out of the game.
Step 7 Night Light and scaling mismatches
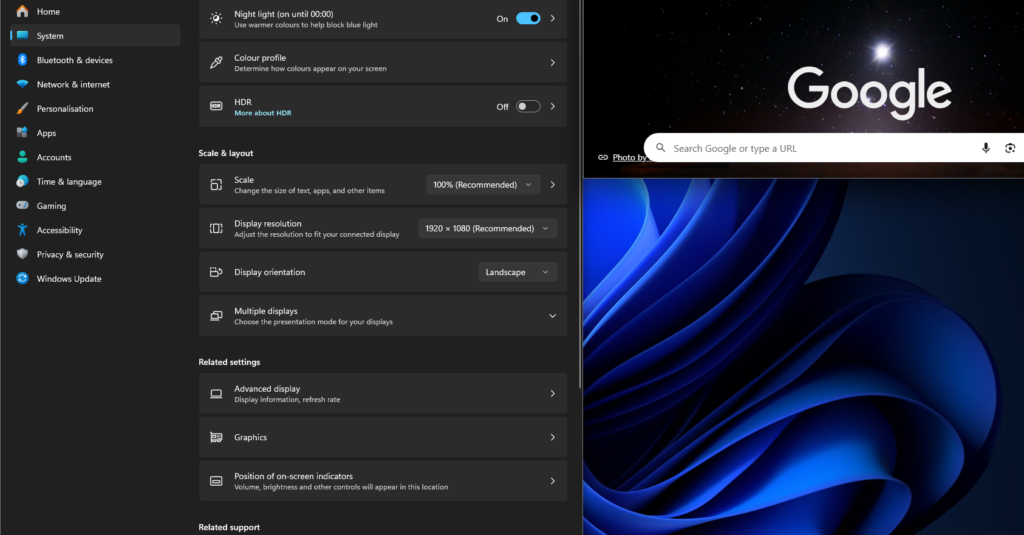
If your two monitors are different sizes or different resolutions say a 27-inch 1440p primary and a 24-inch 1080p secondary Windows scaling needs attention. A 150% display scale on the primary and 100% on the secondary means applications moved between screens may appear to jump in size. Set scaling per-display in Settings → System → Display by selecting each monitor individually.
Night Light (the blue light filter) applies per-display as of Windows 11. If you want it on the secondary monitor only or primary only, you can configure this in Settings → System → Display → Night Light and apply it to individual displays.
Common problems and fixes
Second monitor shows 60Hz maximum despite being a 144Hz panel: Check the cable. HDMI 1.4 cables cap at 60Hz at 1440p and 30Hz at 4K. DisplayPort 1.4 or HDMI 2.0 and above are required for 144Hz at 1440p. Replacing the cable with the correct spec fixes this immediately.
Cursor jumps between monitors while gaming: The game is running in true Fullscreen mode. Switch to Windowed Fullscreen in the game’s display settings.
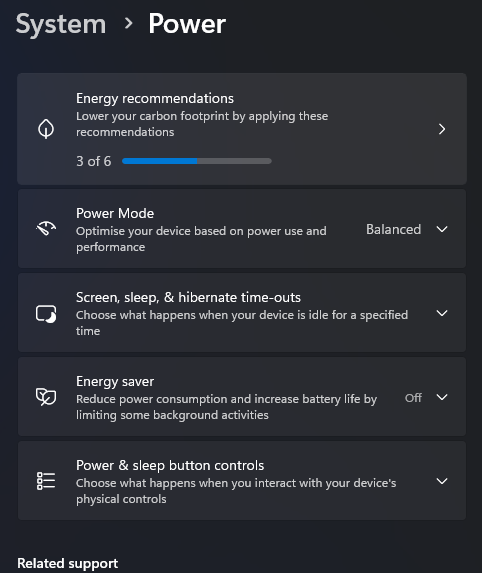
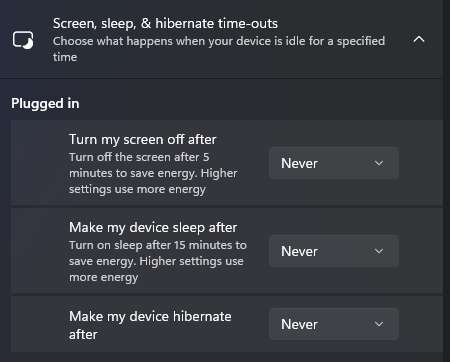
Second monitor goes to sleep while gaming on the primary: Windows power settings are putting the idle display to sleep. Settings → System → Power → Screen and sleep → change “When plugged in, turn off my screen after” to “Never” or a longer duration.
Games launching on the wrong monitor: Set the primary display correctly in Windows Settings → Display → Make this my main display. Some games also have a monitor selection in their graphics settings.
Different brightness and colour between monitors: Two monitors will almost never match perfectly out of the box, especially from different manufacturers. Use each monitor’s OSD (on-screen display) menu to adjust brightness and colour temperature until they’re visually close. A hardware calibrator is the precise solution most people adjust by eye and get close enough.