
Reinstalling Windows from scratch takes the better part of an afternoon in most scenarios. You reinstall every application, hunt for licence keys, reconfigure every setting, and rebuild everything you had working before. None of that is necessary when you upgrade your storage though since Cloning copies your existing Windows installation including every app, every setting, every file over to the new drive exactly as it is. The new SSD boots straight into your desktop as if nothing changed, except it’s faster if it was a new upgrade.
This guide covers the full process using Macrium Reflect Free, which is the most reliable free cloning tool available in 2026 and works on both HDDs and NVMe SSDs.
What you need before starting
A USB to SATA adapter or a spare SATA port if you’re cloning to a SATA SSD. For NVMe drives, an M.2 to USB enclosure works well and these cost under $15 and are worth keeping permanently for exactly this kind of task. You need both drives connected to the PC simultaneously for the clone to work. How to Add a Second SSD to Your PC
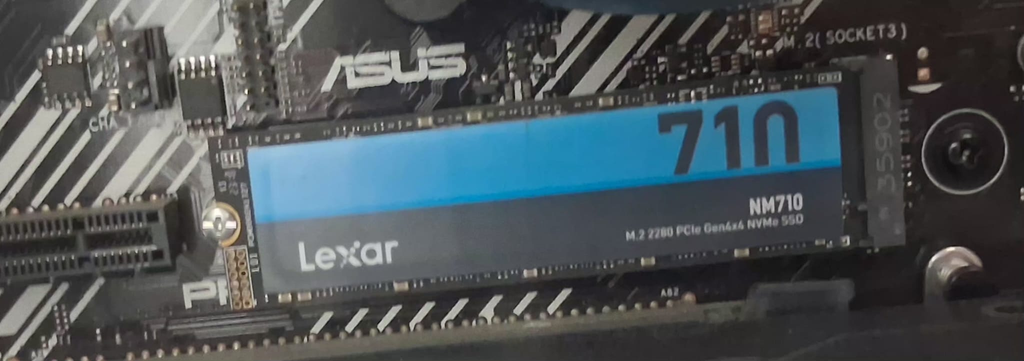

Check that your new drive has at least as much capacity as the used space on your current drive. The clone copies your partition structure — if your current Windows partition uses 180GB and your new drive is 250GB, that works fine. If your current drive has 300GB used across partitions and the new drive is 250GB, it doesn’t. Free up space first or use a larger destination drive.
Download Macrium Reflect Free from macrium.com. Install it on your current system and once done we can move onto the next steps…
Cloning the drive — step by step
Step 1 — Connect the new drive
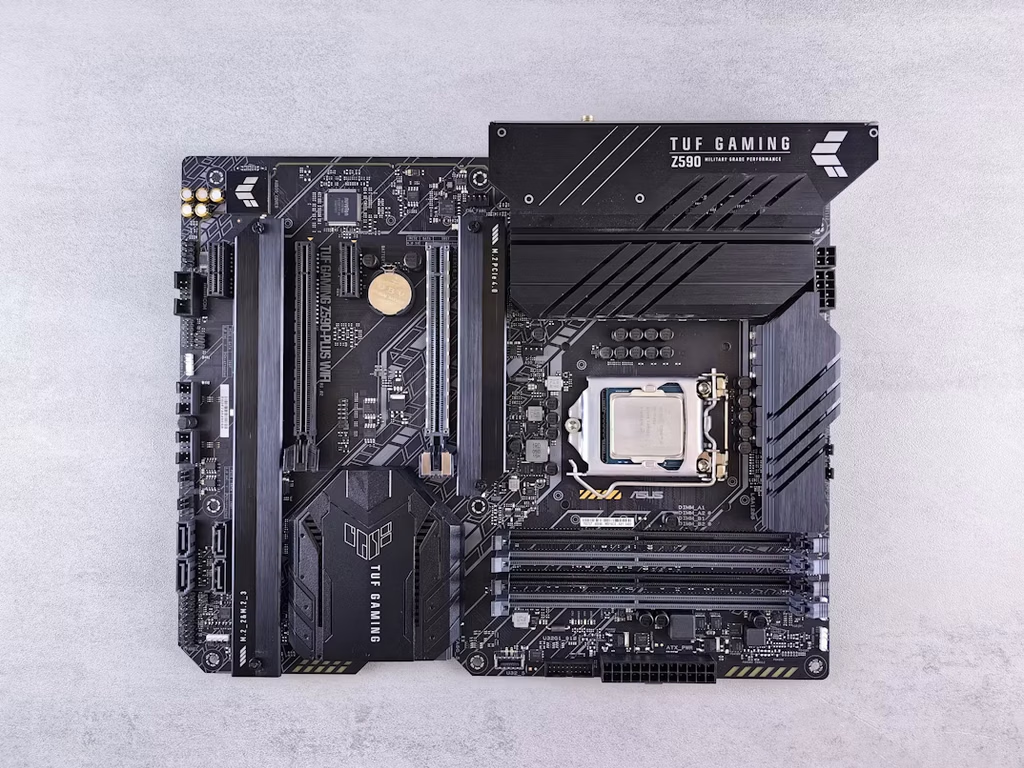
For a SATA SSD, connect it to a spare SATA port on your motherboard or via USB adapter. For an NVMe M.2 drive, slot it into a spare M.2 port on your motherboard if one is available, or connect it via the USB enclosure. Power on the PC. Windows will detect the new drive — you don’t need to format or partition it.
Step 2 — Open Macrium Reflect and select Clone this disk
On the main screen, find your source drive — the current Windows drive — in the disk list. Click Clone this disk underneath it.
Step 3 — Select the destination
Click Select a disk to clone to and choose the new drive. If it’s completely empty, Macrium will show it as unallocated space.
Step 4 — Copy partitions
Click Next and you’ll see the partition layout. Drag the partitions from the source drive to the destination area. Macrium copies the Windows partition, the EFI system partition (on modern systems using UEFI), and the recovery partition. All three need to transfer.
If the destination drive is larger than the source, Macrium gives you the option to expand the Windows partition to fill the available space. Do this — it’s one clicks and means your new drive uses its full capacity from the start rather than having unused unallocated space.
Step 5 — Run the clone
Click Finish, then OK to begin. The clone runs with the source drive mounted and Windows running — you don’t need to boot from a recovery drive or do anything unusual. Cloning 200–300GB typically takes 20–40 minutes depending on your drive speeds.
Don’t use the PC for anything intensive during the clone. Writes to the source drive while cloning is handled correctly by Macrium but keeping activity minimal reduces the risk of any file system inconsistency.
Step 6 — Boot from the new drive
When the clone finishes, shut the PC down completely. If the new drive is installed internally, disconnect the old drive before the first boot — this removes any ambiguity about which drive the system boots from. Reconnect the old drive after confirming the new one boots correctly. Best SSD for Gaming in 2026

Enter your BIOS (usually Delete or F2 on boot) and check the boot order. If you’re using an NVMe drive connected via M.2 port, set it as the first boot device. If you used a USB enclosure for the clone, move the drive to an internal M.2 slot now — USB-connected NVMe drives can boot but it’s slower and less reliable.
Save and exit. The system boots from the new drive into your existing Windows installation.
First boot checks
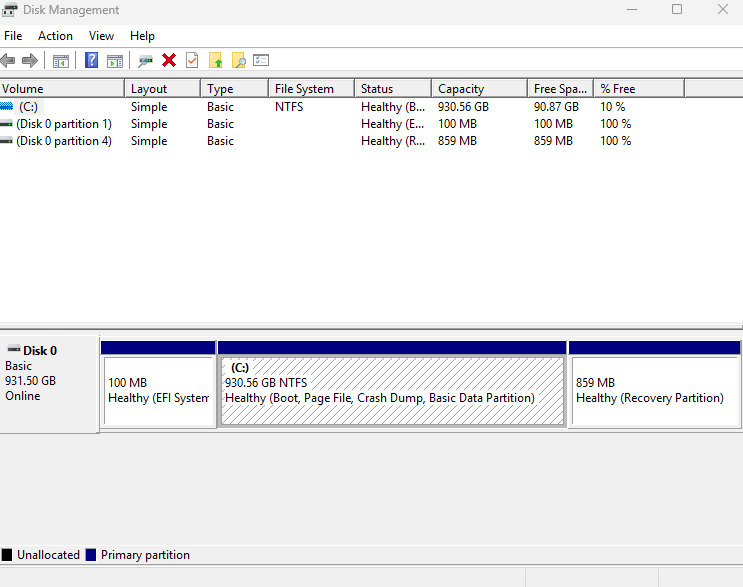
Open Disk Management (right-click Start → Disk Management) and confirm the Windows partition shows the full capacity of the new drive. If it doesn’t — if there’s unallocated space showing — right-click the Windows partition and select Extend Volume to claim the remaining space.
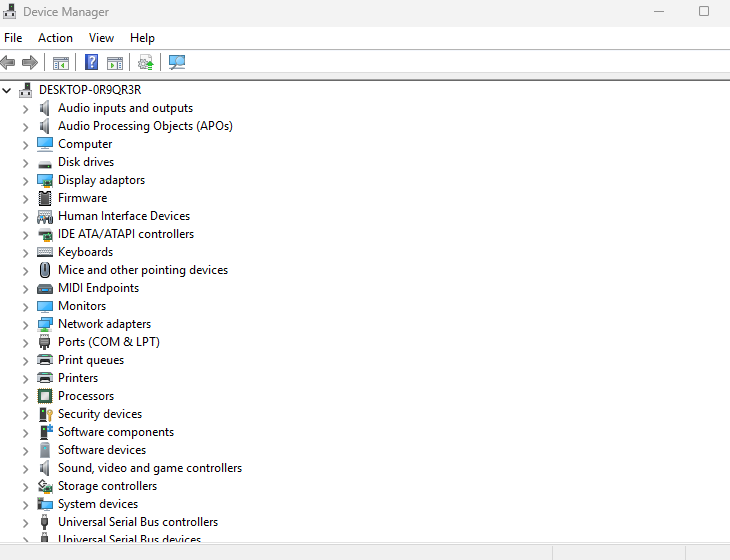
Open Device Manager and check for any warnings. Cloned installs very rarely have driver issues but it’s worth confirming everything shows clean.
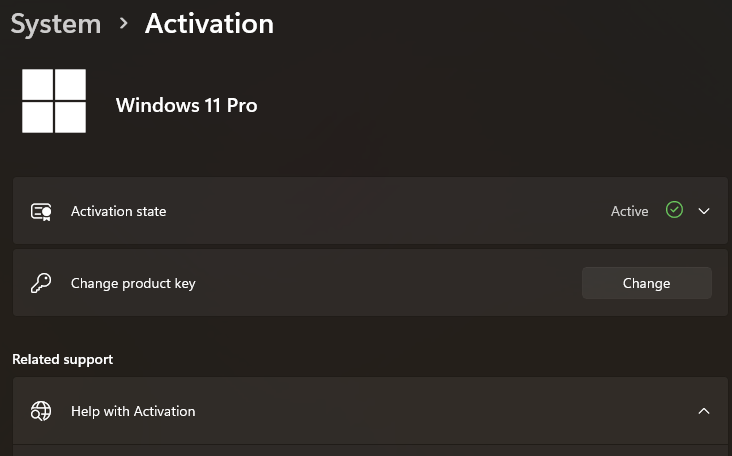
Run Windows Update. Confirm your product key is still activated — it should be, since Windows 11 ties activation to the motherboard rather than the drive, but it takes 30 seconds to verify in Settings → System → Activation.
What to do with the old drive
Don’t wipe the old drive immediately, Boot normally from the new drive for a week, confirm everything works, run all your usual applications. Once satisfied the clone is solid, you have three options. How to Check Your PC Specs
Reformat it as a secondary storage drive for games, media or backups. Right-click it in Disk Management and delete the partitions, then create a new simple volume and format as NTFS. It becomes a standard storage drive with no Windows installation on it.
Leave it as a backup. The cloned Windows installation on the old drive is a working fallback. If the new drive ever fails, swapping the old drive back in gives you a working system — older, but working. For mission-critical machines this is worth doing.
Remove and store it. If you’re tight on drive bays or want the SATA port free, storing the old drive as a cold backup takes up minimal space and gives you a recovery option that costs nothing.

Common issues
The system boots to the old drive instead of the new one. Enter BIOS and change the boot order. Or disconnect the old drive for the first boot to force the system onto the new one.
Macrium says the destination is too small. The destination must accommodate all partitions from the source. Check that used space across all partitions fits the new drive’s capacity — total storage size isn’t the only factor. M.2 NVMe USB enclosure ($14)

The cloned drive has a smaller Windows partition than expected. You didn’t expand the partition during the clone. Fix it in Disk Management using Extend Volume — this is non-destructive and takes under a minute.
Windows shows as not activated after clone. This occasionally happens after a hardware change. Open Settings → System → Activation → Troubleshoot and sign in with your Microsoft account. Activation restores automatically in most cases.
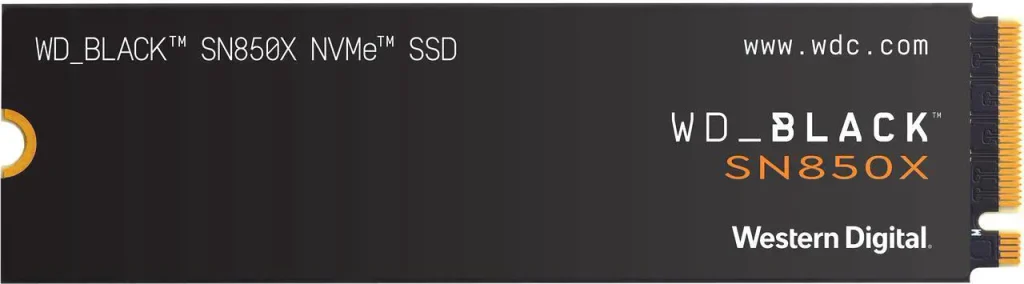
The new NVMe drive isn’t showing in BIOS. Confirm the M.2 slot is enabled in BIOS — some motherboards disable additional M.2 slots by default. Check the manual for your specific board.WD Black SN850X NVMe SSD ($208)
One thing to do before cloning if your current drive is old
Run chkdsk before cloning. Open Command Prompt as administrator and type:
chkdsk C: /f /r
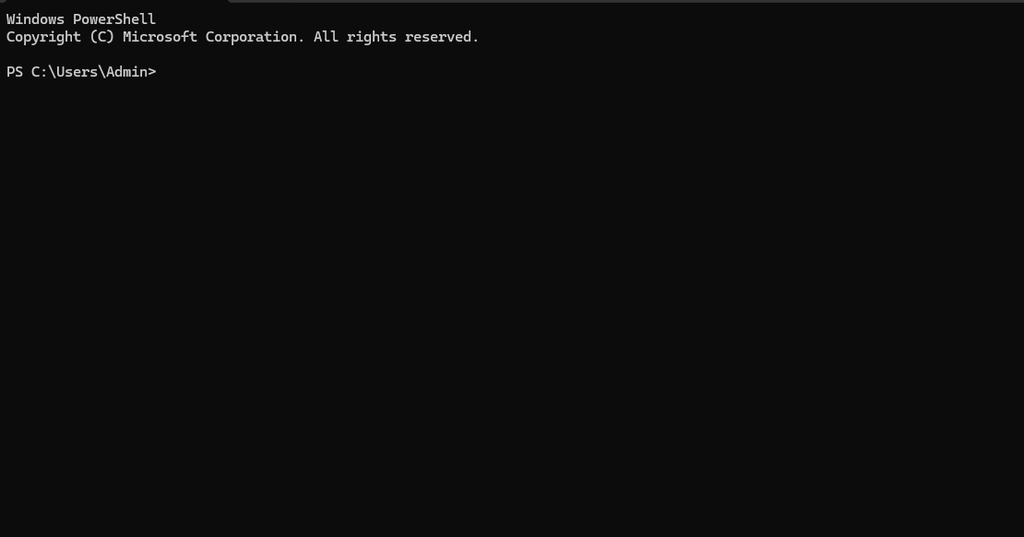
This schedules a file system checks on the next reboot. Restart, let it run. Any file system errors on the source drive are repaired before the clone happens. Cloning a drive with existing errors copies those errors to the new drive — fixing them first ensures the new drive starts clean.