
SpecClear earns a commission if you buy through Newegg links on this page, at no extra cost to you.
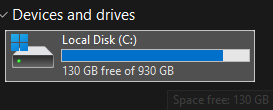
Modern games eat 50 to 150GB each. A 1TB Windows drive fills faster than most first builds expect. The fix is boring and good: add a second NVMe, leave Windows alone, park the game library on the new letter.
You do not reinstall anything. You do not clone the OS unless C: itself is the problem.
In this current time, it’s easy to forget that a lot of storage is no longer needed. High-speed internet has closed the gap in terms of what you need to keep stored locally and what you can do without. But even a casual gamer is starting to feel the need for more storage these days, with some games asking for close on 200GB of storage without even batting an eyelid. Modern SSDs are not a one-size-fits-all like the HDDs of old used to be. It’s important not to overspend on an SSD when a lower-specced one will be able to deliver stellar performance in the correct system.
Last verified: September 12, 2026. NAND is still not a fire sale. A strong 2TB PCIe 4 TLC drive (Samsung 990 Pro class) often lands near ~$360-$390. Value QLC or DRAM-less 2TB options run cheaper and are still fine for game installs. Check the morning price before you commit.
Step 1: Confirm a free M.2 slot
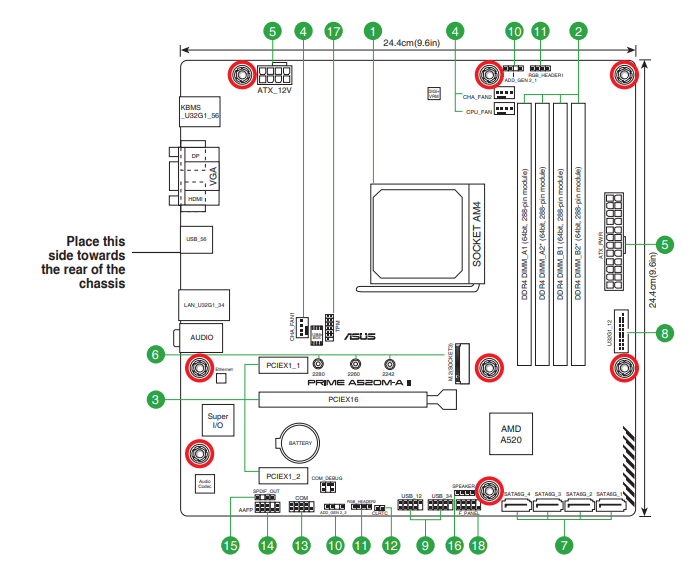
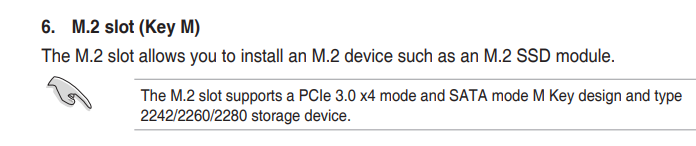
Power down. Side panel off. Look for empty M.2 sockets, usually above or below the GPU area, often under a heatsink plate. Consumer slots are almost all 2280 (22mm wide, 80mm long).
Cannot see it? Search your motherboard model specs. Count slots, PCIe generation, and shared-bandwidth notes.
Shared lanes matter. Some boards disable a SATA port or a PCIe slot when a second M.2 is filled. Manual section on slot configuration tells you. Most gaming builds shrug. Full SATA farms need to read twice.
Step 2: Pick the right second drive
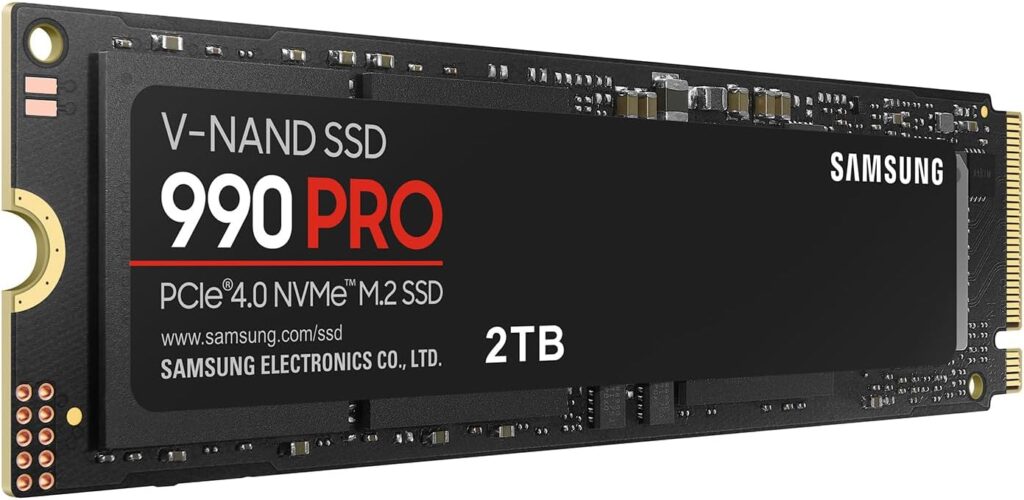
For game storage you do not need PCIe 5 bragging rights. Load times from a decent PCIe 4 drive already feel instant next to old SATA habits.
The Samsung 990 Pro 2TB and WD Black SN850X 2TB are the premium TLC picks when street prices sit in the high $300s. Crucial P3 Plus / P310-class drives are the value lane when you want capacity without paying TLC tax.

Match the slot generation. A PCIe 4 drive in a PCIe 3 secondary slot just runs at Gen3. Fine. Do not pay Gen4 money for Gen3 lanes if a cheaper Gen3/Gen4-value drive exists.
Hard limit: do not buy a PCIe 5 SSD just to store Steam games. You will not feel the extra sequential speed in launchers, and you will feel the invoice.
Step 3: Install the drive
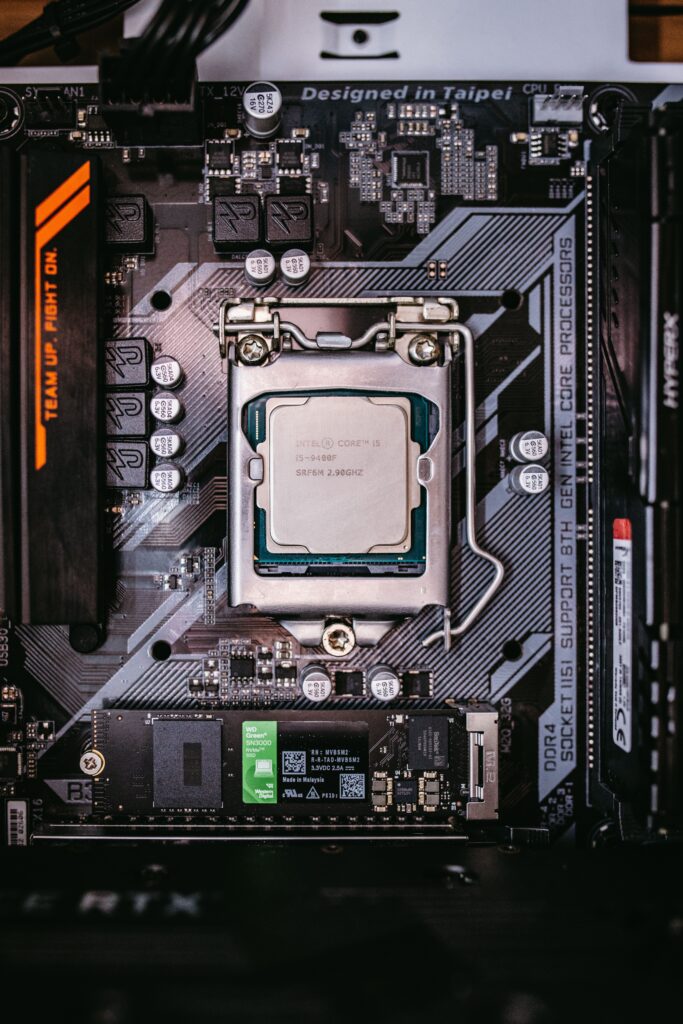
PSU switch off. Unplug. Press the case power button once to dump residual charge.
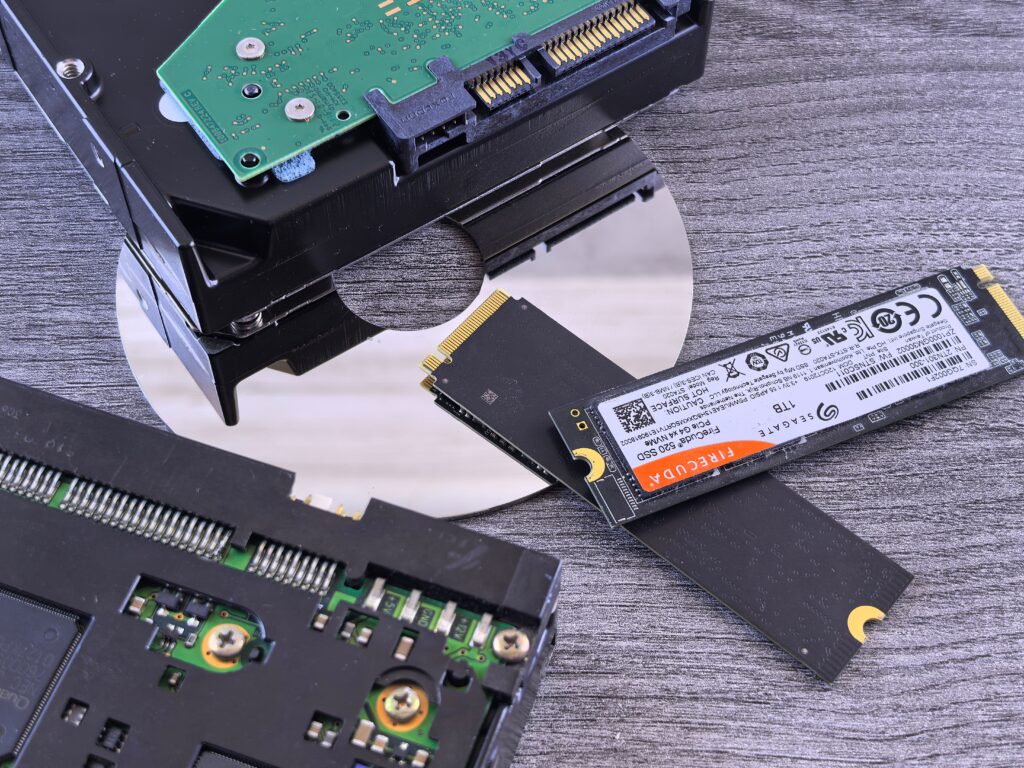
Remove the M.2 heatsink screw(s). Hold the drive by the edges. Align the notch. Slide in at a shallow angle until it seats, then press flat and fit the standoff screw snug, not heroic.
Thermal pad on the heatsink should contact the NAND. Most board heatsinks include one. Reassemble and boot. Windows starts from the old drive like nothing happened.
Step 4: Initialize in Disk Management
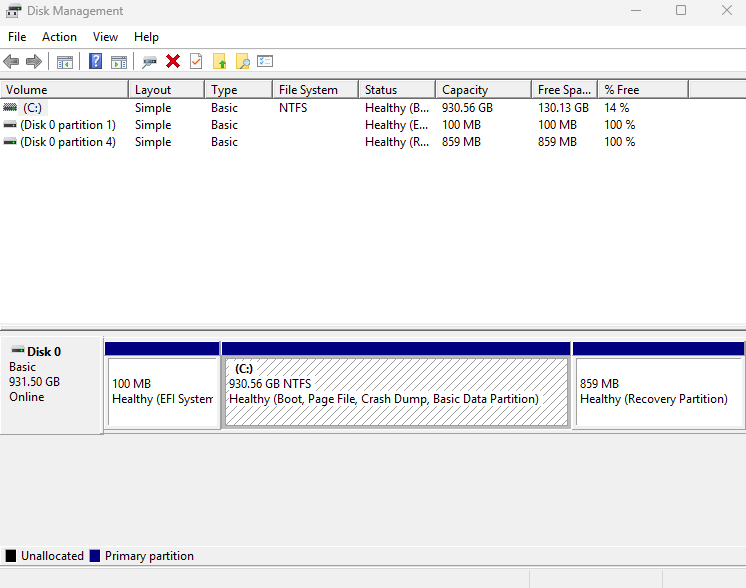
Right-click Start → Disk Management. Initialize Disk if prompted. Choose GPT on modern UEFI systems.
If there is no prompt, find the black Unallocated bar. Right-click → New Simple Volume. Full size, letter D: (or whatever you like), NTFS, label it Games. Finish. Under two minutes if you do not overthink it.
Step 5: Move Steam to the new drive
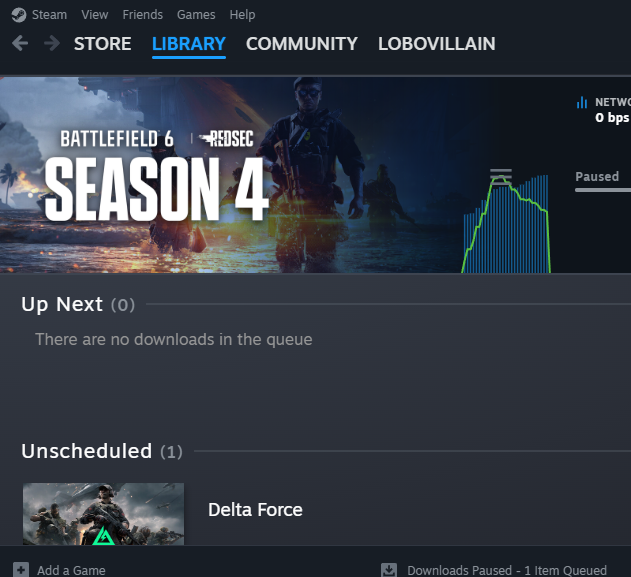
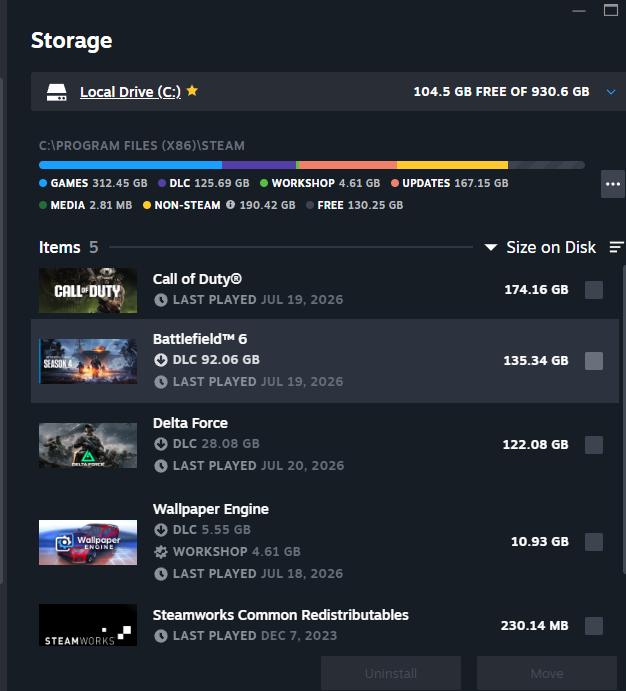
Steam → Settings → Storage → Add Drive → pick the new volume. Then move titles from the list to that library. Steam relocates files and keeps the install linked. No redownload theater.
Set the new library as default if fresh installs should land there automatically.
Step 6: Other launchers
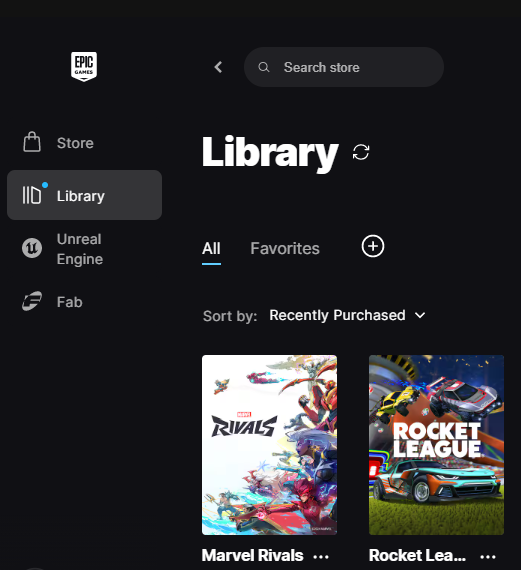
EA App and GOG have native move tools. Epic can retarget install folders. Battle.net is the awkward one: move the folder in Explorer, point Battle.net at the new path, scan/repair so it relinks.
Windows and Program Files stay on C:. This second drive is library storage, not an OS migration. If C: is full of Windows junk rather than games, clone to a larger boot drive instead. Different job.
A 1 to 2TB boot SSD plus a 2TB games SSD covers most libraries without drama. Buy capacity you will use. Skip the Gen5 sticker.
SpecClear participates in affiliate programmes. When you purchase through links on this site, we may earn a commission at no extra cost to you.