
Installing a CPU is the step most first-time builders are most nervous about. It’s also one of the steps least likely to go wrong if you follow the process correctly. The CPU is delicate the contacts on an AM5 chip or the pins in an Intel socket are small and precise but they’re not fragile if you handle them correctly. This how to install a cpu guide covers AMD AM5 and Intel LGA1851 separately because the mechanisms are genuinely different, then covers the steps that apply to both.
The critical difference between AMD AM5 and Intel LGA1851
Before anything else, understand this distinction it determines how carefully you handle the CPU itself.
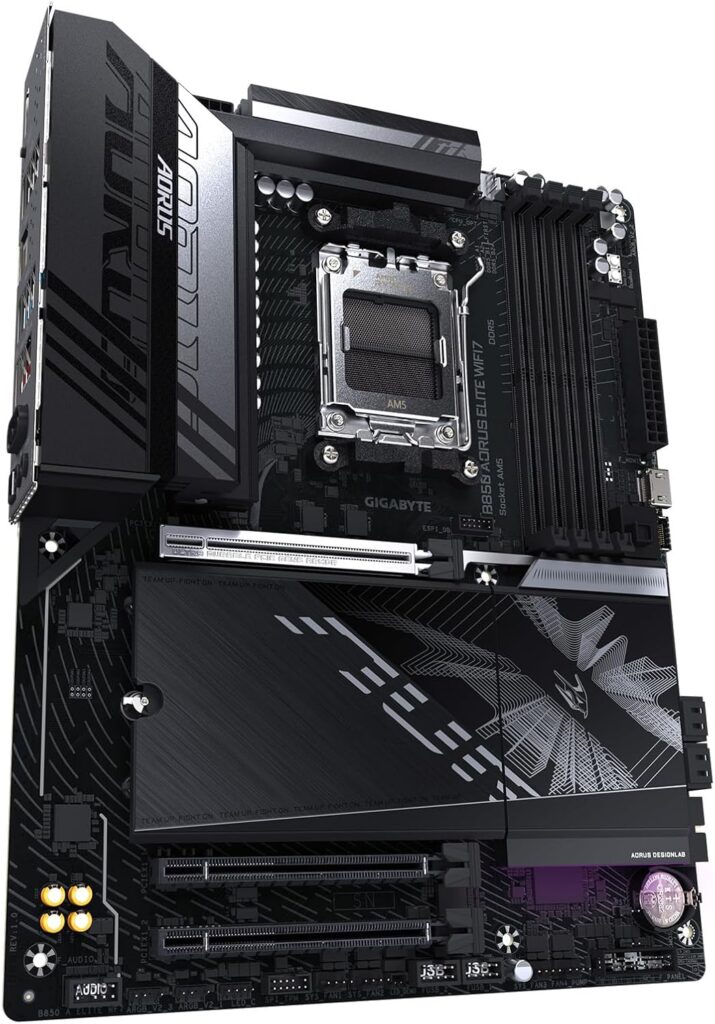
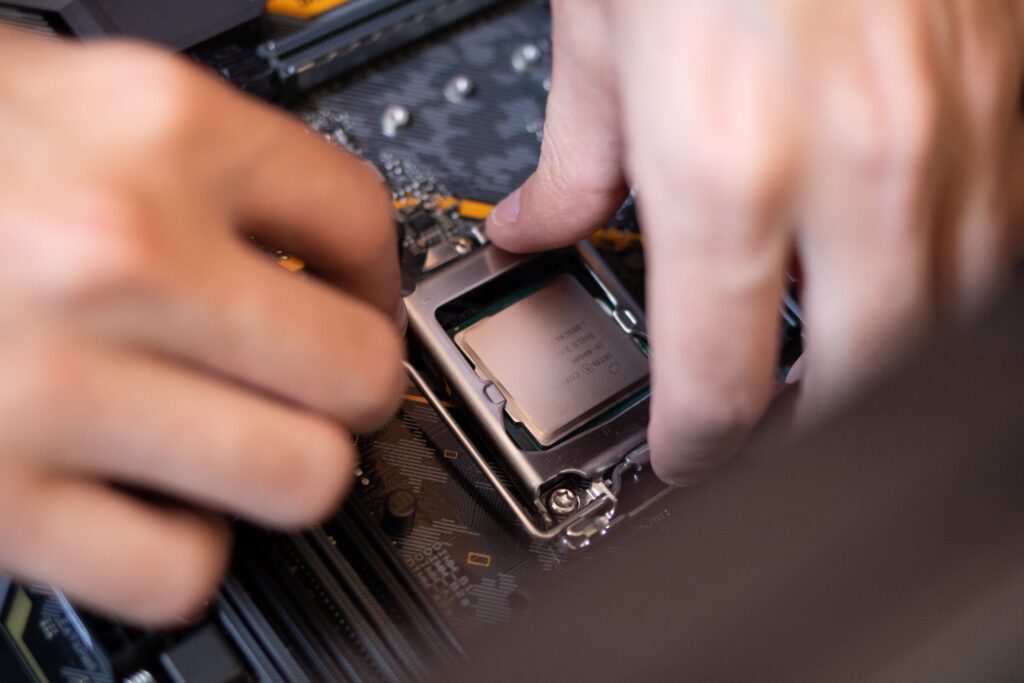
AMD AM5 uses a Land Grid Array design where the pins are in the motherboard socket, not on the CPU, the CPU itself has flat gold contact pads on the underside. This means the CPU is relatively robust if you drop it on a surface, the underside contacts are less likely to be damaged than exposed pins would be. The motherboard socket pins are the fragile element. Never touch or blow on the socket pins. Never insert anything into the socket other than the CPU. If this is part of a full build, our complete beginner PC build guide covers every other step.
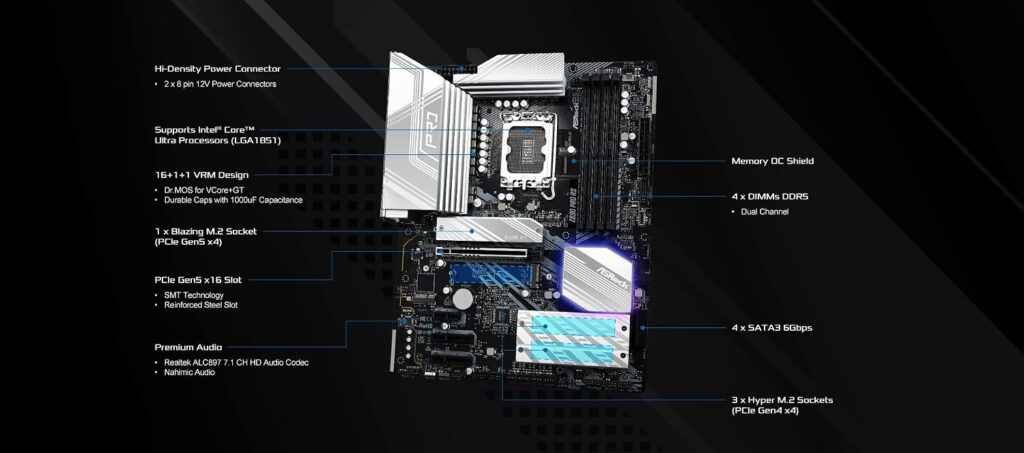
Intel LGA1851 also uses a Land Grid Array design the pins are in the motherboard socket, not on the CPU. Both modern AMD and Intel desktop platforms use this approach, which is a change from older AMD AM4 CPUs that had pins on the chip itself. The handling principle is the same for both: the CPU is relatively safe, the socket is fragile.
Before you start: the preparation that prevents mistakes

Work on a clear, well-lit, non-carpeted surface, static electricity is the enemy of electronics and carpet generates it. A wooden desk or table is correct, if you’re working on carpet, wear an anti-static wrist strap clipped to the metal case chassis.
The motherboard should be outside the case during CPU installation flat on the desk, ideally on the anti-static bag it shipped in. Installing a CPU with the motherboard already mounted in the case is physically possible but significantly harder. Do CPU installation, RAM installation, and M.2 SSD installation before mounting the motherboard in the case.

Have your thermal paste ready if your cooler doesn’t come with pre-applied paste. Have the cooler manual open cooler mounting varies by brand and you’ll need the specific instructions for your model.
AMD AM5 CPU Installation
Step 1: Open the socket latch
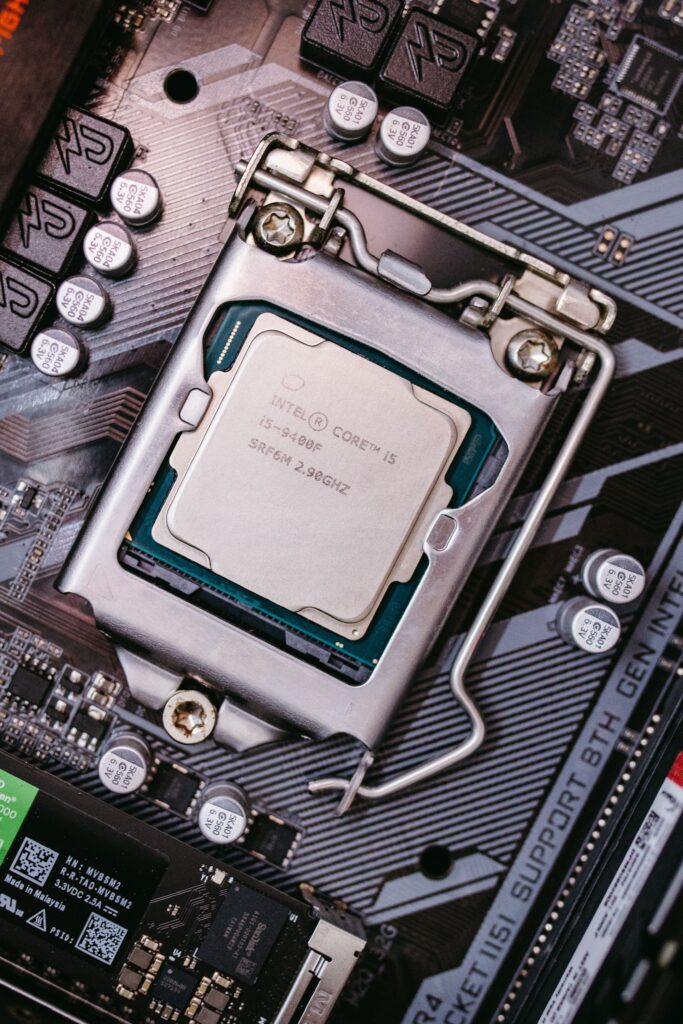
The AM5 socket has a metal retention arm on the side of the socket. Lift it straight up it’s spring-loaded and requires moderate pressure to release from its locked position. Once raised, it pivots outward to the side, exposing the socket. The socket cover a piece of black plastic protecting the socket pins during shipping should be in place. Don’t remove it yet.
Step 2: Remove the socket cover
With the retention arm raised and pivoted out, lift the load plate (the metal frame that holds the CPU) if your board has one, or simply look at the now-exposed socket area. The black plastic socket cover lifts straight out. Keep it if you ever return the motherboard for warranty service, the socket needs the cover reinstalled to prevent pin damage during shipping.
Step 3: Orient the CPU correctly
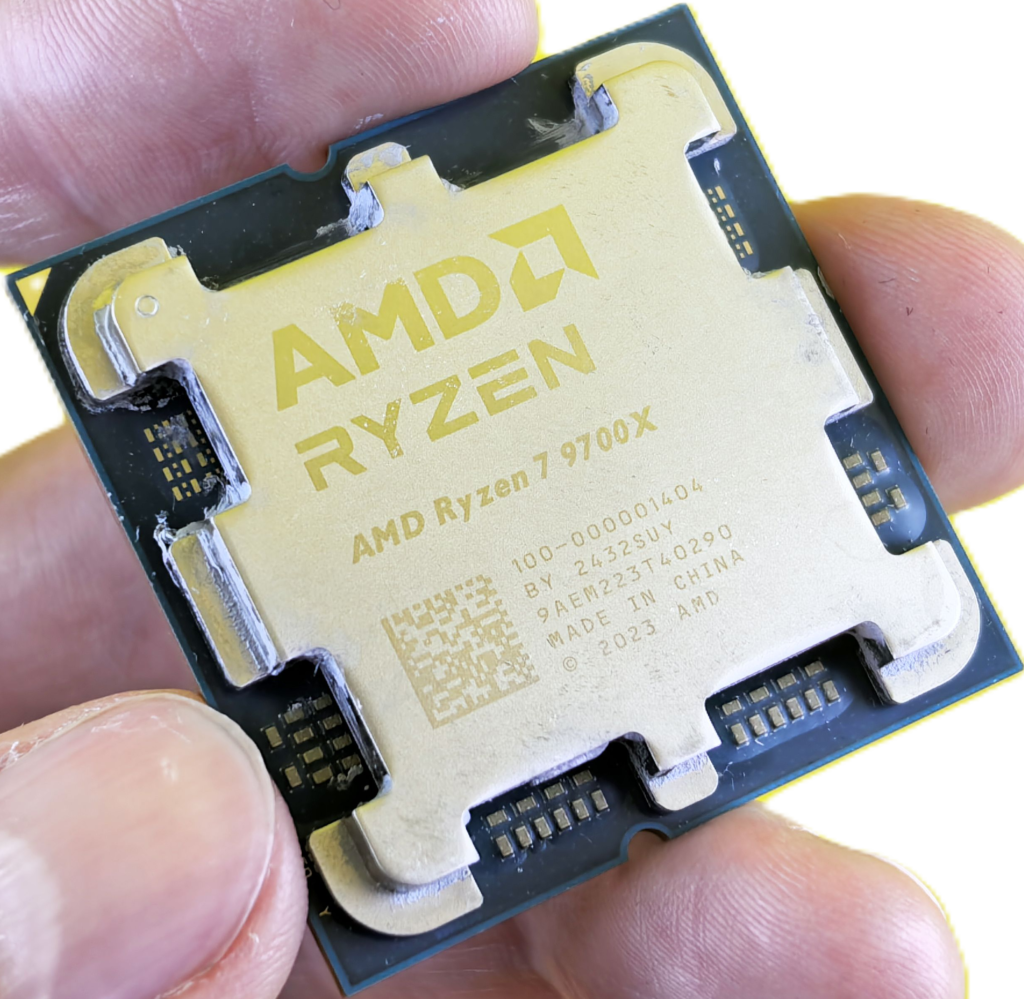
Pick up the CPU by its edges never touch the gold contacts on the underside or the top IHS (Integrated Heat Spreader), look at the CPU and the socket. Both have an orientation marker a small golden triangle in one corner of the CPU and a corresponding triangle marker on the socket. These must align. There is only one correct orientation. The CPU will not sit flat if rotated incorrectly do not force it.
Step 4: Place the CPU
With the triangle markers aligned, lower the CPU straight down into the socket. It should drop into place with zero insertion force you’re literally just setting it down. If you feel resistance, stop. Check orientation. The CPU sits on the socket pins and rests at the correct height when properly seated. It won’t fall out if you tip the board slightly the contacts hold it in position.
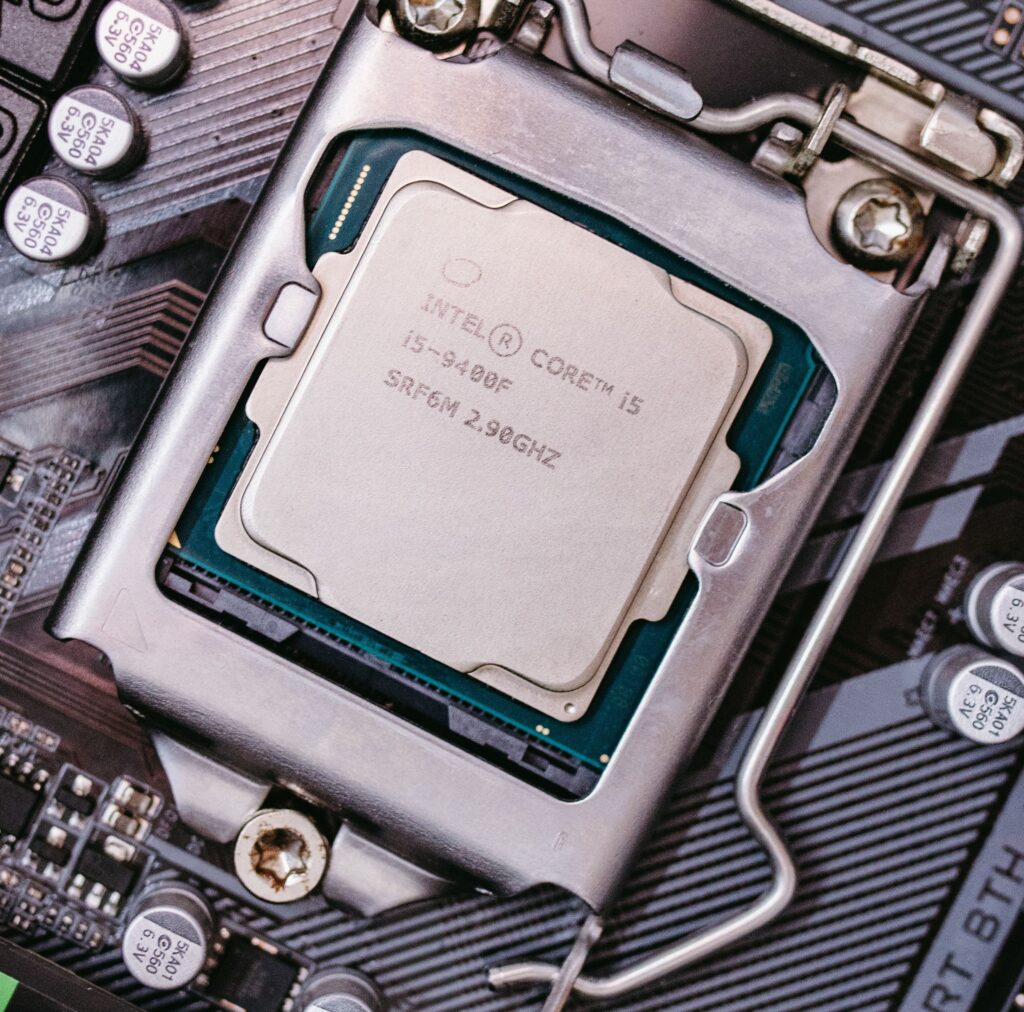
Step 5: Close the retention arm
Swing the retention arm back over the socket and press it down to lock,, you’ll feel resistance and may hear a slight click as it locks into its seated position. This is normal. The arm applies clamping force that ensures good contact between the CPU contacts and the socket pins, the required force is firm but not extreme. The cooler goes on next, and our air cooler vs AIO guide helps if you have not picked one yet.
The CPU is installed move to cooler mounting.
Intel LGA1851 CPU Installation
LGA1851 is Intel’s current desktop socket for Core Ultra 200S (Arrow Lake Refresh) processors. The mechanism is similar to AM5 in principle but different in execution.
Step 1: Release the load plate
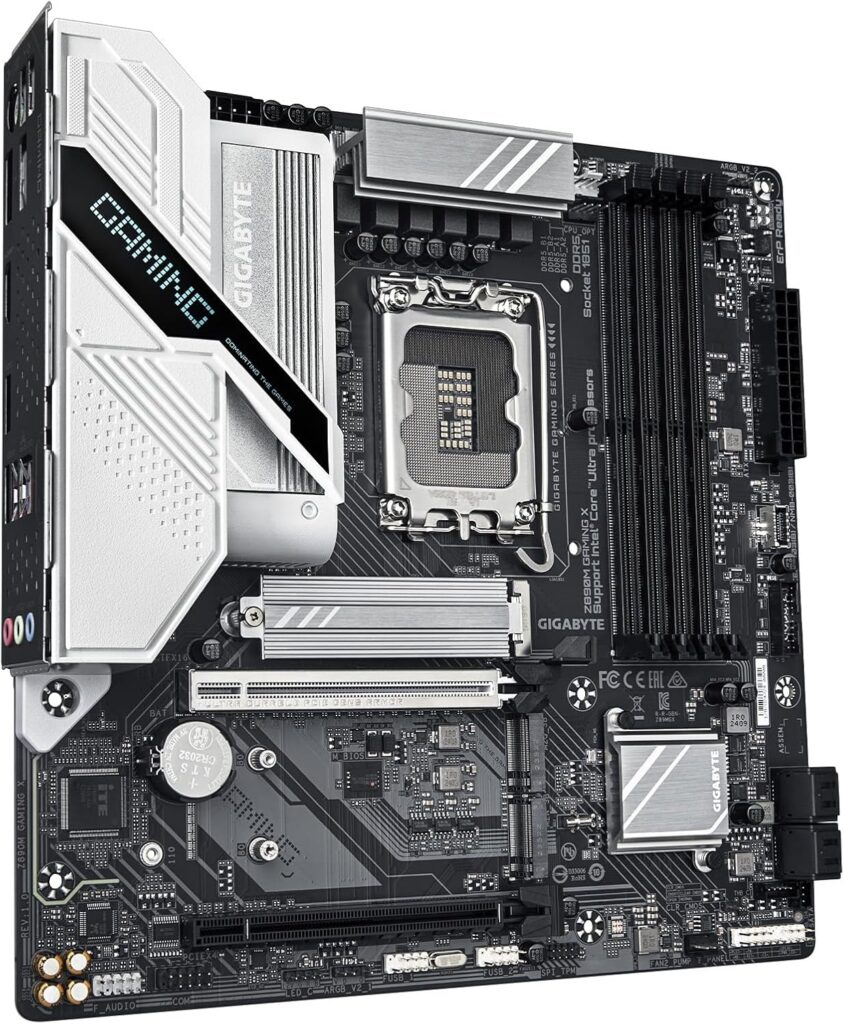
Intel’s socket has a metal lever on one side and a metal load plate that sits over the socket area. Press down on the lever slightly to release it from its locking tab, then swing it outward and upward. This releases the load plate. Lift the load plate upward it hinges at the rear. The socket pins are now exposed.
Step 2: Remove the protective cover
Intel sockets ship with a black plastic cover over the socket pins. This cover often stays attached to the load plate as you lift it let it come off with the plate rather than removing it separately. Keep it for the same warranty return reason as the AMD cover.
Step 3: Orient the CPU correctly
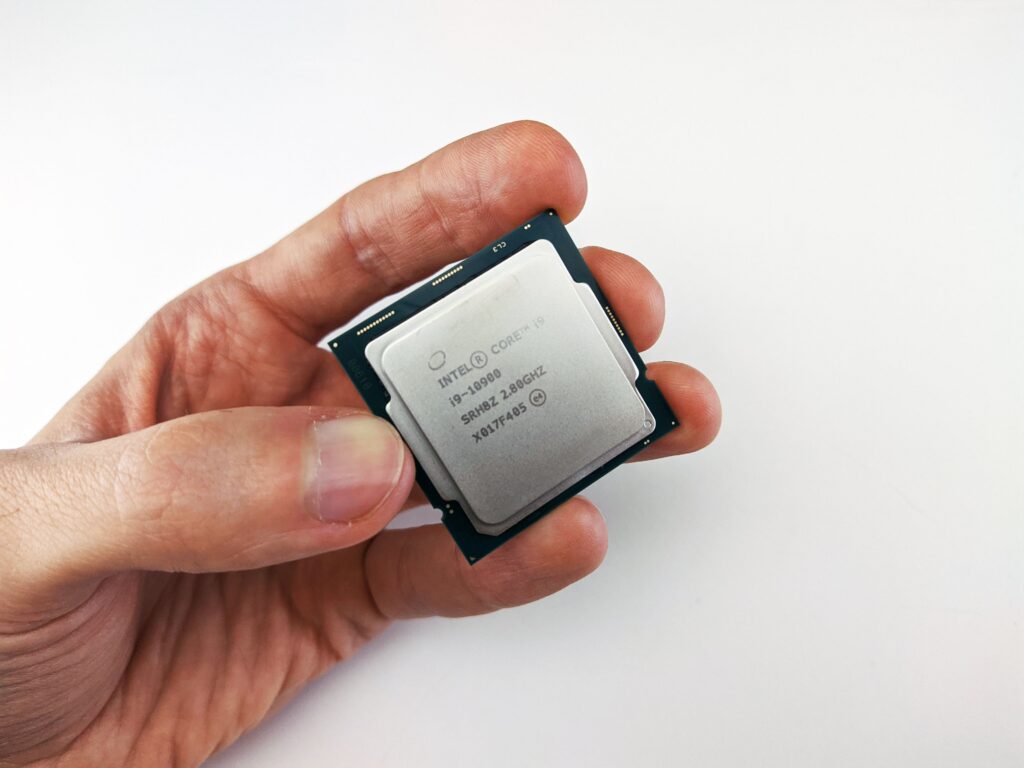
Intel CPUs have two notches on the long sides of the chip that correspond to two tabs inside the socket frame. These ensure the CPU can only go in one orientation. Look for the notches they’re small cutouts on the sides of the CPU package. The socket frame has corresponding protrusions, when aligned, the CPU drops into place. There is also a small arrow on one corner of the CPU and a corresponding marker on the socket for additional orientation confirmation.
Step 4: Place the CPU
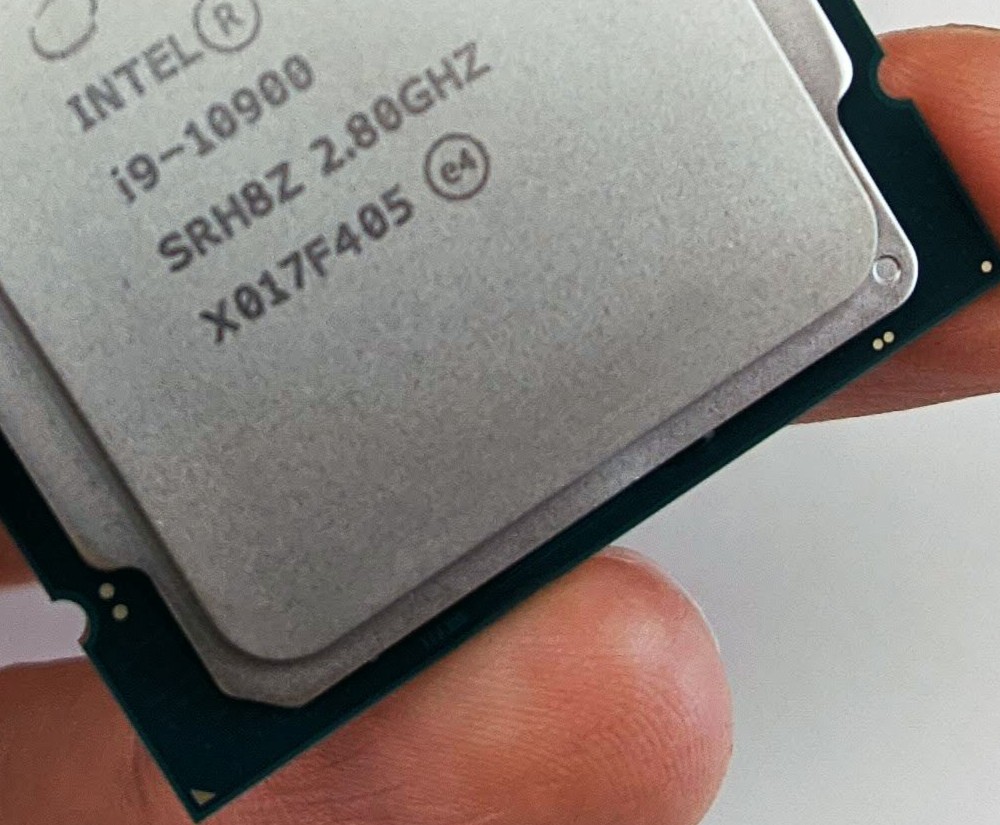
Lower the CPU straight down into the socket with the notches aligned to the socket tabs. Like AM5, this requires zero insertion force. The CPU rests in the socket and the notches engage the socket tabs to hold it in position.
Step 5: Close the load plate and lock the lever
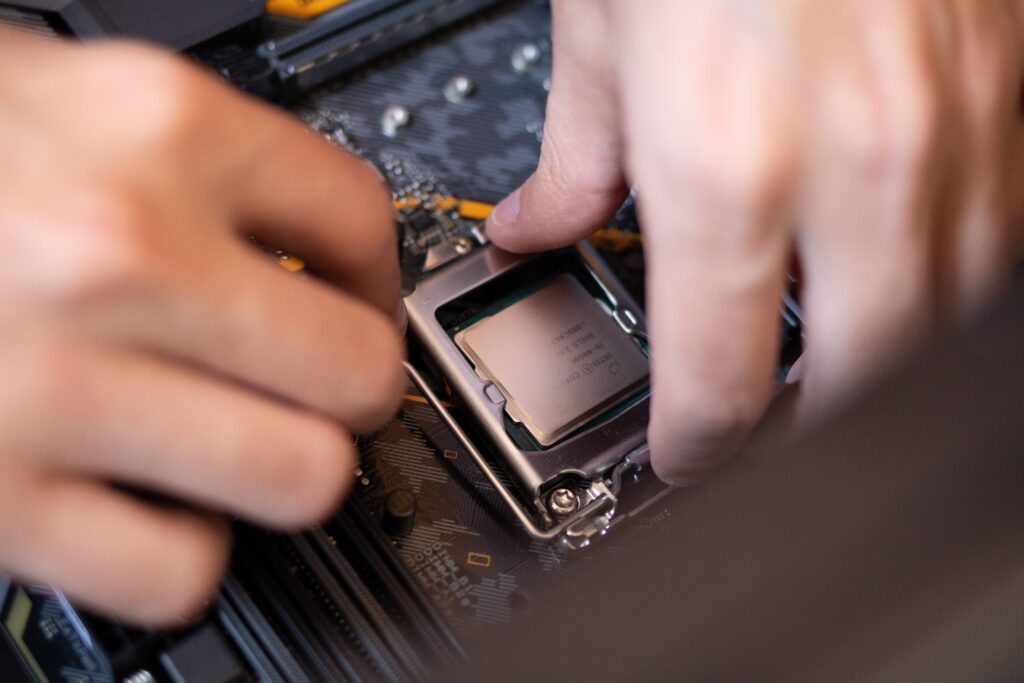
Lower the load plate back down over the CPU, press the lever down and back into its locked position under the locking tab. The lever requires firm pressure to lock this is expected. Intel’s socket mechanism applies more clamping force than AMD’s and the lever resistance is normal. A new Intel motherboard sometimes has a protective plastic cover over the lever mechanism itself remove this before attempting to lock the lever.
Applying thermal paste: both platforms

If your cooler comes with thermal paste pre-applied to the base plate most AIOs and many air coolers do skip this step. The factory-applied paste is ready to use. Do not add additional paste on top of it.
If your cooler has no pre-applied paste: apply a pea-sized amount approximately 3–4mm diameter to the centre of the CPU’s IHS. Don’t spread it. The mounting pressure from the cooler distributes the paste across the die surface. One small dot in the centre is correct for both AMD and Intel. Too much paste causes it to overflow the IHS edges. Too little leaves gaps. The pea-sized centre dot covers both errors.
Mounting the cooler
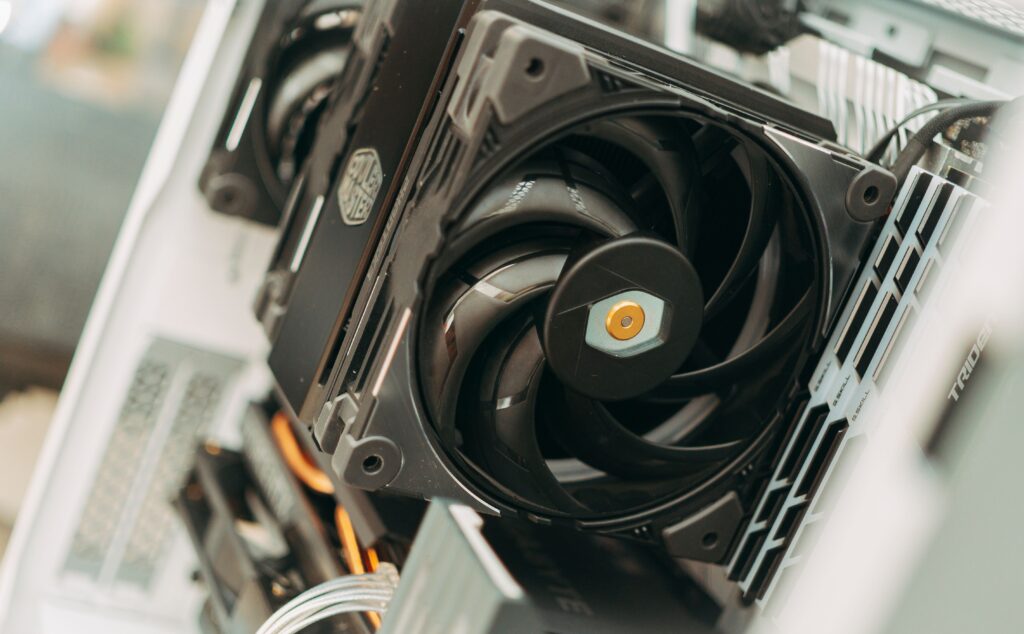
Every cooler mounts differently. The motherboard manual shows the mounting hardware configuration for your socket. The cooler manual shows the specific installation sequence for your model. Read both before starting.
The universal principles: tighten mounting screws in a cross pattern opposite corners in sequence rather than fully tightening one before moving to the next. This applies even pressure across the CPU die and prevents uneven contact. Snug-firm is the correct torque, over tightening can crack the PCB in extreme cases. Most modern cooler mounting systems have a built-in stop that prevents over tightening.
Fan cable routes from the cooler fan to the CPU_FAN header on the motherboard typically a 4-pin connector near the socket. Ensure this is connected. If your cooler has a separate pump (AIO), the pump connects to the CPU_OPT or AIO_PUMP header, usually clearly labelled on the board.
First boot after CPU installation
After installation, first boot will often pause at the BIOS splash screen and ask you to confirm settings this is normal on a new CPU install or BIOS update. Enter BIOS, check that the CPU is recognised correctly by name and speed, then navigate to the memory settings and enable XMP (Intel) or EXPO (AMD) for your RAM kit. Save and reboot. The system will restart once and then boot normally into Windows.
If the system doesn’t POST no display signal, fans spin briefly then stop the most common cause is an unseated RAM stick rather than a CPU issue. Reseat RAM first. Then check power connections to the motherboard the 8-pin CPU power connector near the top of the board is frequently missed by first-time builders.