Building a PC for the first time feels intimidating — but once you know how to build a PC for beginners, it becomes obvious., every component slots into exactly one place, nothing is ambiguous, and the whole process takes a first-timer about two to four hours from unboxing to first boot.
This guide covers everything you need to know before you buy a single part, during the build, and after the first boot. This article is written for someone who has never built a PC before and wants to do it correctly the first time without spending hours watching conflicting YouTube videos.
Why Build Instead of Buy
The honest answer is not “because it is always cheaper” — in 2026 it is not always cheaper when you account for Windows, peripherals and the current RAM shortage. The real reasons to build are control, knowledge and upgrade flexibility.
When you build your own PC you know exactly what is inside it. You are not getting a $50 GPU upgrade hidden inside a prebuilt that cost you $200 extra. You know the PSU brand, the RAM speed, the SSD tier. When something needs upgrading you know what to change and why.
Prebuilts have improved, they are not the minefield they once were. But a PC you built yourself is a PC you understand — and that understanding pays dividends every time something needs fixing, upgrading or explaining to someone else.
Before You Buy Anything — Beginner PC Build Decisions
Most first-time builders get the order wrong, they pick a GPU they like the look of and then try to build a system around it. That is backwards. Start with these three decisions in order:
Decision 1 — What will you primarily use this PC for?


Gaming only, gaming and content creation, work and gaming, general use? This determines where the budget should go. A gaming-only machine weights the GPU heavily. A content creation machine needs more CPU cores and RAM. Get this clear before touching a parts list.
Decision 2 — What resolution and refresh rate are you targeting?

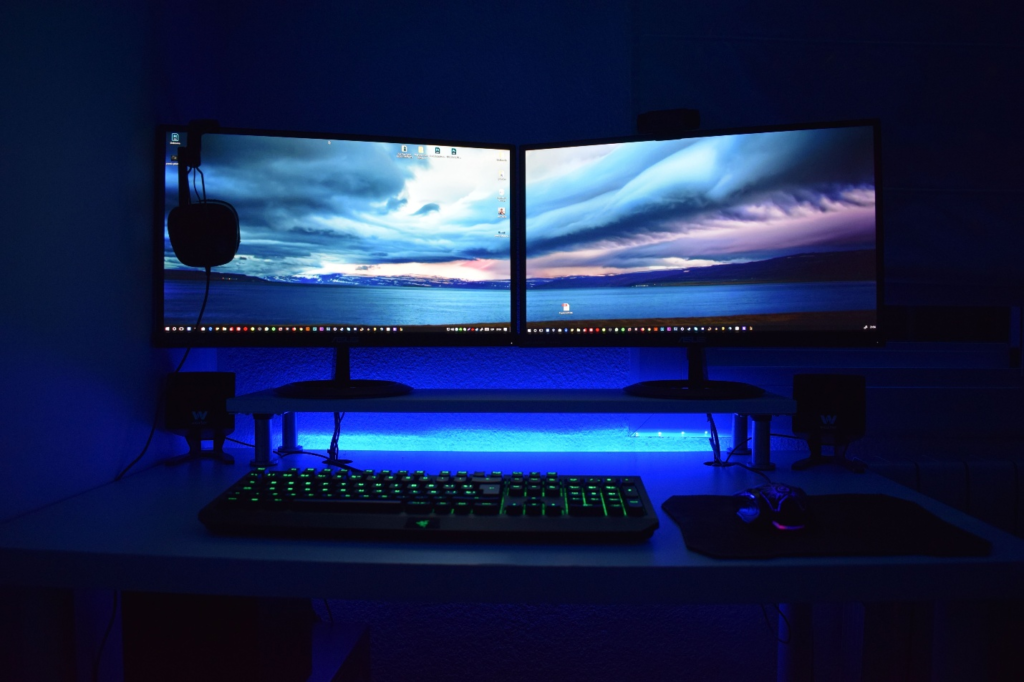
1080p at 144Hz, 1440p at 144Hz, or 4K? This single decision determines your GPU tier more than anything else. A 1080p 60Hz target costs significantly less than a 1440p 144Hz target. Do not buy a high-end GPU and then game on a 1080p 60Hz monitor — you are wasting money on performance your display cannot show.
Decision 3 — What is your realistic total budget?

Not just the PC. Monitor if you need one, keyboard, mouse, headset, Windows licence (or a plan to use Windows free with minor limitations). First-time builders consistently underestimate total cost by $200-$300 by forgetting peripherals.
Once these three decisions are made, use PCPartPicker.com to build your parts list. It checks compatibility automatically — it catches mismatched CPU and motherboard sockets, RAM type conflicts, and cases that are too small for your cooler before you spend a penny.
The Components — What Each One Does
CPU — The Brain

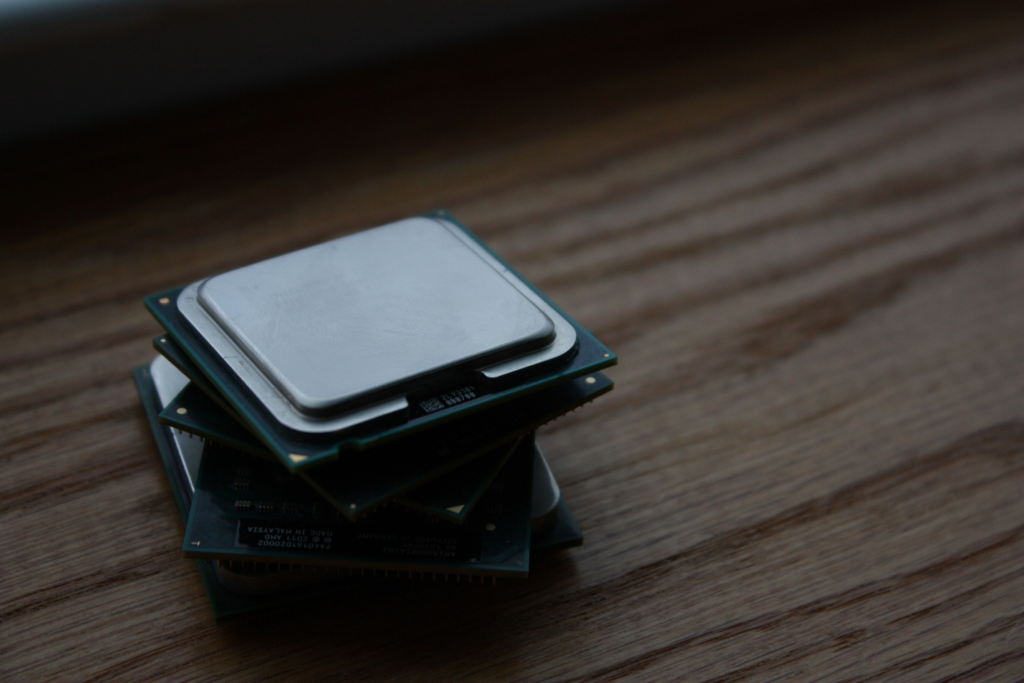
The CPU handles game logic, physics, AI calculations and everything happening outside of rendering. For gaming in 2026, AMD’s Ryzen 5 and Ryzen 7 series on AM5, and Intel’s Core Ultra 5 and Core Ultra 7 on LGA1851, are the relevant options. AM5 is the recommended platform for new builds — it has a clear upgrade path through Zen 6 and beyond.
For pure gaming, more cores beyond eight does not meaningfully improve frame rates in most titles. Single-core performance matters more than core count for gaming workloads.
GPU — The Engine

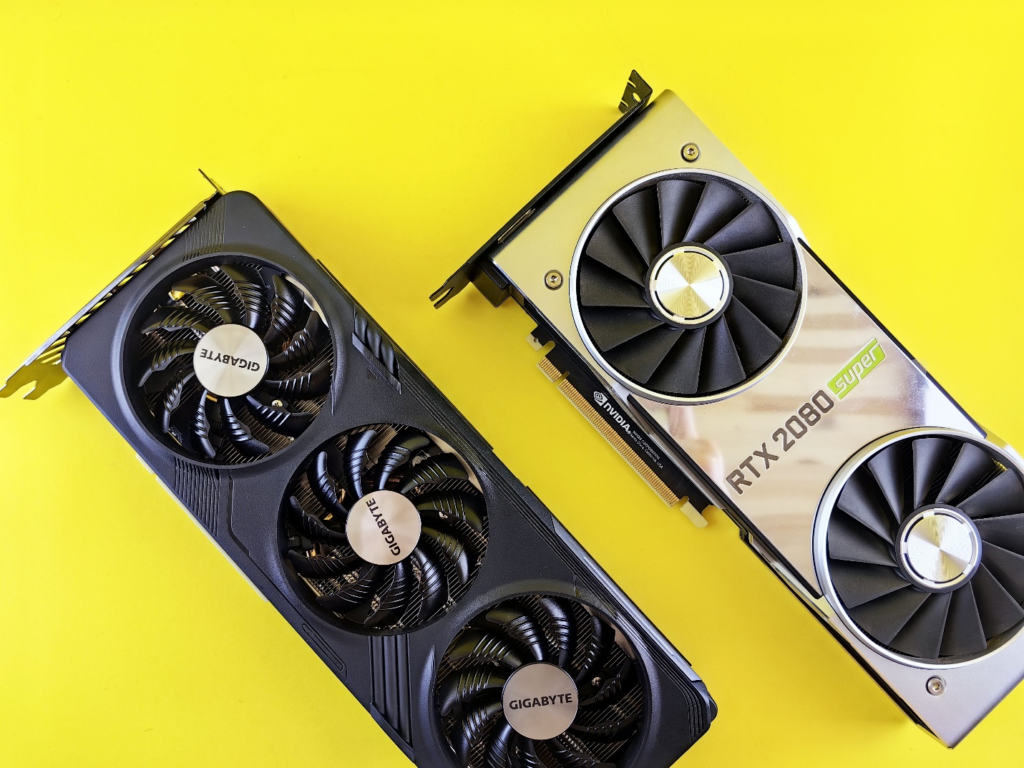
The GPU renders every frame you see on screen. It is the single most important component for gaming performance and the correct place to spend the largest share of your budget.
In 2026, buy at least 12GB of VRAM if your budget allows it. 8GB is functional but already showing limits in some titles and will show more over a three to four year ownership period. The Intel Arc B580 12GB, RX 9060 XT 16GB and RTX 5060 Ti 16GB are the relevant options depending on your budget tier.
Motherboard — The Foundation

The motherboard connects every component. It must match your CPU socket — AM5 for Ryzen 7000 and 9000 series, LGA1851 for Intel Core Ultra. It determines how many M.2 slots you have for storage, what RAM speeds it supports, and what expansion options exist.
Do not buy the cheapest motherboard on the market and do not buy the most expensive one. A mid-tier B650 for AMD or B760 for Intel is the correct choice for 95% of first builds. The premium X870 and Z890 boards are for overclockers and enthusiasts who will actually use the extra features.
RAM — The Workspace

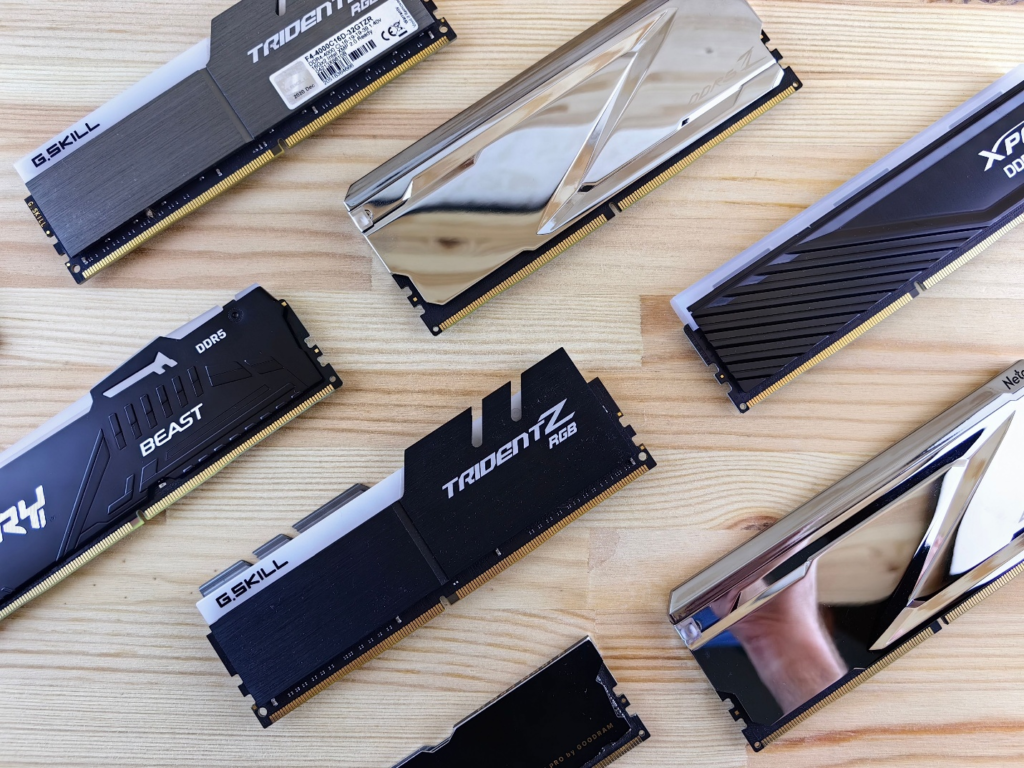
RAM is where your PC keeps everything it is actively working on. 16GB is the minimum for gaming in 2026 — 32GB is better and increasingly the standard as games push toward recommending it.
Two sticks in the correct slots is always better than one stick of the same total capacity. Dual-channel memory configuration cuts available bandwidth in half if you only install one stick. Check your motherboard manual for the correct slots — typically A2 and B2 for a two-stick installation, not A1 and B1.
DDR5 is the standard for new AM5 and Intel builds. DDR5 prices are elevated in mid-2026 due to the memory shortage driven by AI demand — budget accordingly.
Storage — Your NVMe SSD


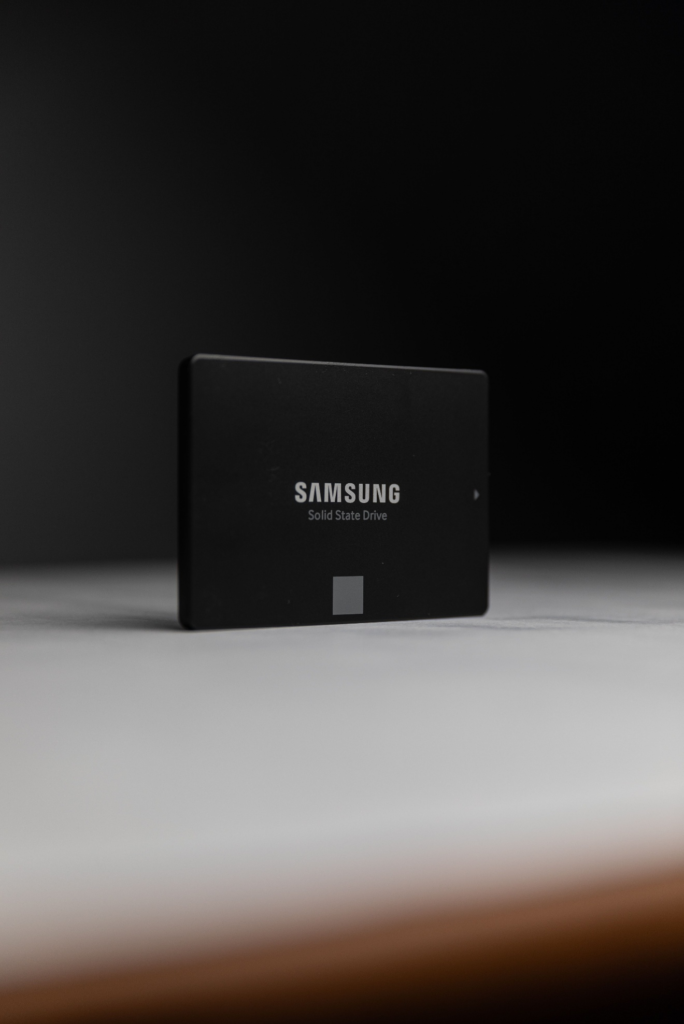
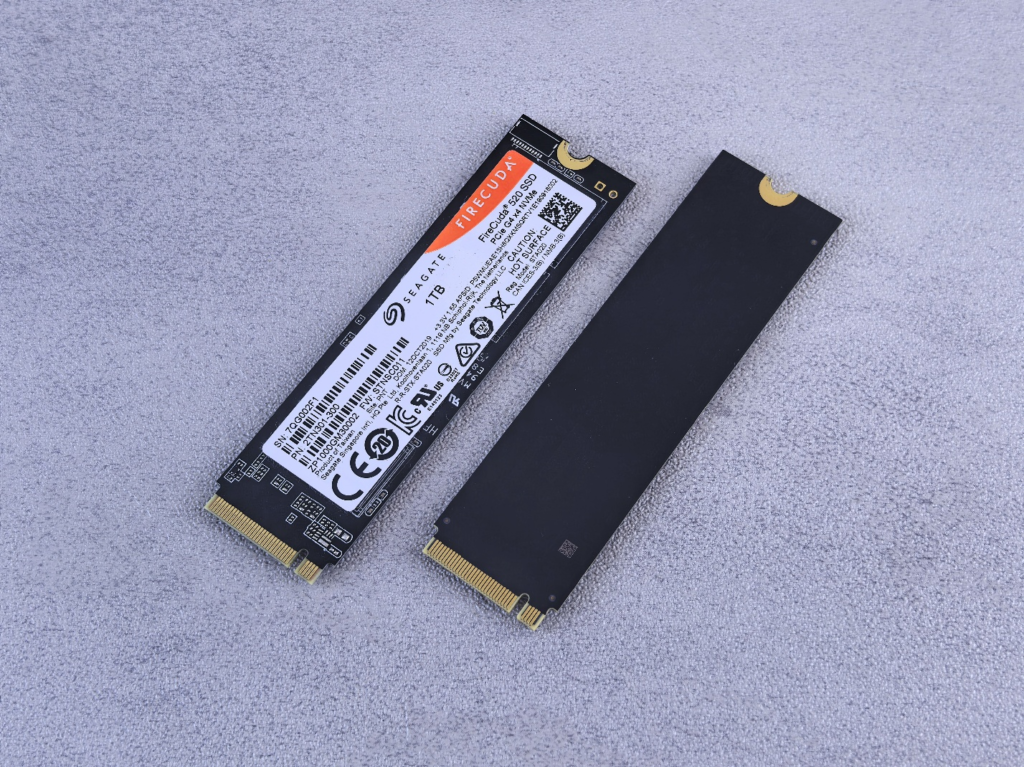
Skip SATA SSDs and hard drives for your primary drive. NVMe SSDs have converged in price with SATA while loading significantly faster. A 1TB Gen 4 NVMe is the starting point — 2TB is better given modern game sizes frequently exceeding 100GB each.
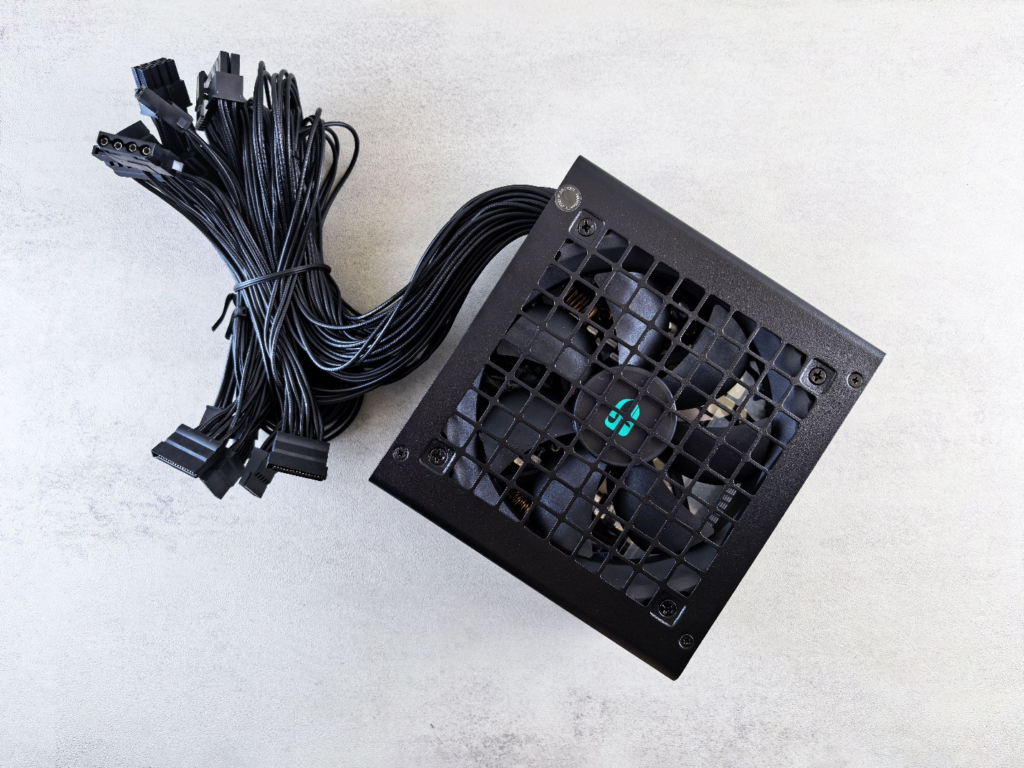
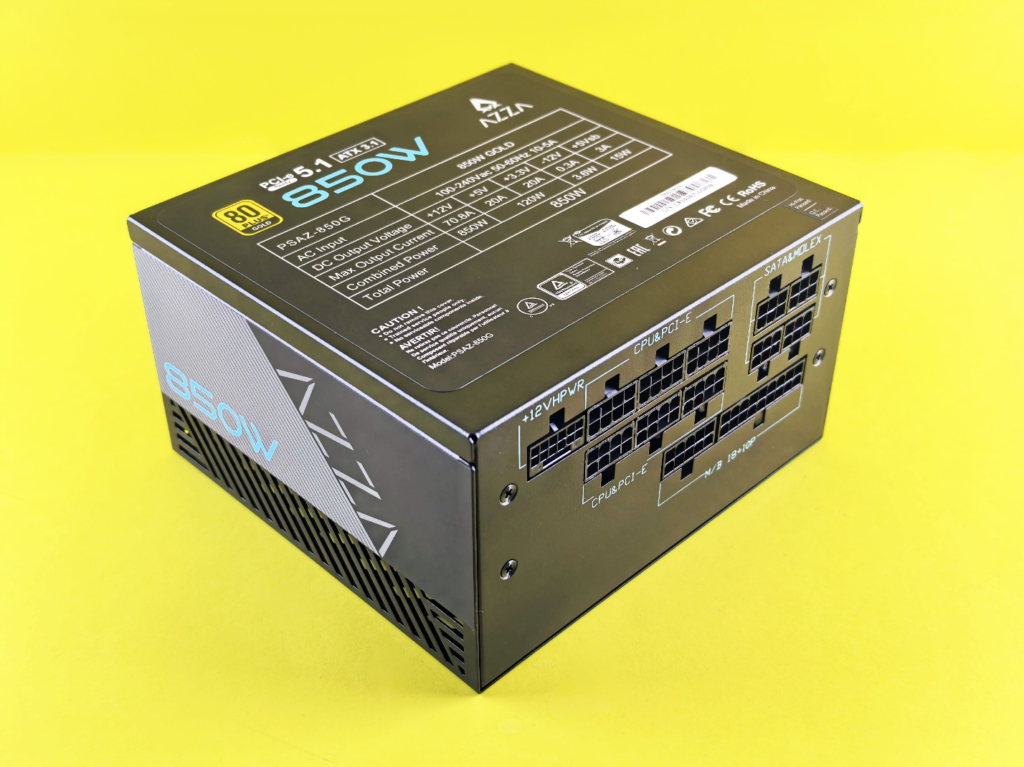
PSU — The Power Supply


The PSU converts wall power into the DC voltages your components need. Buy from a reputable brand — Corsair, Seasonic, be quiet!, ASUS, NZXT — and never from a brand you do not recognise to save $15.
A failed PSU can damage every component connected to it. This is not the place to cut corners. Get an 80+ Bronze rated unit at minimum, 80+ Gold if your budget allows. Size it with 30-40% headroom above your system’s total TDP to ensure efficiency and transient spike handling.
For a Ryzen 5 7600 plus RTX 5060 system, 650W is sufficient. For a Ryzen 7 9700X plus RX 9060 XT 16GB, 750W gives comfortable headroom.
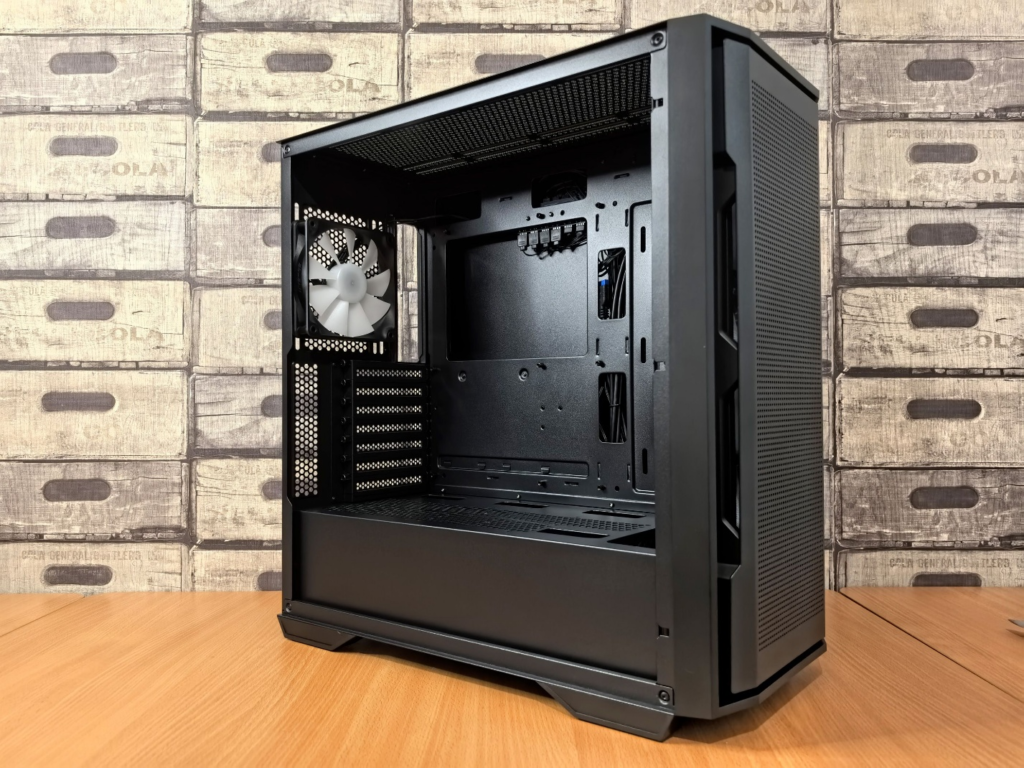
Case — The Home for Everything

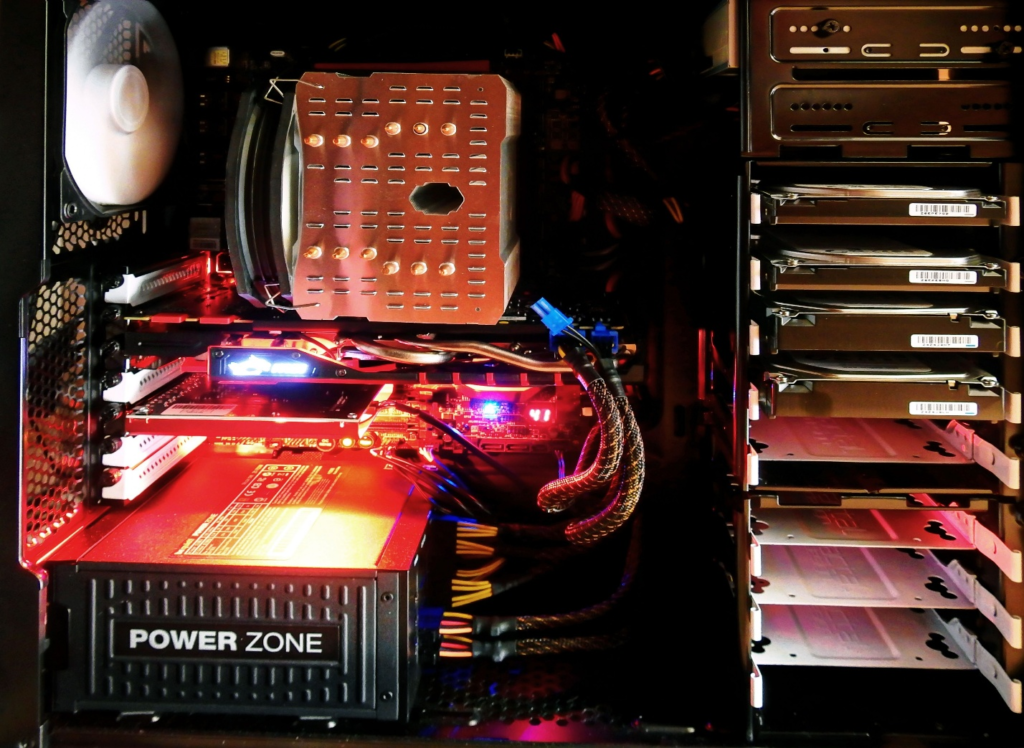
Pick a case with good airflow — front mesh intake panels beat solid glass fronts for keeping temperatures down. Make sure it fits your GPU length (check the spec sheet), your cooler height, and has enough space to route cables behind the motherboard tray.
Mid-tower cases in the $50-90 range cover 99% of standard builds. Full towers are for extremely large coolers and multi-GPU workstations. Mini-ITX is for experienced builders who prioritise compact size and accept the complexity premium.
[Affiliate link: Fractal Design Pop Air — Amazon / Newegg] [Affiliate link: Lian Li Lancool 216 — Amazon / Newegg]
CPU Cooler


Many CPUs come with a stock cooler that is adequate for gaming at stock clocks. The Ryzen 5 7600 ships with a Wraith Stealth cooler that handles the job without needing replacement.
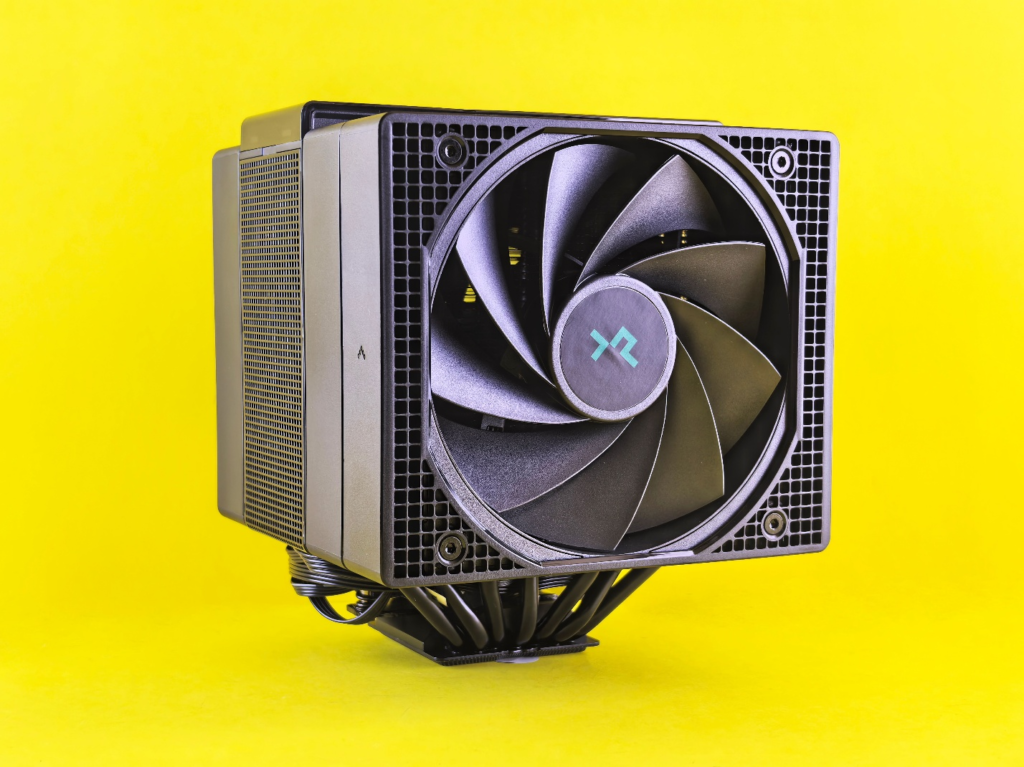
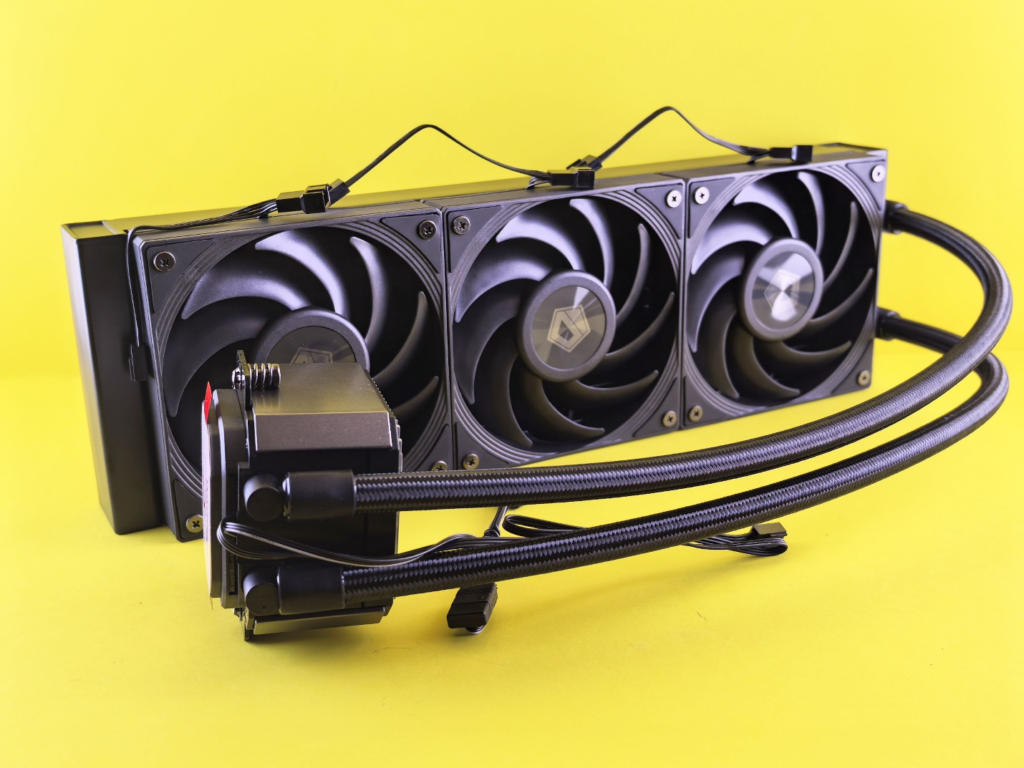
If you want quieter operation or plan to push the CPU harder, a mid-range air cooler in the $40-60 range — DeepCool AK400, Thermalright Peerless Assassin, be quiet! Pure Rock 2 — is a significant improvement without reaching for an AIO liquid cooler.
The Build — Step by Step
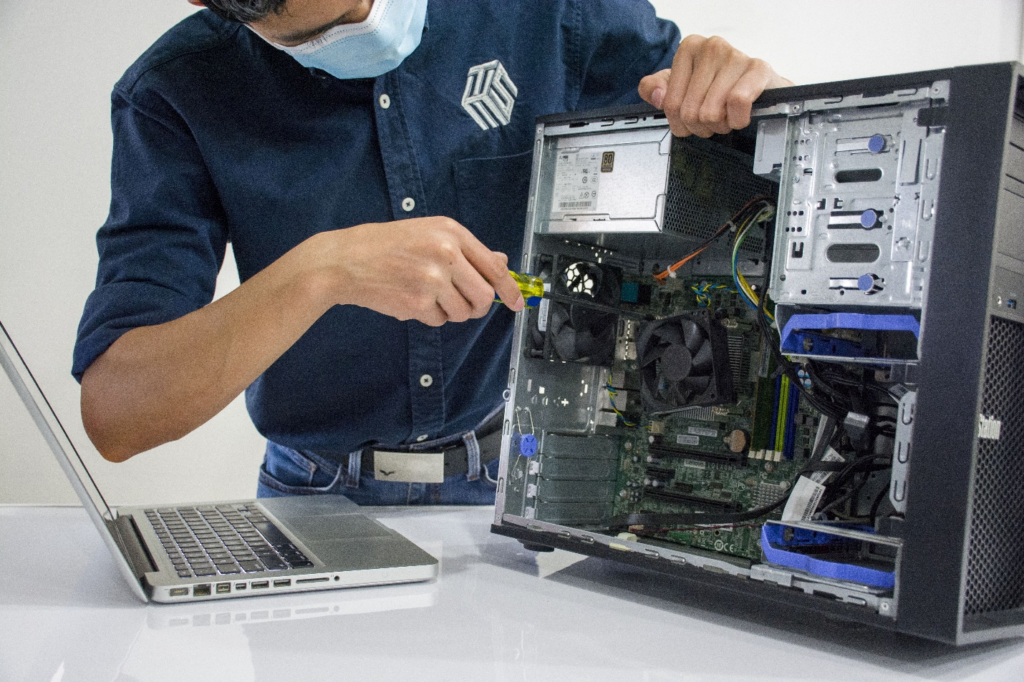
Your workspace matters more than most guides admit. Use a large table on a hard floor — carpet generates static that can damage components. Good lighting is not optional. Have a Phillips head screwdriver, a small container for screws, and anti-static precautions — touch a metal part of your case before handling any component to discharge static.
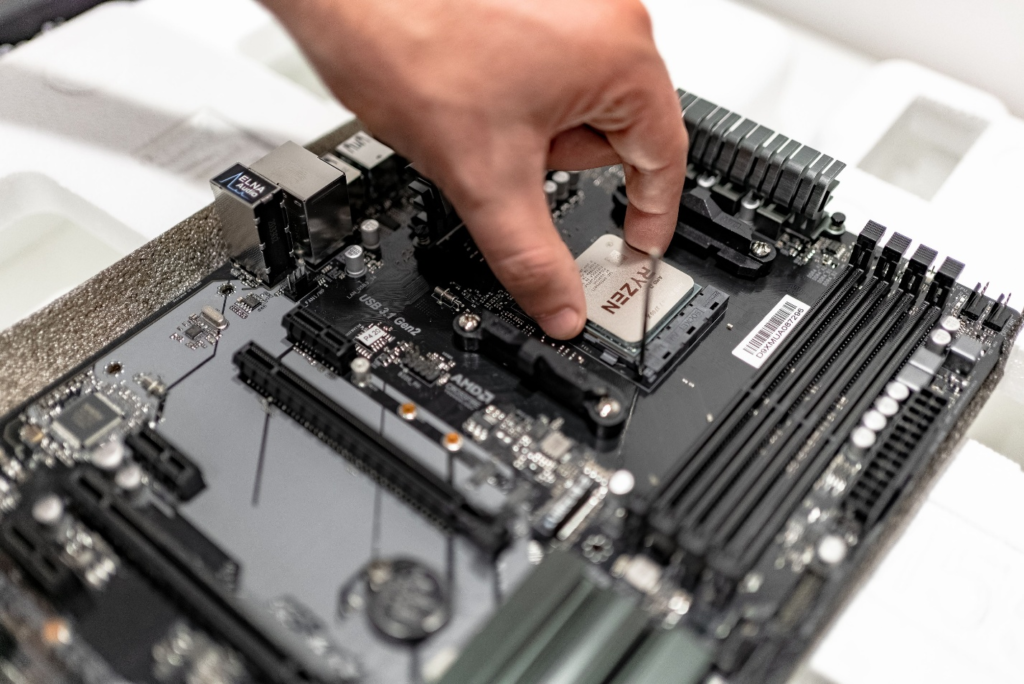
Step 1 — Install the CPU onto the motherboard outside the case

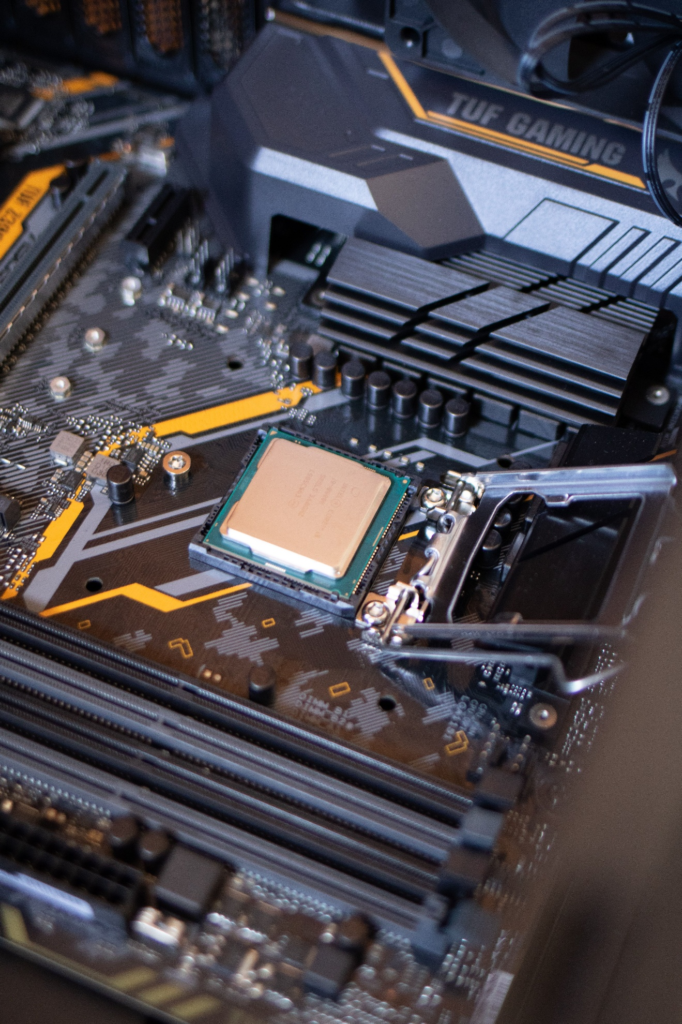
Do this on a flat, non-conductive surface with the motherboard on top of its box. Both Intel and AMD CPUs have an alignment marker — a small triangle or notched corner — that matches a marker on the socket. Line them up, lower the CPU gently into place. It should drop in with zero force. If you are pushing, something is wrong. Never force a CPU.
Step 2 — Install RAM

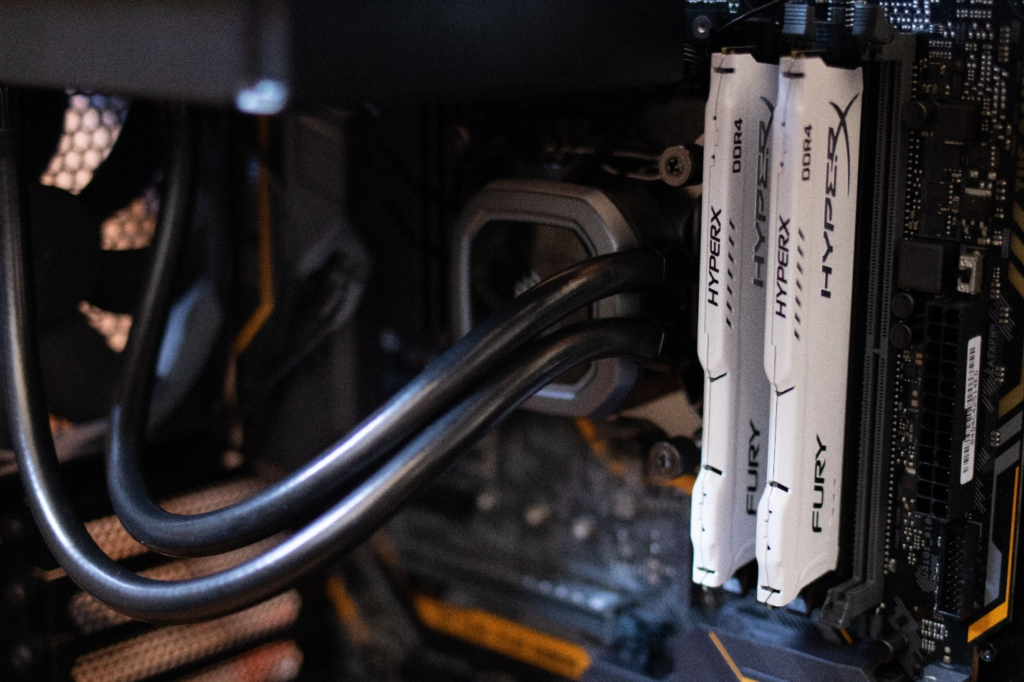
Check your motherboard manual for the correct slots before touching the RAM. For a two-stick installation it is usually the second and fourth slots from the CPU — A2 and B2. Installing only one module or placing them in the wrong slots can cause you to lose dual-channel mode, cutting memory bandwidth by up to 50% and costing 15-30% gaming performance. Press firmly until both clips click into place.
Step 3 — Install the NVMe SSD

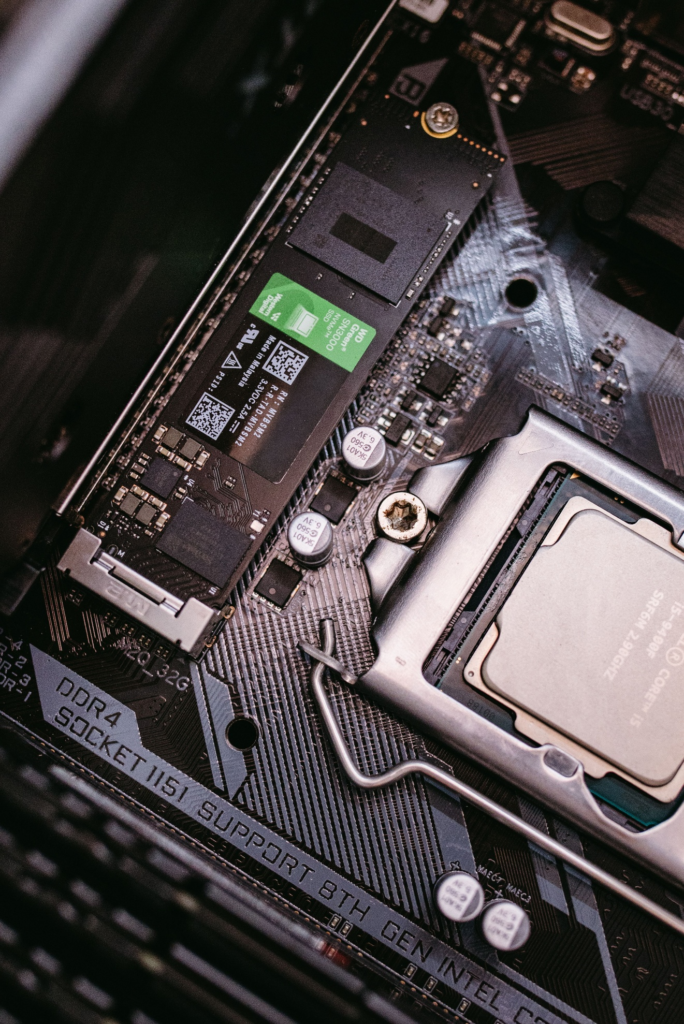
The M.2 slot is easier to access before the motherboard goes into the case. Find it on the motherboard, remove the retention screw, slide the SSD in at a slight angle and press it flat, replace the screw. Takes about 90 seconds.
Step 4 — Apply thermal paste and install the CPU cooler

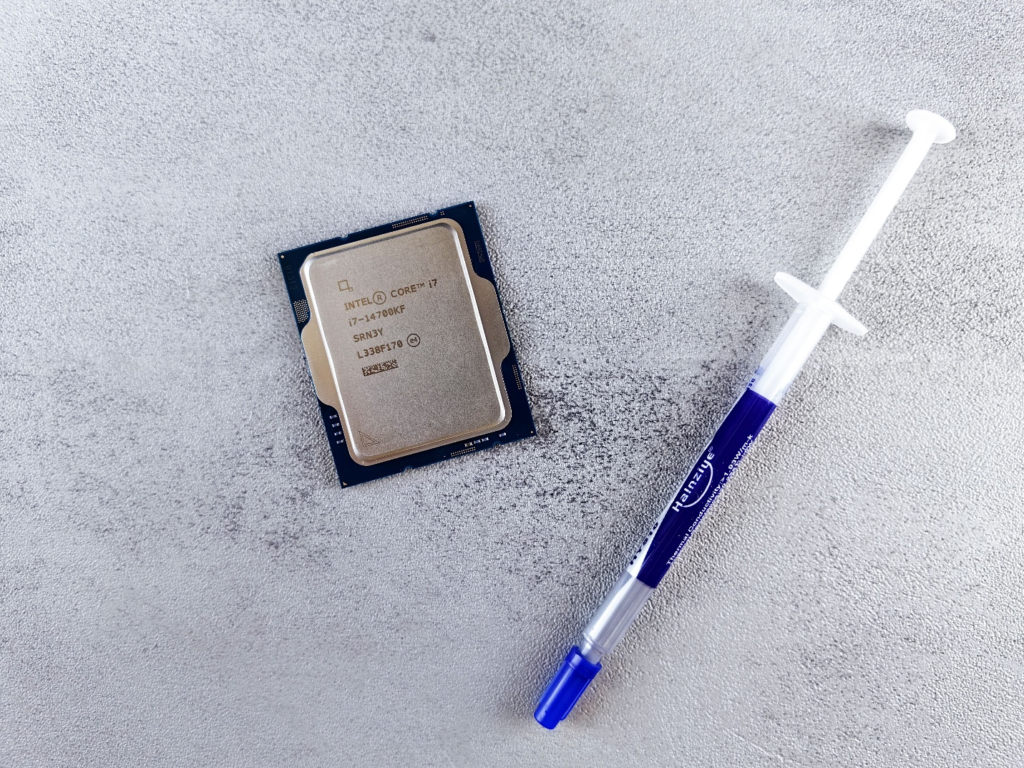
This step makes first-time builders more anxious than it deserves. Apply a rice grain-sized dot of thermal paste — approximately 4-5mm — dead centre on the CPU. The cooler’s pressure spreads it perfectly as you mount it. Too much paste insulates instead of conducting heat. Too little leaves air gaps. Never spread it manually — this creates air bubbles that reduce cooling effectiveness.
One additional note: remove the plastic film from the cooler’s base plate before installing. This sounds obvious. It is the kind of thing you forget at 11pm when you are excited to finish the build. Remove the film.
Step 5 — Install the I/O shield

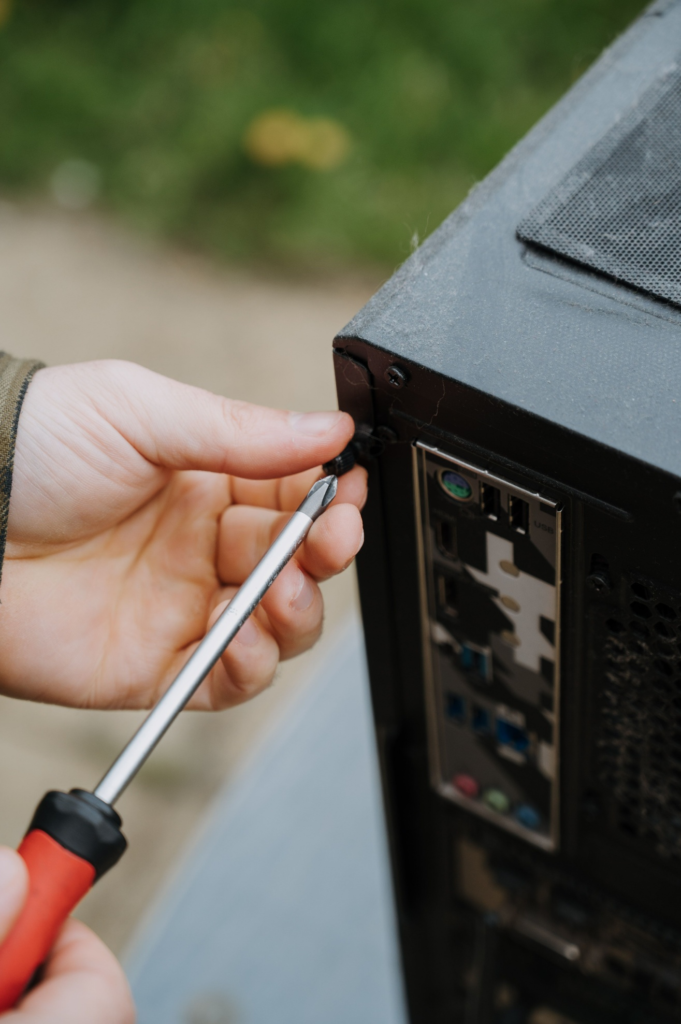
Before the motherboard goes into the case, snap the I/O shield into the rear panel opening. Skipping this step requires complete disassembly to correct — a 30-second step that saves two hours of rework.
Step 6 — Mount the motherboard in the case

Check that your case has standoffs installed in the correct positions for your motherboard size — ATX, Micro-ATX, or Mini-ITX. Installing a motherboard without standoffs creates direct contact between the board and the metal case, which can cause a short circuit. Most modern cases come with standoffs pre-installed in the ATX positions. Confirm before proceeding.
Lower the motherboard into the case, align the rear ports with the I/O shield, and secure it with screws. Do not overtighten — firm is sufficient.
Step 7 — Install the PSU

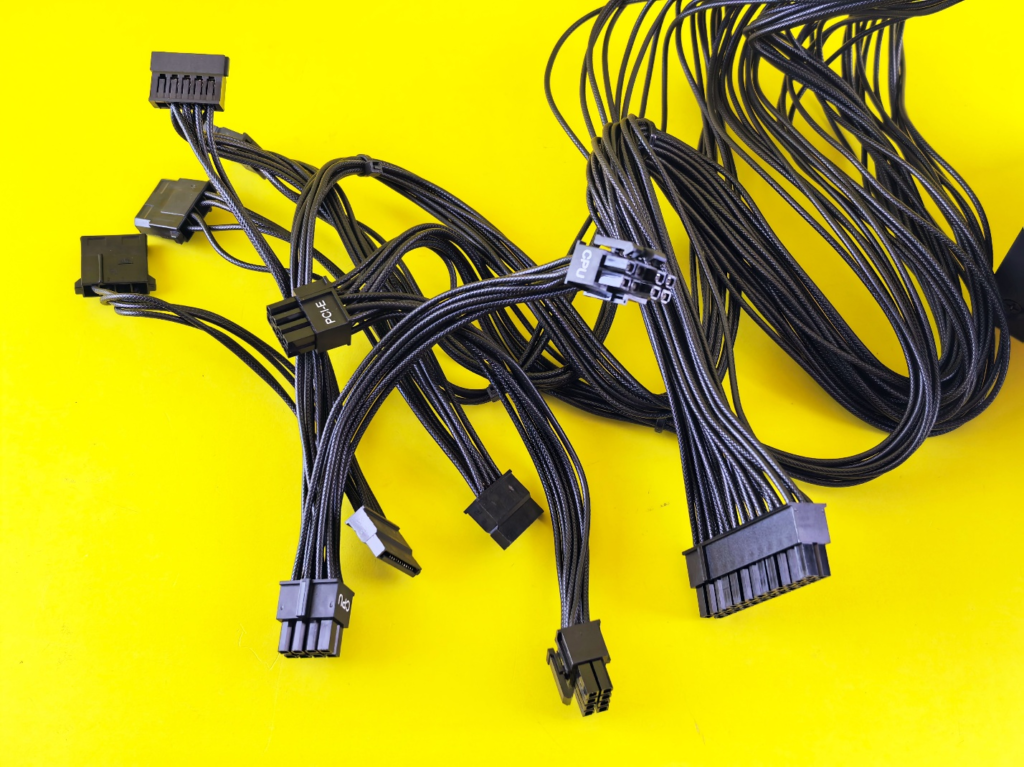
Route PSU cables through the cable management channels before the GPU goes in. A modular or semi-modular PSU makes this significantly easier. Connect the 24-pin main power connector to the motherboard and the CPU power connector — the 4+4 or 8-pin connector at the top left of the motherboard. Both need to be firmly seated.
Step 8 — Install the GPU last

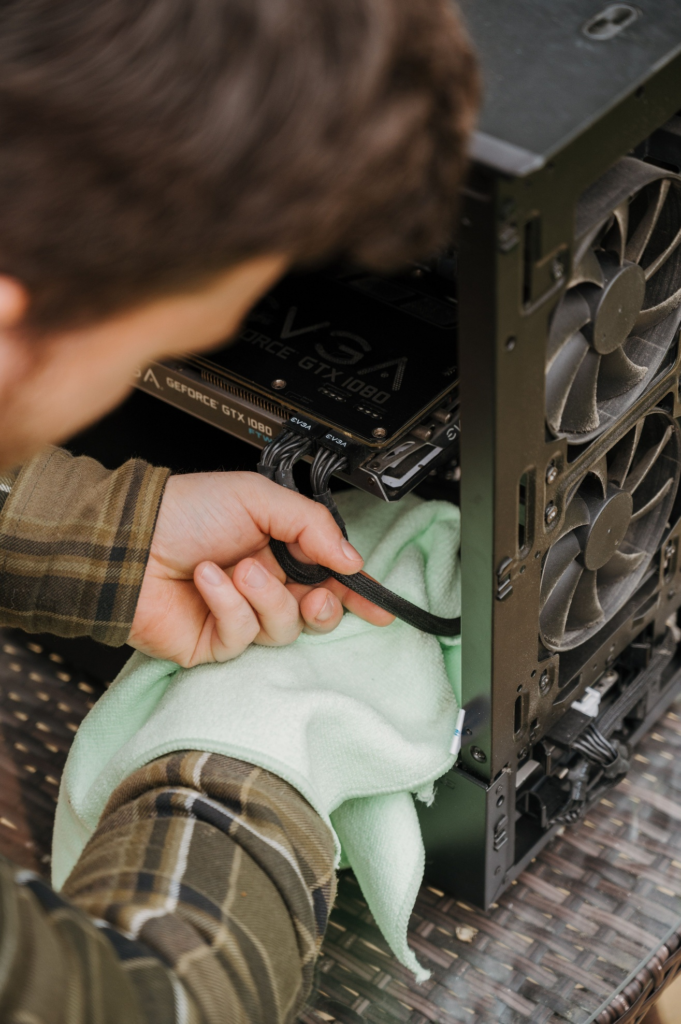
Installing the GPU last gives you the most workspace throughout the build. The PCIe x16 slot has a retention clip at the end — press it first, insert the GPU firmly until it clicks, then secure it to the case bracket with screws. Connect the PCIe power cables from the PSU — these are typically 8-pin or the newer 16-pin 12VHPWR connector depending on the card. Press until you feel a positive click. With the 12VHPWR connector, a partial connection can cause the plug to overheat and burn, damaging both the cable and the GPU. Make sure it is fully seated.
The Test Boot — Do This Before Closing the Case

Connect your monitor to the GPU — not the motherboard — and power on with the case open. If you see the BIOS screen you have successfully built a PC. This test boot outside the closed case saves significant time if something needs troubleshooting.
If nothing appears on screen: check that the monitor cable is in the GPU not the motherboard, verify both RAM sticks are firmly seated in the correct slots, confirm the CPU power connector at the top of the motherboard is fully connected.
Most first-boot failures come from one of these three things.
First Boot — BIOS Settings to Check Immediately


Enable XMP or EXPO for your RAM. This is the single most impactful free setting in your BIOS and the most commonly skipped. Your RAM ships running below its rated speed by default. XMP for Intel systems and EXPO for AMD systems enables the advertised speed. Not enabling XMP is a simple mistake that costs 15-30% gaming performance for free. Find it in the BIOS under AI Overclocking, Extreme Memory Profile, or similar depending on your motherboard brand. Save and reboot.
Check boot drive priority. Your NVMe SSD should be first in the boot order before you install Windows.
Update your BIOS after Windows installation. Motherboard manufacturers release BIOS updates that improve stability and compatibility. Download from the manufacturer’s website, not Windows Update — the Windows version is often outdated.
Installing Windows

Windows 11 can be installed free from Microsoft’s official Media Creation Tool — download it, create a bootable USB drive, boot from it and install. You will be prompted for a licence key — you can skip this step and run Windows in a slightly limited state (cosmetic restrictions only, no security limitations) until you purchase a licence. OEM Windows keys from reputable sellers on sites like eBay frequently sell for $15-25 rather than Microsoft’s retail price.
After the Build — The First Week
Install your GPU drivers from the manufacturer’s website directly. For Nvidia: nvidia.com/drivers. For AMD: amd.com/en/support. For Intel Arc: intel.com/arc-drivers. Always use the manufacturer’s source rather than Windows automatic installation.
Run your system for a week before cable managing it properly. This gives you time to confirm everything is stable before closing it up neatly. Monitor temperatures using HWMonitor or HWiNFO64. A safe CPU temperature under load in 2026 is between 65°C and 85°C. GPU temperatures above 83°C under sustained load indicate a cooling or airflow issue worth investigating.
The Mistakes That Catch First-Time Builders
Every one of these has caused someone to spend an evening troubleshooting something that took ten minutes to fix once they knew what to look for.
RAM in the wrong slots — The most common performance-killing mistake. Check the manual.
Forgetting the CPU power connector — The 8-pin at the top left of the motherboard. Forgetting it causes the system to either not boot or boot with severely reduced CPU performance.
Too much thermal paste — A pea-sized dot is correct. A large blob is not better. It is worse.
Connecting the monitor to the motherboard — When a GPU is installed, the motherboard video output is disabled by default. Nothing will appear on screen.
Not enabling XMP/EXPO — Your RAM is running at base speed until you enable this. It costs nothing and takes thirty seconds.
BIOS compatibility — Stores may carry motherboards with older BIOS revisions that do not recognise the latest processors. Check the minimum BIOS version required by your CPU on the manufacturer’s website before purchasing the board. Some boards support BIOS Flashback — updating the BIOS without a compatible CPU installed — which resolves this without needing a second processor.
The Honest Summary
Building a PC in 2026 is genuinely accessible to anyone with patience, a Phillips screwdriver and the willingness to read the motherboard manual. The components are designed to be assembled by humans — nothing is ambiguous, nothing requires force, and every connector only fits in one place.
The most important thing is sequence. Build in the right order, check each step before moving to the next, and do the test boot before closing the case. Most first-build problems are discovered and fixed in fifteen minutes when the case is still open. They become a two-hour disassembly exercise when they are not.
You will make at least one mistake on your first build. Everyone does. The difference between a frustrating experience and a good one is whether you have given yourself the space and time to find and fix it.
Good luck with the build.
SpecClear participates in affiliate programmes. When you purchase through links on this site we may earn a commission at no additional cost to you. We only recommend hardware we would use ourselves.