
SpecClear earns a commission if you buy through Newegg links on this page, at no extra cost to you.


Most gaming PCs are louder than they need to be. Not because the components run hot, but because the fan control profile nobody touched is telling the fans to spin at 70% speed whenever the CPU hits 60°C, which happens the moment you open a browser tab. The fans ramp up, the PC sounds like it’s working hard, and the actual thermal load is negligible.
A properly configured fan curve is the difference between a PC that sounds like a server room and one that’s effectively silent during light use and ramps smoothly only when the hardware genuinely needs it. It costs nothing, takes twenty minutes, and produces a noticeable improvement every time you sit at the desk. Fan curves work best once the fans point the right way, which our fan airflow guide explains.
This guide covers fan curve setup in both BIOS and software, explains what each setting actually does, and gives you proven starting curves for quiet, balanced, and performance-focused builds. be quiet! Silent Wings 4 140mm (about $20)

Why Fan Curves Matter More Than Fan Count
Before configuring anything, understand what a fan curve is solving. Your CPU cooler fan, case intake fans, and exhaust fans all run on PWM (Pulse Width Modulation) signals from fan headers on the motherboard. PWM allows the motherboard to control fan speed from roughly 20% to 100% of maximum RPM by varying the duty cycle of the signal.
The default fan profiles, Standard, Silent, Turbo, are generic curves designed to work acceptably across every possible combination of case, cooler, and component. They don’t know your specific build. They don’t know that your mesh-front case with three 140mm intakes handles thermals so efficiently that fans never need to exceed 60% speed during gaming. They set conservative ramp points to protect the components of the worst-case scenario user.
A custom curve removes that conservatism and replaces it with a curve tuned specifically to what your build actually needs.
The result is a PC that runs silently during browsing, document editing, and light gaming, then ramps smoothly and proportionally as actual thermal load increases. The hardware is just as protected. The experience is dramatically better.
Setting Up Fan Curves in BIOS
BIOS fan curves are the most fundamental option. They run before Windows loads, they work regardless of whether any software is installed, and they apply to every fan header on the motherboard. For most users, BIOS fan curves are the only option needed.
Finding Fan Control in Your BIOS
Enter the BIOS (Delete or F2 during POST on most boards). Navigate to the fan control section, its location varies by manufacturer:
- ASUS: Hardware Monitor section, or the fan icon in EZ Mode
- Gigabyte: Smart Fan 5 section, usually under Smart Fan 6 in newer firmware
- MSI: Hardware Monitor section under Settings
- ASRock: H/W Monitor section
All boards show a similar interface once you’re in the right section: a list of fan headers (CPU Fan, CPU Optional, Chassis Fan 1-4, and sometimes Water Pump headers), with each header showing its current speed, the temperature source it references, and controls for its behaviour.
Selecting the Temperature Source
This is the most important and most overlooked fan curve setting. Each fan header needs to know which temperature sensor it responds to. The options typically include CPU temperature, motherboard (PCH) temperature, and sometimes chipset temperature. To see which sensors your board reports, use the tools in our guide to monitoring CPU and GPU temperatures.

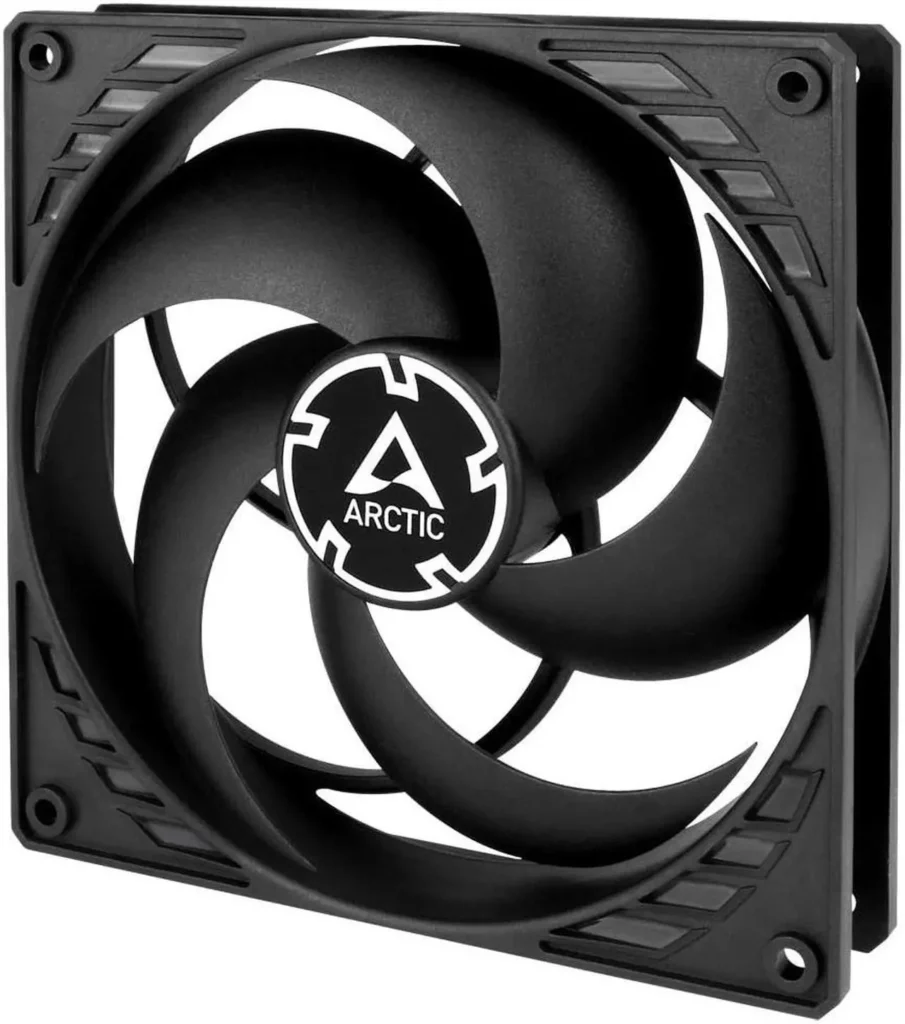
CPU cooler fans and AIO pump: Set to CPU temperature. The CPU is what these components cool and CPU temperature responds immediately to workload changes. If you set the CPU fan to motherboard temperature, the fan won’t respond correctly because the motherboard temperature changes slowly regardless of CPU load. Arctic P14 PWM ($27)
Case intake and exhaust fans: Set to CPU temperature or a combined temperature reading if your board offers one. CPU temperature is the most reliable single source, when the CPU is working hard, airflow benefits all components including the GPU.
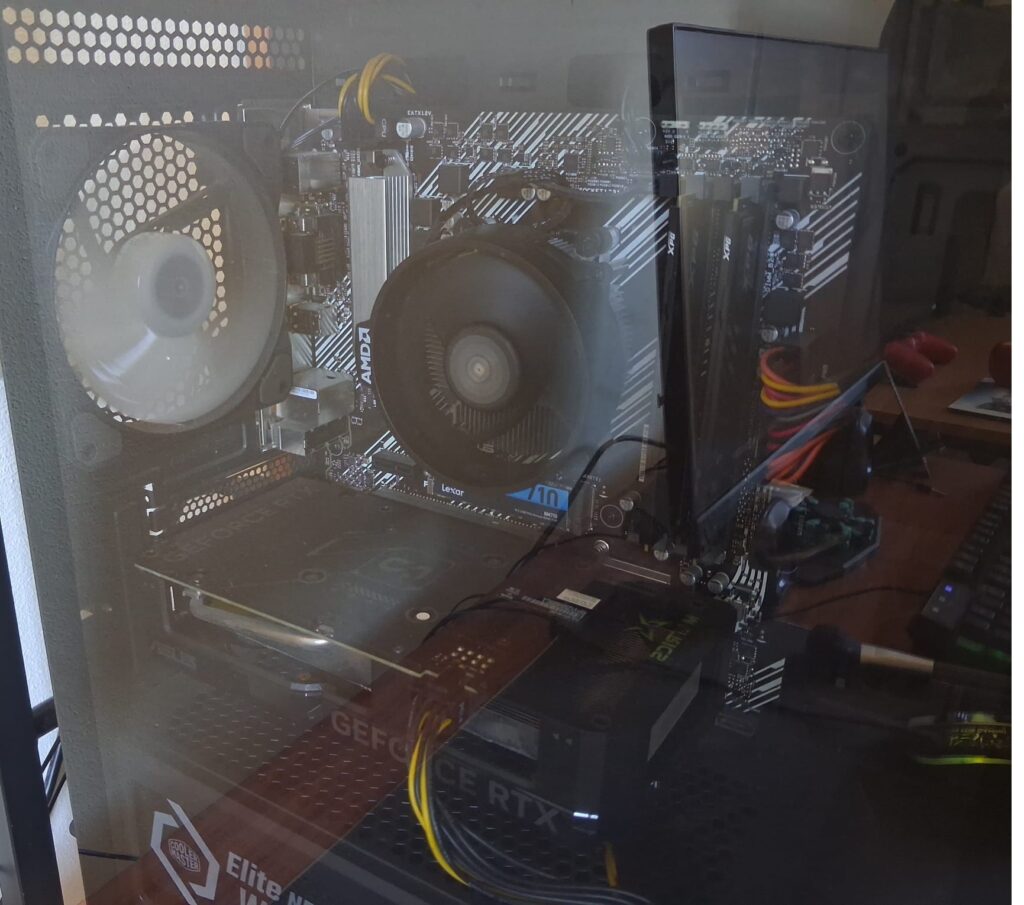
Note for AMD builds: AMD Ryzen chips report temperature as Tdie and Tctl. Tctl is the temperature the fan curve should reference, it’s the one that runs 10-27°C above the actual die temperature on some Ryzen chips, meaning the fan curve starts responding earlier than it would with Tdie. Check your board manual for which temperature value the fan control section uses.
Understanding the Curve Graph
Most modern BIOS interfaces show fan curves as a graph with temperature on the horizontal axis and fan speed percentage on the vertical axis. You set control points, dots on the graph, that define how fast the fan spins at each temperature. The curve smoothly interpolates between your points.
Some boards use a simpler table format, a list of temperature/speed pairs, rather than a graph. The principle is identical. You’re defining temperature thresholds and their corresponding fan speeds.
The Quiet Build Fan Curve
This curve prioritises silence during light use and ramps only when gaming loads genuinely require it. Suitable for cases with good airflow where temperatures don’t spike unexpectedly.
| CPU Temperature | Fan Speed |
|---|---|
| 30°C and below | 0% (stop) or 20% minimum |
| 40°C | 25% |
| 55°C | 35% |
| 65°C | 50% |
| 75°C | 70% |
| 85°C and above | 100% |
The 0% stop setting at low temperatures is available on some boards as “Fan Stop” or “Zero RPM Mode”, when enabled, fans with good fluid dynamic bearings can spin down completely during idle. Not all fans support zero-RPM operation. Check whether your specific fans can do this before enabling it, cheap sleeve-bearing fans shouldn’t run in zero-RPM mode as the bearing relies on continuous rotation for lubrication.
The Balanced Build Fan Curve
Good for most gaming setups, quiet enough for desktop use, responsive enough for sustained gaming loads.
| CPU Temperature | Fan Speed |
|---|---|
| 30°C and below | 25% |
| 45°C | 30% |
| 60°C | 45% |
| 70°C | 60% |
| 80°C | 80% |
| 90°C and above | 100% |
This is the most universally applicable curve, it keeps fans audible-but-quiet at gaming temperatures and ramps aggressively only when temperatures approach the caution zone. Start here if you’re unsure which curve suits your build.
The Performance Build Fan Curve
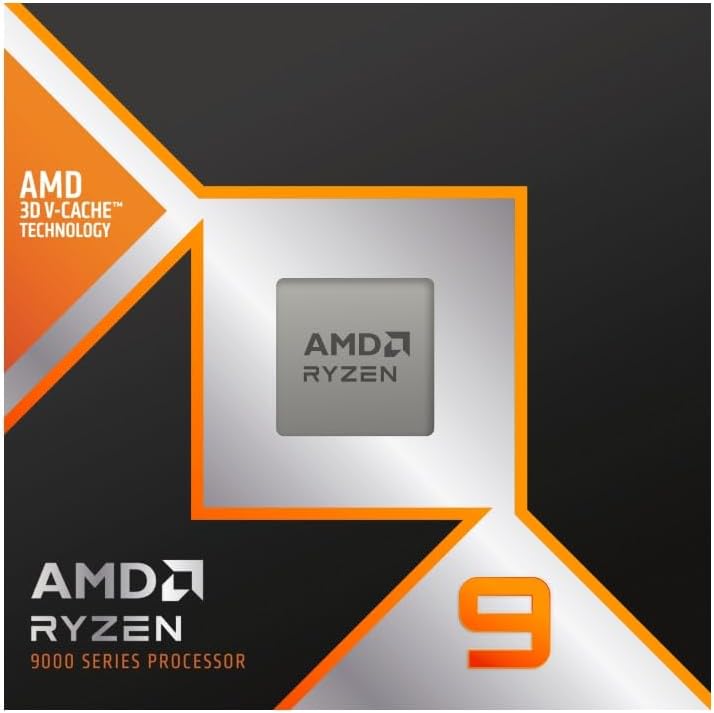
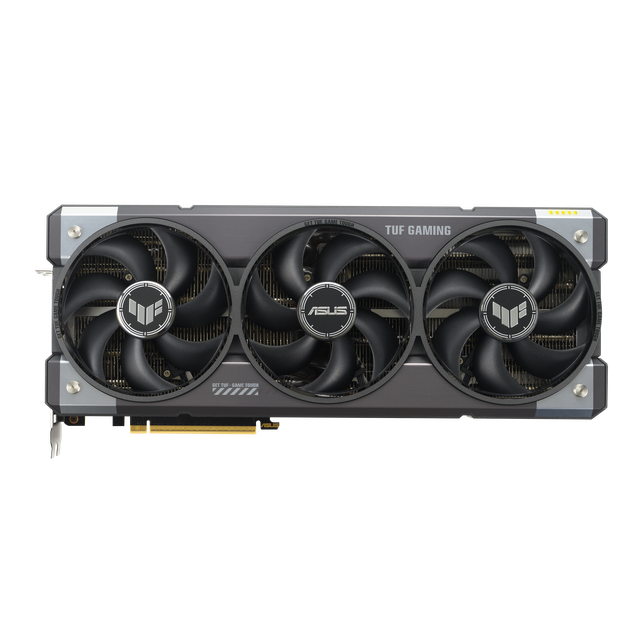
For high-TDP builds, a 9950X3D or Core Ultra 9 285K paired with an RTX 5090, where thermals genuinely challenge the cooling system. Louder but provides more headroom.
| CPU Temperature | Fan Speed |
|---|---|
| 40°C and below | 30% |
| 55°C | 45% |
| 65°C | 65% |
| 75°C | 80% |
| 82°C and above | 100% |
AIO Pump Speed Setting
Every AIO guide says this and it bears repeating. Set your AIO pump to Full Speed or 100% constant. The pump header controls coolant flow rate through the radiator loop. Reducing pump speed reduces flow, which reduces cooling efficiency. The pump in an AIO cooler makes minimal noise at full speed, it’s the fans you hear, not the pump. There is no acoustic benefit to running the pump at reduced speed and a real thermal cost.
Set the pump header to Full Speed (or the Performance preset) and forget it.
Saving and Testing Your BIOS Curves
After setting your curves, save and exit the BIOS. Boot into Windows. Open HWiNFO64 in sensor-only mode and watch CPU temperature while doing normal desktop tasks, your fans should be at their low-speed settings. Open a game or run Cinebench 2024 and watch the temperature rise, the fans should ramp up proportionally, not spike immediately to high speed. If you can’t find the fan settings, our walkthrough of BIOS settings shows where they usually sit.
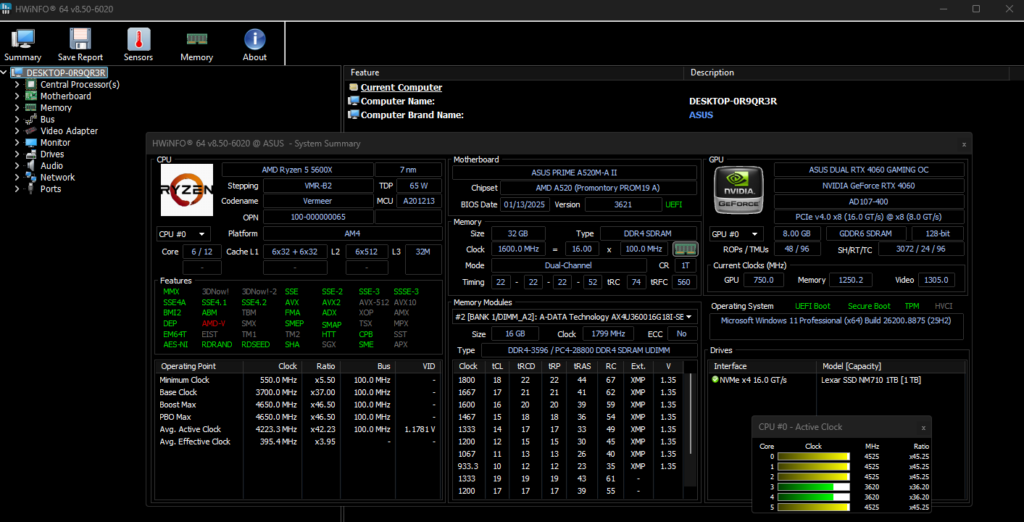
If the fans aren’t responding as expected, re-enter the BIOS and confirm the temperature source is set correctly for each header. A CPU fan that’s set to monitor motherboard temperature won’t ramp correctly because the motherboard temperature doesn’t reflect actual CPU load accurately.
Setting Up Fan Curves in Software: Fan Control App
BIOS fan curves work well but have one limitation: they can’t respond to GPU temperature. If your GPU is under heavy load and running hot, BIOS-based fan curves don’t know about it, they only see the CPU temperature. For builds where GPU thermals are the main concern, software-based fan control adds this capability.
Fan Control (not MSI Afterburner, a dedicated fan control application available free from GitHub) is the most capable and most community-recommended fan control software in 2026. It runs as a background Windows service, supports every fan header your motherboard exposes, can mix temperature sources (CPU + GPU simultaneously), and provides far more sophisticated curve types than most BIOS implementations.
Installing and Setting Up Fan Control
Download Fan Control from its GitHub repository (search “Fan Control app GitHub”, it’s the Rem0o/FanControl.Releases repository). Install and run as administrator. The interface shows all detected fan headers and sensor readings.
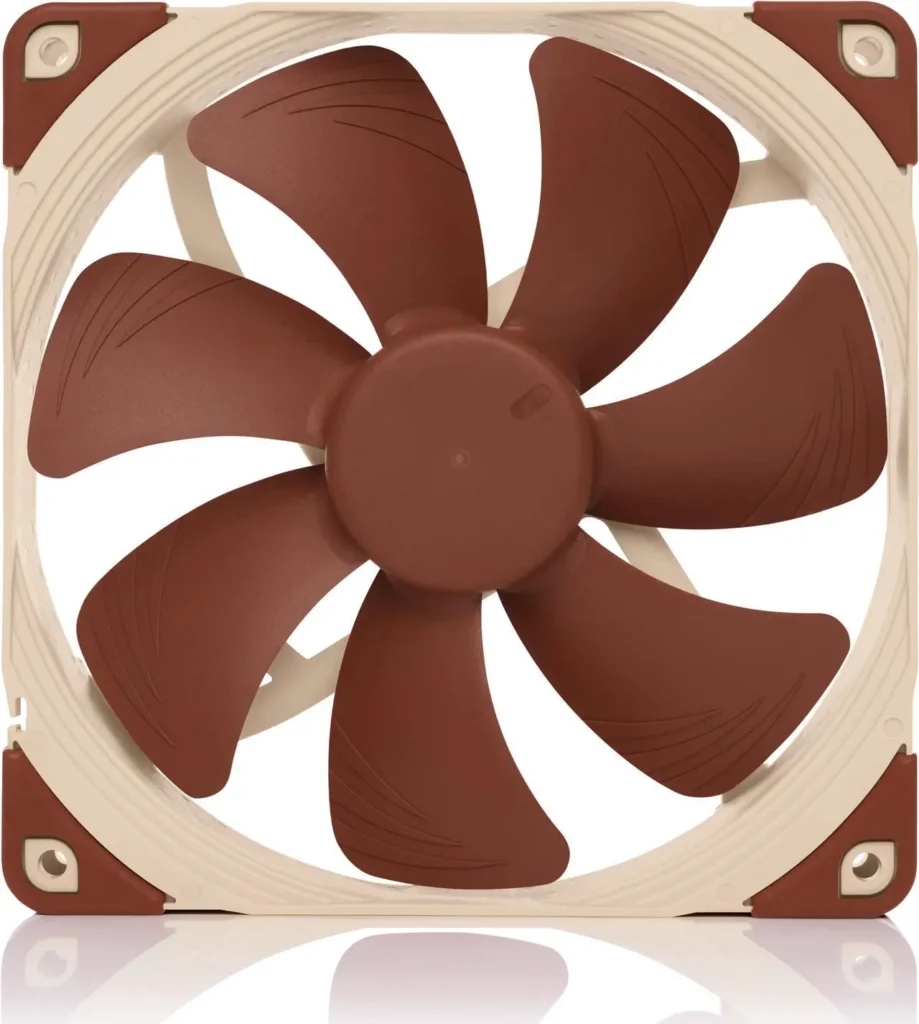
The key advantage over BIOS: you can set a case fan to respond to whichever of CPU or GPU temperature is higher at any given moment. In practice this means the fans ramp up whether it’s the CPU working hard during a compilation task or the GPU working hard during a gaming session, whichever needs the cooling gets it. Noctua NF-A14 PWM ($30)
GPU-responsive fan curve setup in Fan Control:
- Add a new fan curve for your chassis fans
- Set the temperature source to GPU temperature (select your GPU from the sensor list)
- Set the response curve with points matching the balanced build curve above, but using GPU temperatures instead of CPU temperatures
- Alternatively, create a “Mix” curve that takes the maximum of CPU and GPU temperature as the control input, this is the set-and-forget option for mixed workloads
MSI Afterburner Fan Curve (GPU Fans Specifically)
For controlling the GPU’s own fans, the fans mounted directly on the GPU heatsink, MSI Afterburner has a built-in fan curve editor that’s separate from case fan control.
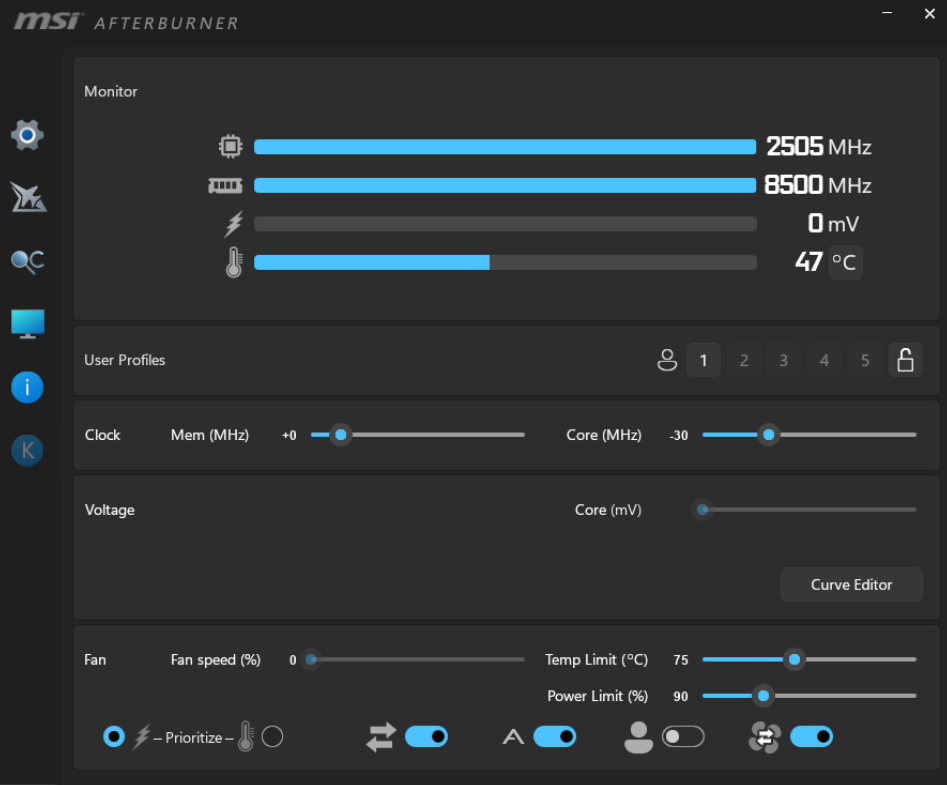
In MSI Afterburner, click the fan speed percentage display to enable manual fan control. Then click the curve icon to open the fan curve editor. This curve controls only the GPU’s own fans, not the case fans. The GPU fans respond to GPU temperature directly.
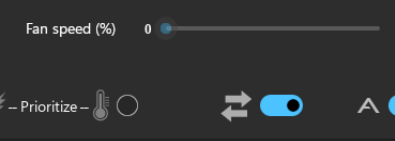
A reasonable GPU fan curve looks like this:
| GPU Temperature | Fan Speed |
|---|---|
| 50°C and below | 0% or 30% |
| 60°C | 40% |
| 70°C | 55% |
| 80°C | 75% |
| 85°C and above | 100% |
Save this curve and enable “Apply at Windows startup” in Afterburner settings so it persists across reboots.
The One Setting That Transforms the Experience: Stop Fan at Low Temperature
If your fans support zero-RPM operation and your BIOS offers it, enabling Stop Fan below a set temperature produces the largest single acoustic improvement available from any fan setting. When the CPU temperature is below 45°C during desktop use, the fans simply stop. The only sound from the PC is the faint hum of the PSU fan if it’s running, and the GPU fans if the GPU is active.
Most modern 140mm fluid dynamic bearing fans support this including the Noctua NF-A14, Arctic P14, and be quiet! Silent Wings 4. Cheap sleeve-bearing fans typically don’t. Check your fan’s specification page for “Zero RPM” or “Fan Stop” support before enabling this in BIOS.
The transition from stopped to spinning is smooth on quality fans, they spin up gradually from stopped rather than jumping immediately to their minimum speed. The transition point, when they spin back up, should be set about 10°C below the first active point on your curve. If the fans stop at 45°C, set them to spin back up at 35°C. This hysteresis prevents the fans from hunting, repeatedly starting and stopping as the temperature oscillates around the threshold.

Diagnosing Fan Curve Problems
Fans spiking immediately to full speed: The temperature source is probably set to a sensor that’s already at a high temperature. Check which sensor is being monitored, some motherboard sensors read ambient temperatures inside the case that are already 35-40°C, meaning even the first ramp point of the curve triggers immediately.
Fans not responding to heavy load: The temperature source may be wrong, a case fan monitoring PCH temperature won’t respond to CPU gaming load. Change the monitored sensor to CPU temperature.
Fans cycling on and off repeatedly: The zero-RPM threshold and the spin-up threshold are too close together. Increase the gap between stop temperature and spin-up temperature to at least 10°C.
AIO making gurgling or clicking sounds: This is unrelated to fan curves, it indicates air bubbles in the coolant loop. Tilt the case in different directions with the pump running to help bubbles migrate to the reservoir. If the sound persists after 30 minutes, contact the AIO manufacturer, it may indicate a coolant level issue covered by warranty.