
SpecClear earns a commission if you buy through Newegg links on this page, at no extra cost to you.
RAM errors are one of the most frustrating problems a PC can have because they don’t always announce themselves clearly. A bad stick doesn’t necessarily cause the PC to refuse to boot but it causes random crashes, blue screens with memory-related error codes, application freezes mid-session, and occasional data corruption, symptoms that look identical to driver issues, overheating, or storage problems. The only way to confirm whether RAM is the source is to test it directly.
Use the tools below in order: quick Windows check, MemTest86 for the definitive pass, HCI MemTest inside Windows, then Prime95 Large FFTs if you need to stress the memory controller too.
When to stress test your RAM
There are four situations that justify running a RAM test before doing anything else, read closely, by the end of this article you’ll be able to identify if RAM is your issue or not, saving you countless troubleshooting hours. G.Skill Trident Z5 DDR5 32GB ($619)
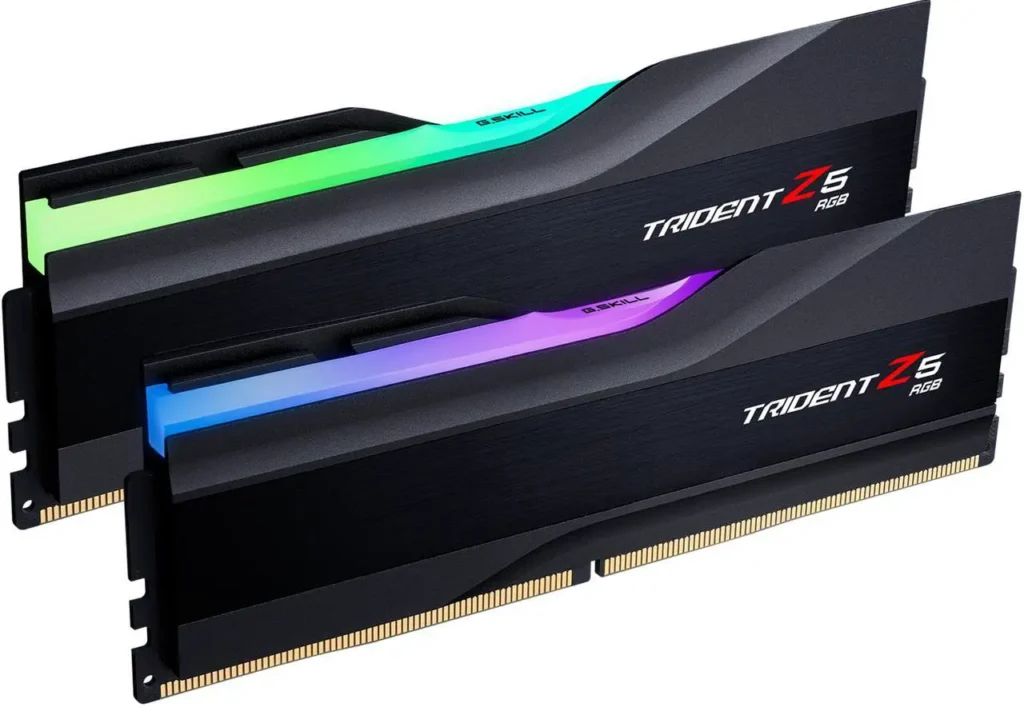
A new build that’s crashing randomly in the first week. New RAM that arrived DOA is not as rare as you might imagine, it’s one of the more common component failures in fresh builds. Testing before you spend hours reinstalling Windows or swapping other components saves significant time.
After enabling XMP or EXPO. Running RAM above its JEDEC base speed means pushing the memory controller and the modules themselves. A profile that passed a quick boot doesn’t guarantee stability under sustained load. A proper stress test confirms the overclock is solid.
Random blue screens with MEMORY_MANAGEMENT, IRQL_NOT_LESS_OR_EQUAL, PAGE_FAULT_IN_NONPAGED_AREA or SYSTEM_SERVICE_EXCEPTION stop codes. These don’t exclusively point to RAM, but RAM is the first thing to rule out.

Suspected failing RAM in an older system. Capacitors degrade, NAND cells wear and solder joints develop cracks over time. A system that ran perfectly for three years and now crashes unpredictably should have its RAM tested before any other diagnosis.
Tool 1: Windows Memory Diagnostic (quick check, built-in)
Windows has a built-in memory test that most people don’t even know exists and while It’s not the most thorough tool, it does run without any downloads and covers obvious faults in a speedy fashion.
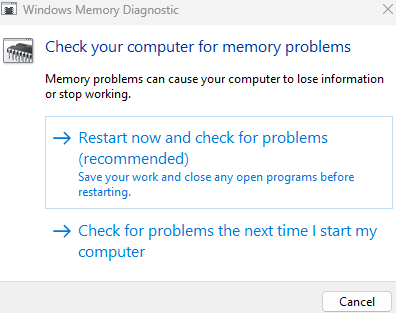
Search for Windows Memory Diagnostic in the Start menu. Select Restart now and check for problems. Windows restarts, runs the test during boot, and reports results when it returns to the desktop.
The test has three modes: Basic, Standard and Extended. Standard runs by default. Extended takes significantly longer but tests more patterns. but for a quick initial check, Standard is sufficient. For a thorough investigation, press F1 during the test to switch to Extended mode.
The Results appear in the notification area after the test completes and Windows restarts. If no errors are found it shows a clean result. If errors are detected it says so and recommends contacting the manufacturer.

The only limitation is that Windows Memory Diagnostic runs on memory that Windows is also using, which means it can’t test all of RAM simultaneously. It’s a screening tool, not a definitive test.
Tool 2: MemTest86 (the definitive test)
MemTest86 is the standard tool for serious RAM testing. It runs outside of Windows from a bootable USB drive, which means it can test 100% of your installed RAM with no operating system competing for memory space. It’s also free, regularly updated and runs on any x86 system.
Setting up MemTest86
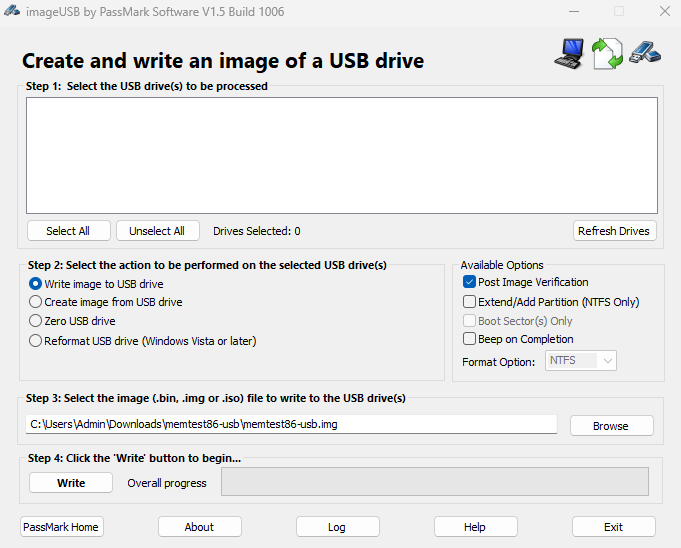
Download MemTest86 from memtest86.com the free version is sufficient for all consumer testing. It includes an image writer tool. Plug in a USB drive with at least 500MB free the contents will be erased. Run the image writer, select the USB drive and create the bootable drive.
Restart the PC and boot from the USB drive. You may need to enter the BIOS boot menu (usually F11 or F12 at startup) to select the USB drive, or change the boot order in BIOS to prioritise USB.

Running the test
MemTest86 starts automatically and begins testing immediately. The interface shows a progress bar, the current test number, the amount of RAM being tested and an error count. Tests are numbered 0 through 13, each testing different memory patterns and access modes.
One complete pass through all tests on a 32GB kit takes roughly 4-6 hours. For a thorough result, run two complete passes errors that appear only occasionally under specific patterns need multiple passes to surface reliably.
we recommend you Let it run overnight. This is the most practical approach. Start the test before bed, check the result in the morning, this way you can be sure the testing was completed thoroughly without having to sit there and stare at the progress bar.
Interpreting the results
if there are No errors after two passes: the RAM is stable at its current settings. If XMP is enabled this confirms the overclock is solid and you can move on as normal. G.Skill Trident Z5 DDR5 32GB ($619)

if there are Errors on any test then the RAM has a problem. The display shows which test failed and the memory address where the error occurred as well as how many total errors were found. Even a single error is significant to memory errors in real workloads cause data corruption that manifests as crashes, file system errors and application instability. no error should be overlooked or dismissed as “normal” or expected.
Tool 3: HCI MemTest (tests RAM within Windows)
HCI MemTest is a Windows-based alternative that tests RAM while the OS is running. It’s less thorough than MemTest86 but catches errors quickly and can be run without creating a bootable USB. so, its existence is justified.
Download from hcidesign.com. Run multiple instances simultaneously one per logical processor thread to actually maximise memory pressure. Each instance tests the RAM available to it. Running eight instances on an eight-core system puts significantly more pressure on the memory subsystem than running a single instance.
Let it run for at least two hours before drawing conclusions. Errors appear as a count in each instance’s window. Any non-zero error count is a failure.
HCI MemTest is useful for a quick check when creating a bootable USB isn’t very practical, and for testing RAM stability under Windows-like conditions rather than purely isolated conditions.
Tool 4: Prime95 with Large FFTs (stresses memory controller and DRAM together)
Prime95 is primarily a CPU stress test, but its Large FFTs mode places significant stress on the memory controller and DRAM in addition to the CPU cores. Running Large FFTs for 30-60 minutes will surface memory instability that pure memory tests sometimes miss, particularly instability in the memory controller rather than the modules themselves.
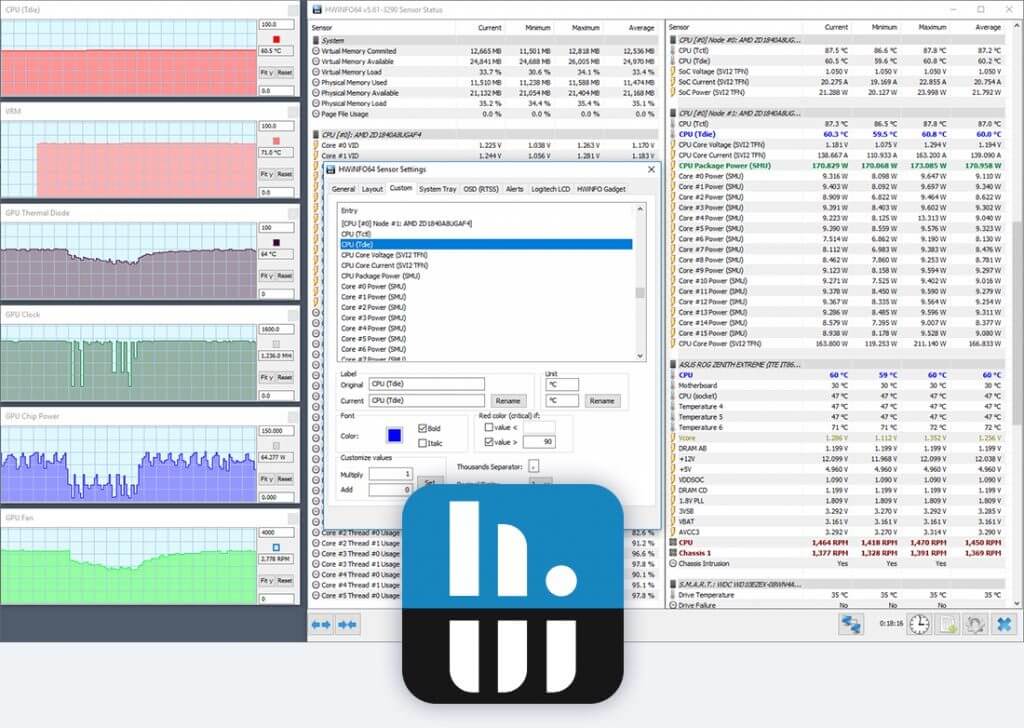
Download Prime95 from mersenne.org. Launch it and select Just Stress Testing. Choose Large FFTs from the options. Run for 30-60 minutes and monitor for WHEA errors in HWInfo64, these indicate hardware-level errors that the CPU’s error detection logged but didn’t necessarily crash the system.
This test is particularly useful for diagnosing instability after enabling XMP or EXPO at higher frequencies where the memory controller is being pushed.
Isolating a faulty stick
If MemTest86 finds errors, the next step is identifying which physical stick is faulty. Most systems have two or four sticks, and any one of them could be the problem.
Remove all sticks except one. Run MemTest86 with that single stick for one full pass. If errors appear, that stick is faulty. If not, swap it for the next stick and repeat. Continue until you’ve tested each stick individually and have found your culprit.
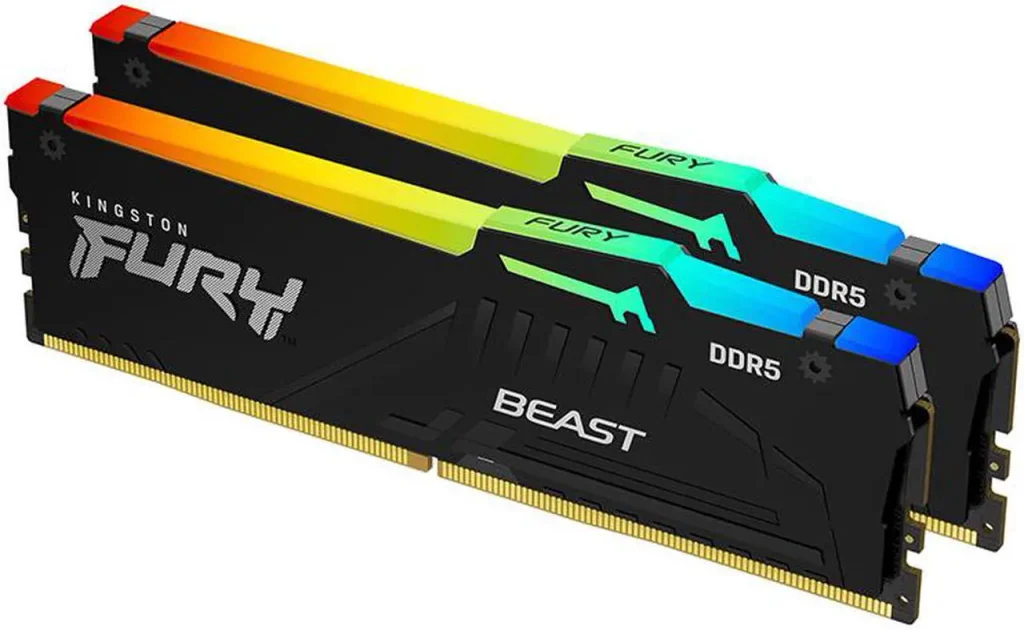
If errors only appear with multiple sticks installed but not with any individual stick, the issue may be with the combination of incompatible modules, a memory controller issue at higher loads, or an XMP profile that doesn’t scale well to four populated slots. Four-slot configurations typically require slightly looser timings than two-slot configurations to achieve the same rated speed. If you would rather run two sticks, a 2x16GB kit like the Kingston Fury Beast DDR5 32GB ($649) avoids the issue.
Slot testing
If a specific stick fails regardless of which slot it’s in, the stick itself is faulty but If the same stick passes in some slots and fails in others, one of the motherboard’s memory slots may be damaged in bent pins in the socket on AM5, or a cold solder joint that fails under thermal expansion.
Test slots by running the same known-good stick in each slot individually. If you get errors in a specific slot with a stick that passes elsewhere, the motherboard slot is the problem.
What to do when you confirm faulty RAM
If the RAM is within its warranty period which for quality kits is lifetime or at least 10 years, contact the manufacturer with your MemTest86 results. Screenshot or photograph the error screen. Most manufacturers accept error screenshots as sufficient evidence for an RMA without requiring additional diagnostics. the reason here goes back to how we started this, faulty RAM is common. G.Skill Trident Z5 DDR5 32GB ($619)
G.Skill, Kingston Fury, Corsair and TeamGroup all have straightforward RMA processes. The process typically involves filling a form on the manufacturer’s website, receiving a return label, and receiving replacement modules within one to two weeks. If you need a replacement kit in the meantime, the Kingston Fury Beast DDR5 32GB ($649) is a common choice.
If the RAM is out of warranty and a single stick in a dual-channel kit is faulty, replacing both sticks at the same time is worth considering. Mixing old and new sticks from the same kit can introduce timing incompatibilities, and the surviving old stick has the same age and wear profile as the failed one.
XMP stability: what to do if errors only appear with XMP enabled
If MemTest86 passes at stock JEDEC speeds but fails with XMP or EXPO enabled, the overclock is unstable. Three approaches in order of aggressiveness:
First, increase DRAM voltage slightly, 1.40V is the rated voltage for most DDR5-6000 CL30 kits, but 1.45V is within spec and often resolves marginal instability without any other changes.
Second, reduce the XMP frequency by one step, if DDR5-6000 is unstable, try DDR5-5600 manually. Most kits will run stably at one tier below their rated speed with the same timings.
Third, loosen the primary timings slightly. A DDR5-6000 CL30 kit running CL32 at the same frequency is usually stable where CL30 isn’t, with a small but measurable performance difference. G.Skill Trident Z5 DDR5 32GB ($619)
If none of these resolve the instability, check your motherboard’s QVL (Qualified Vendor List) available on the manufacturer’s product page. Your specific kit may not be qualified for your specific board, and the board may need a BIOS update to support it properly. AM5 boards have received substantial memory compatibility improvements through AGESA updates since the platform launched.