You built the PC. Windows installed. Games run. Everything seems fine.
It probably isn’t. Not fully. Most gaming PCs leave measurable performance on the table because of BIOS settings that ship in a conservative default state and never get changed. None of these require overclocking knowledge. None of them risk stability. They’re free performance gains that take under ten minutes to enable and most builders have no idea they’re missing them.
Here’s every bios settings pc performance worth checking, what it does, and exactly where to find it.
How to get into BIOS

Restart your PC. As soon as the screen goes black and before Windows starts loading, tap the BIOS entry key repeatedly — Delete on most AMD motherboards, F2 on most Intel and ASUS boards, F1 on some Lenovo systems. If you miss it and Windows loads, restart and try again. The key is usually displayed briefly on the POST screen — the screen that flashes for half a second showing your motherboard logo.
If you’re in Windows and want to reliably enter BIOS on the next boot: Start → Settings → System → Recovery → Advanced Startup → Restart Now → Troubleshoot → Advanced Options → UEFI Firmware Settings → Restart. This forces the next boot directly into BIOS without requiring precise timing on the key press.
Setting 1 — XMP or EXPO (the most impactful setting in this entire list)
Your RAM is running slower than you paid for. This applies to the overwhelming majority of gaming PCs where XMP or EXPO hasn’t been manually enabled.
DDR5 kits ship with a conservative JEDEC default speed — typically DDR5-4800 — that loads automatically on every system regardless of what the kit is rated for. A DDR5-6000 CL30 kit you paid $150 for boots at DDR5-4800 until you enable the rated profile. The performance difference isn’t small. On AMD Ryzen where the CPU’s Infinity Fabric is coupled to memory speed, DDR5-4800 versus DDR5-6000 translates to 15–30% lower gaming performance in CPU-sensitive titles. That’s a free performance gain sitting disabled by default.
On AMD AM5 boards: Look for EXPO, DOCP, or Memory Profile in the BIOS. The location varies by manufacturer — ASUS puts it in the AI Tweaker section, MSI in Settings → Advanced → DRAM Configuration, Gigabyte in Tweaker → Extreme Memory Profile. Select EXPO Profile 1 or the highest available profile that matches your kit’s rated speed.
On Intel boards: Look for XMP, Intel XMP, or Memory Profile. ASUS calls it AI OC Profile, MSI calls it A-XMP. Select XMP Profile 1.
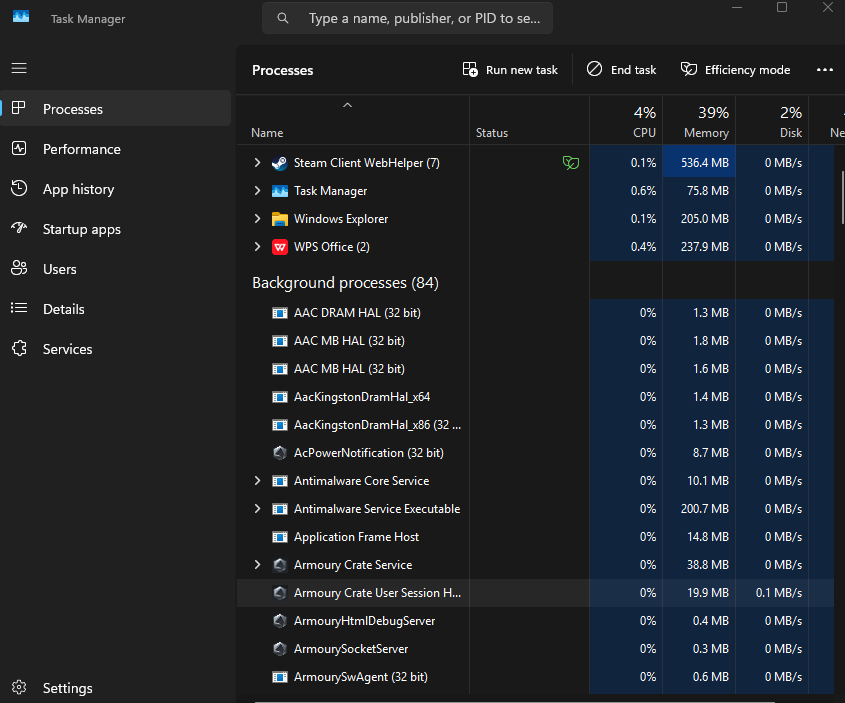
Save and exit. The system restarts once. You’re done. Verify it worked by opening Task Manager → Performance → Memory → Speed. A DDR5-6000 kit shows 3000MHz here — half the rated speed, because Task Manager shows the base clock rather than the effective double data rate. 3000MHz in Task Manager equals DDR5-6000 running correctly.
Setting 2 — Resizable BAR (free GPU performance)
Resizable BAR — called Smart Access Memory on AMD systems — changes how the CPU accesses GPU memory. Without it, the CPU can only access 256MB of VRAM at a time, requiring multiple trips to transfer large assets. With it enabled, the CPU accesses the full VRAM pool in a single transfer.
The performance improvement varies by game and GPU. AMD’s own data shows 5–15% performance gains in supported titles. For Intel Arc GPU owners it’s not optional — Arc requires Resizable BAR to function correctly and performance without it is significantly degraded.
How to enable it: In BIOS, look for Resizable BAR, ReBAR, or Smart Access Memory. On ASUS boards it’s in Advanced → PCH Configuration → PCI-E Resizable BAR. On MSI boards it’s in Settings → Advanced → PCI Subsystem Settings. On Gigabyte boards look in Settings → IO Ports.
Enable it. Save and exit.
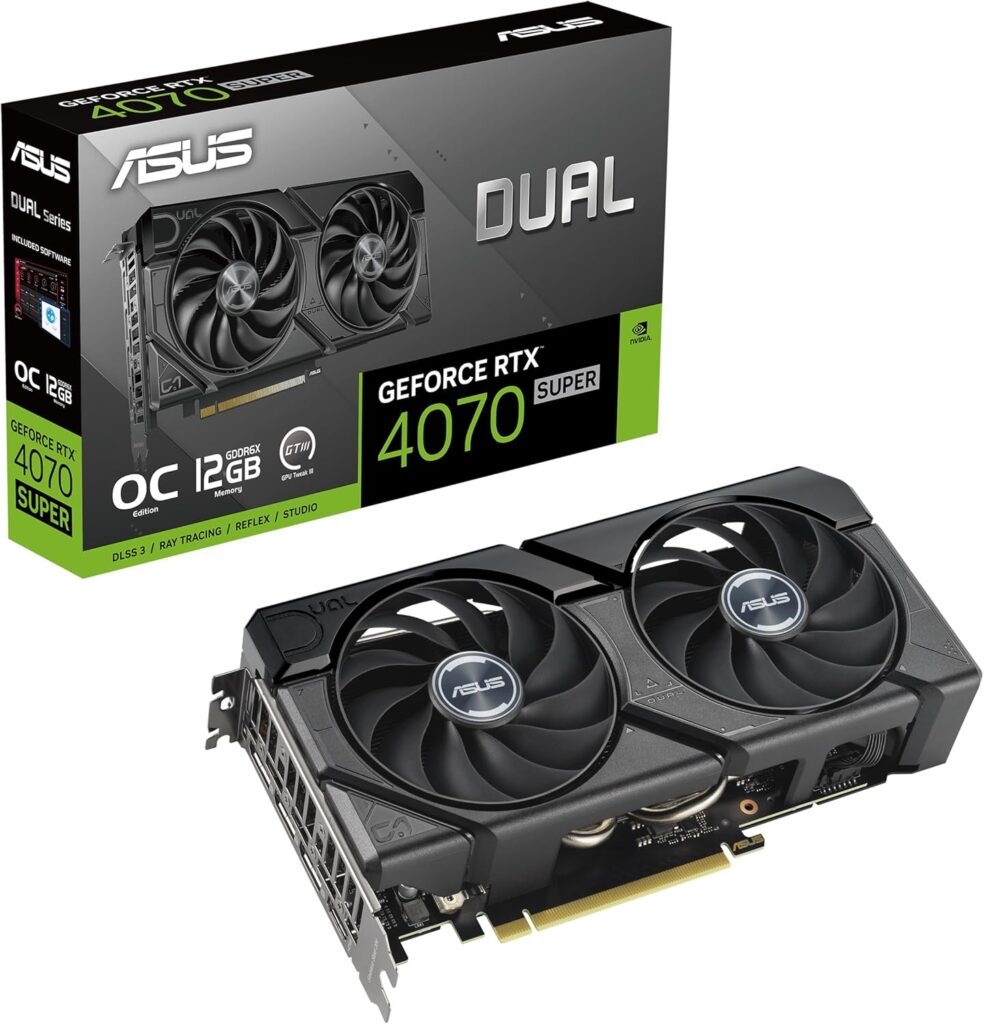
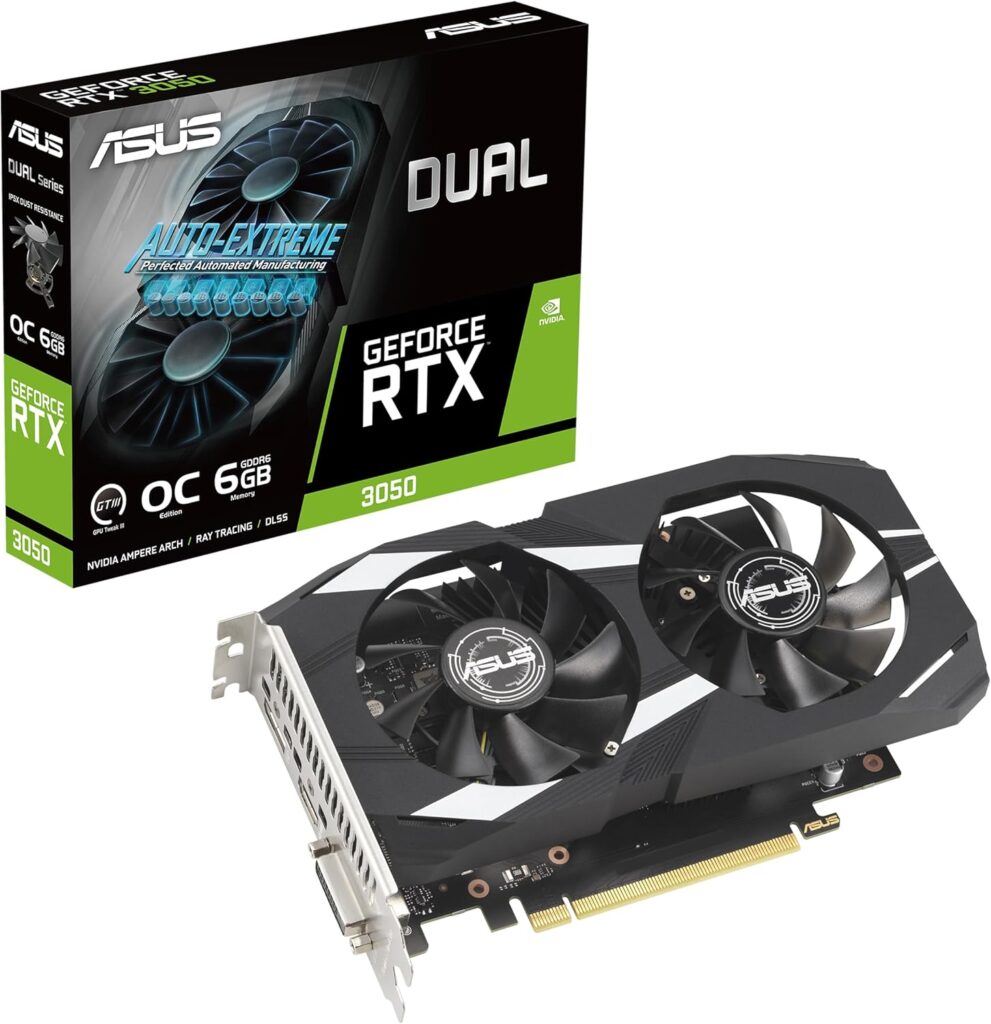
Verify it worked after booting into Windows: open GPU-Z, look for the Resizable BAR field in the Graphics Card tab. It should show Yes. If it shows No, check that Secure Boot is enabled and that your GPU supports the feature — all RTX 30, 40, 50 series and AMD RX 6000, 7000, 9000 series cards support it.
Setting 3 — CPU power limits (Intel specifically)
Intel motherboards frequently ship with removed power limits — meaning they allow the CPU to draw significantly more power than Intel’s rated TDP for indefinite periods. This sounds like more performance but it’s actually a thermal management choice that bypasses Intel’s own recommendations.
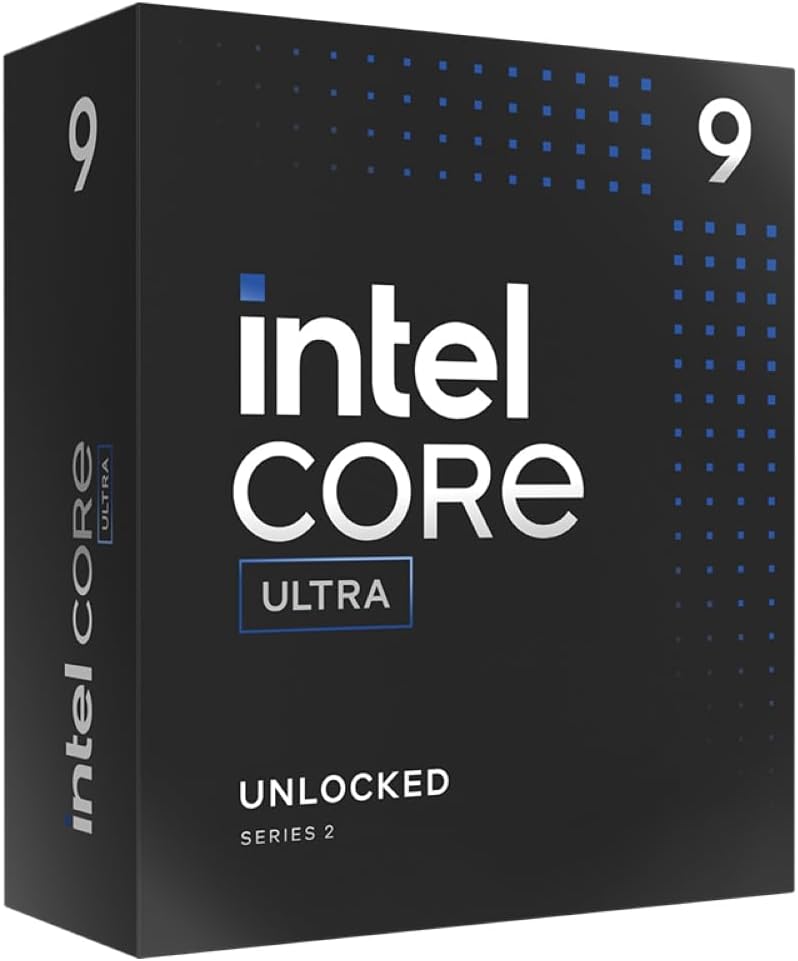
An Intel Core Ultra 9 285K has a rated base TDP of 125W with a maximum boost power of 250W. Many motherboards default to allowing 250W sustained indefinitely rather than only during short boost windows. The result is a CPU that runs extremely hot under sustained workloads — which is why Intel motherboards from the 12th and 13th generation era caused so many overheating complaints.
Where to find it: ASUS AI Tweaker → CPU Power Management → Long Duration Package Power Limit (PL1) and Short Duration Package Power Limit (PL2). MSI puts it in OC → Advanced CPU Configuration → Power Limit Settings. Set PL1 to your CPU’s rated TDP and PL2 to the CPU’s maximum boost power.
For Intel Core Ultra 200S this matters less than previous generations — Arrow Lake Refresh has significantly better power management than Raptor Lake. But checking the setting is still worth doing.
AMD Ryzen doesn’t have the same issue — AMD’s AGESA firmware manages power limits correctly by default and most AM5 boards ship with appropriate power delivery settings. Check anyway: look for PPT (Package Power Tracking), TDC (Thermal Design Current), and EDC (Electrical Design Current) in your BIOS. If they’re set to extremely high values — significantly above AMD’s published specifications — reset them to defaults.
Setting 4 — Fan curves
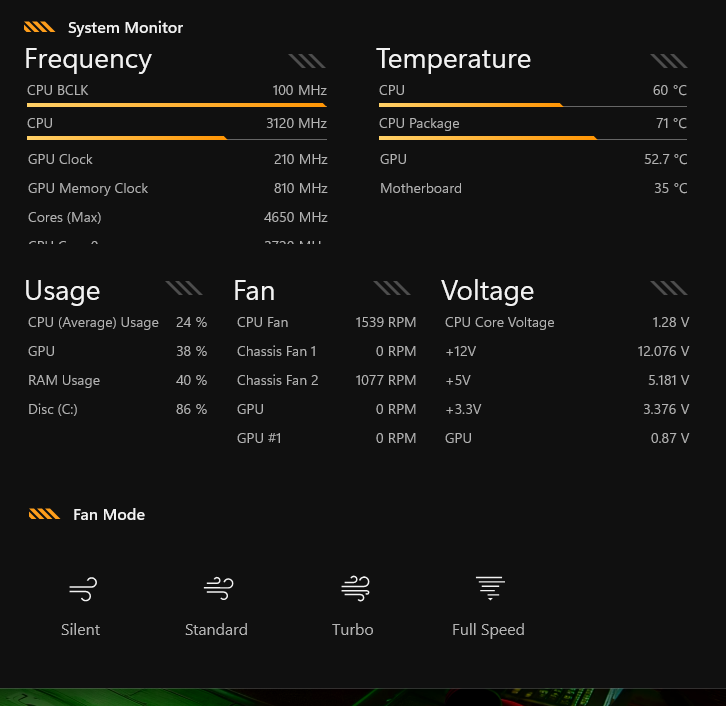
Default fan curves are conservative. Motherboard manufacturers set them to prioritise quiet operation over thermal performance, which means fans often don’t ramp up quickly enough when CPU temperatures climb during gaming.
A better fan curve starts spinning fans sooner and ramps them more aggressively at higher temperatures. This doesn’t mean loud — it means the fans are doing their job at the right time rather than reacting slowly.
Where to configure it: ASUS has Q-Fan Control in the Tool section of BIOS. MSI has Hardware Monitor. Gigabyte has Smart Fan 5. All of them show a graph with temperature on the X axis and fan speed percentage on the Y axis. The curve should be relatively flat below 50°C (fans running slowly during light use) and ramp meaningfully from 70°C upward (fans doing real work when the CPU is under load). A curve that doesn’t ramp until 85°C is too conservative for gaming.
Adjust the curve so fans reach 60–70% speed at 80°C on the CPU. This is audible during sustained gaming but not unpleasantly loud, and it ensures the CPU cooler is working effectively when it needs to.
GPU fan curves are configured in MSI Afterburner rather than BIOS — covered in the temperature monitoring guide on SpecClear.
Setting 5 — Secure Boot and TPM (Windows 11 requirement)
These aren’t performance settings — they’re compatibility settings that affect whether Windows 11 updates correctly and whether certain applications function.
Windows 11 requires Secure Boot enabled and TPM 2.0 active. Both are enabled by default on new motherboards but can be accidentally disabled during BIOS updates or manual configuration. If you’ve been getting Windows 11 update failures or seeing compatibility warnings in the Windows 11 health check app, check these.
Where to find them: ASUS puts Secure Boot in Security → Secure Boot. TPM is usually in Advanced → Trusted Computing. MSI has Security Boot in Security tab. Gigabyte has these in Settings → Miscellaneous. Both should show Enabled.
Setting 6 — Boot order (removes 5–15 seconds from boot time)
Windows 11 boots fast. Your BIOS might not be helping. If your boot order has DVD drives, USB devices, or network boot options above your NVMe SSD, the BIOS checks all of them before loading Windows. This adds seconds to every boot.
Set your Windows NVMe drive as Boot Option 1. Remove DVD, USB, and network boot from the boot priority list if you don’t need them for regular use — you can always re-enable them temporarily if you need to boot from USB. On most boards this is Boot → Boot Option Priorities.
The quick audit — what to check on your next boot
Enter BIOS and verify each of these in order:
XMP or EXPO: enabled at your RAM kit’s rated speed. If not — the biggest performance gain on this list.
Resizable BAR: enabled. Verify in GPU-Z after booting.
Fan curve: ramps meaningfully from 70°C rather than staying flat until 85°C.
Boot order: Windows NVMe at position one.
CPU power limits (Intel): PL1 at rated TDP, PL2 at maximum boost. AMD: PPT/TDC/EDC at reasonable values.
Secure Boot and TPM: both enabled.
Save changes, exit, and let the system restart. Open Task Manager and verify RAM speed. Open GPU-Z and verify Resizable BAR. Done. Ten minutes of BIOS configuration that most people never do — and every one of these settings was affecting your system’s performance from the day you built it.