
Most people clean their PC once — when they build it — and don’t touch it again until something goes wrong. Two years later the GPU is running 15°C hotter than it did at launch, the fans are audibly grinding, and the thermal paste has turned into a grey wafer that conducts heat about as well as cardboard.
None of this is inevitable. A PC that gets thirty minutes of maintenance every six months runs cooler, quieter, and faster than a neglected one at the same age. The components last longer. The overclock headroom stays available. The experience stays as good as the day it was built. How to Apply Thermal Paste to Your CPU
This guide covers everything a complete PC service involves — dust removal, thermal paste replacement schedule, fan bearing inspection, BIOS updates, driver cleanup, and storage health checks. Done in order, it takes under two hours. Done twice a year, it keeps the system performing as it should indefinitely.
Before You Start — What You Need
Gather these before opening the case:
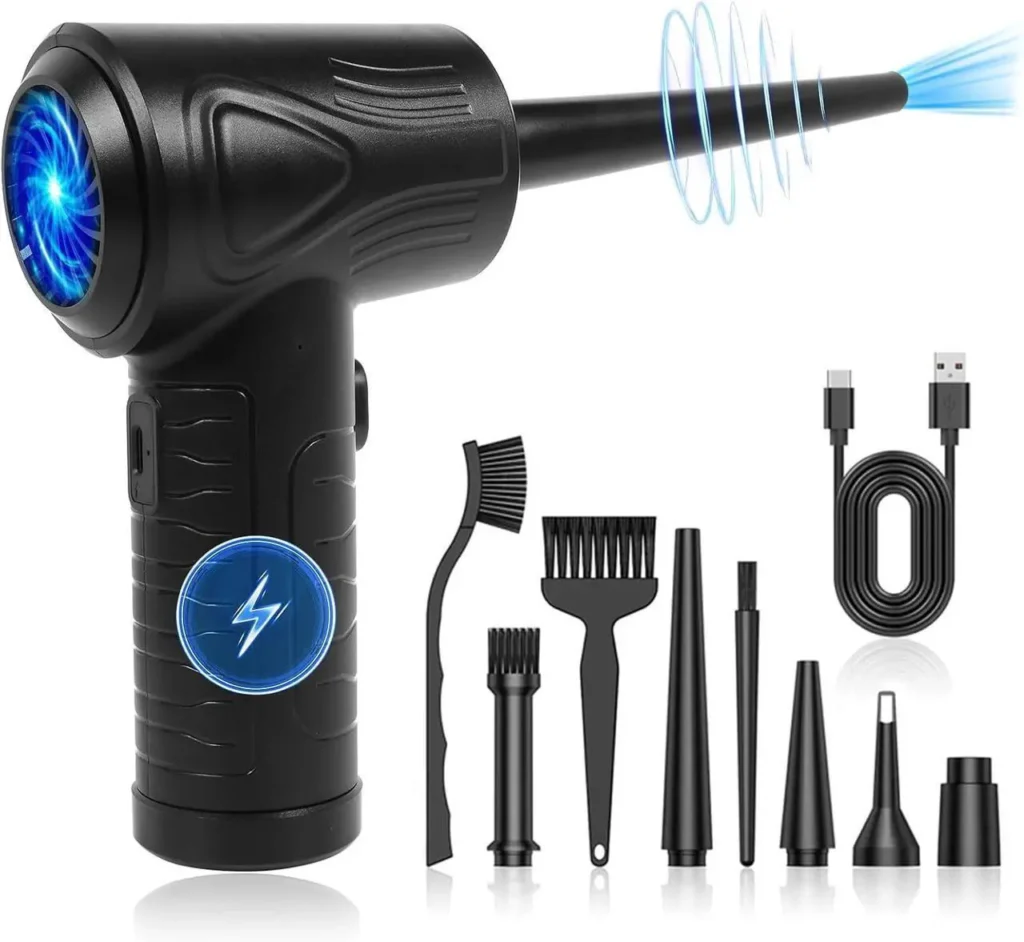
Compressed air: A can of compressed air or an electric air duster. The electric duster is more economical for regular use and produces a more consistent airflow than canned air — the EasyTech blow off or similar models cost $30-40 and pay for themselves within three or four uses. Don’t use a household vacuum cleaner inside the PC — static discharge from vacuum cleaners can damage components.
90%+ isopropyl alcohol: For cleaning thermal compound residue and contact surfaces. 90% minimum — lower concentrations contain too much water. Available at pharmacies. 99% is better if you can find it.

Lint-free cloths or coffee filters: For applying and wiping isopropyl alcohol. Never use tissues or kitchen paper — both leave fibres that get into heatsink fins and component surfaces.
Thermal paste: Only needed during the thermal paste replacement step. Arctic MX-6 at around $8 on Newegg is the standard recommendation — non-conductive, long-lasting, and performs comparably to thermal pastes costing five times as much.

Anti-static precaution: Touch the metal case of your PC before handling components to discharge any static build-up. If you have an anti-static wrist strap, wear it. Static discharge is a genuine risk with RAM and GPU — brief contact with the bare PCB edge is enough to cause latent damage that shows up months later.
Screwdrivers: Phillips head for most case screws, thumb screws by hand. A magnetic tip prevents dropped screws.

Step 1 — Dust Removal
Dust is the primary enemy of PC thermals. It accumulates on heatsink fins, fan blades, filter meshes, and VRM heatsinks — anywhere airflow slows down. A heatsink with 30% of its fins blocked by a dust mat operates significantly less efficiently than a clean one. GPU temperatures of 10-15°C above their initial levels after two years without cleaning are common and entirely dust-related.
Power off completely. Not sleep — fully shut down and switch off the PSU’s rear switch. Unplug the power cable. Wait 30 seconds for capacitors to discharge before opening the case.

Take the case outside or to a well-ventilated area. Dust removal produces a cloud of fine particulate that you don’t want to inhale or re-deposit on other surfaces. How to Clean Your PC
Remove dust filters first. Most modern cases have magnetic dust filters on the front panel and bottom PSU intake. Pull these off and tap them against a surface to dislodge accumulated dust, then use compressed air to clean them thoroughly. A clogged filter reduces intake airflow more than most builders realise — a filter that’s 40% blocked cuts effective CFM significantly.
Blow out the heatsinks. Hold fan blades stationary with a finger or a small piece of foam while blowing through the fins — spinning a fan with compressed air can overspeed the bearing and cause premature wear. Work from the top of the heatsink downward, pushing dust toward the case interior rather than deeper into the fins. Follow up by blowing dust out through the case exhaust with a final burst.
GPU heatsink: This accumulates the most dust because the GPU fans pull air from inside the case rather than from outside. Hold each fan blade stationary and blow through the heatsink fins from multiple angles. The GPU heatsink fins run the full length of the card — work along the entire length.
RAM heatspreaders: Blow along the top of the RAM sticks. Dust accumulates in the crevices between heatspreader fins on high-profile kits.
PCIe slots and connectors: A gentle burst of compressed air down the length of unused PCIe slots and along the edge connectors clears any accumulated dust without risk of damage.
Case fans: Hold each fan blade and blow across the blade surface and around the hub. Compressed air at the hub removes dust from the bearing area which is where heat accumulation is most damaging. Noctua NF-A14 PWM ($30) Best PC Case Fans in 2026

After dust removal: Reinstall the clean dust filters. The internal temperature drop after a thorough cleaning session is often immediately measurable — GPU temperatures 5-8°C lower and CPU temperatures 3-5°C lower are common in systems that hadn’t been cleaned for twelve months.
Step 2 — Fan Bearing Inspection
Fan bearings degrade over time. The first audible symptom is a faint grinding or clicking sound at low RPM — most obvious during startup when fans spin up from zero before settling to their normal operating speed. Arctic P14 PWM ($27)
With the system running at idle (fans at low speed), listen closely to each fan. A healthy fluid dynamic bearing fan produces no sound beyond the airflow it moves. A bearing that’s beginning to wear produces:
- A rhythmic clicking that occurs at a rate proportional to fan speed — click-click-click-click at low RPM, click-click-click faster at high RPM
- A grinding or scratching sound during spin-up
- A wobble visible in the blade hub when viewed during spin-up
Any of these sounds indicate a bearing that will fail within months to a few years depending on severity. Replace the fan before it fails completely — a fan that seizes causes the component it cools to overheat, which produces performance throttling and potentially damages the component.
Fan replacement costs $10-35 depending on quality tier. The Arctic P14 PWM at $27 per fan is the budget replacement standard. Noctua NF-A14 PWM at $30 is the buy-once-keep-forever option.
AIO pump inspection: Listen for gurgling, bubbling, or irregular clicking from the AIO cooler head. A healthy pump produces a constant, low-level hum. Gurgling indicates air bubbles in the coolant loop — tilt the case in different directions with the pump running to migrate bubbles toward the reservoir or expansion area. Persistent irregular clicking from an AIO pump after 3-4 years of use suggests wear and warrants monitoring — AIO coolers typically last 5-7 years before pump failure becomes a real risk.
Step 3 — Thermal Paste Replacement Schedule
Thermal paste doesn’t last forever. The silicone carrier in most thermal compounds begins to dry and develop micro-cracks after 2-4 years of thermal cycling. Dried paste loses its ability to fill microscopic surface irregularities, creating air pockets that increase thermal resistance. The result is the classic symptom: CPU temperatures 5-10°C higher than they were at initial installation despite identical cooling. Arctic MX-6 thermal paste ($15)
Replacement timeline:
- CPU thermal paste: Replace every 3-4 years for standard compounds (Arctic MX-6, Noctua NT-H1), every 2-3 years for performance compounds (Thermal Grizzly Kryonaut which degrades faster under sustained high heat)
- GPU thermal paste: Replace every 4-5 years, or sooner if the GPU is running significantly hotter than it did when new
- Liquid metal paste: If your CPU or GPU uses liquid metal, replacement is less frequently needed — liquid metal doesn’t dry out the same way. However the gallium can spread over time on some IHS designs. Check annually.
The replacement process:
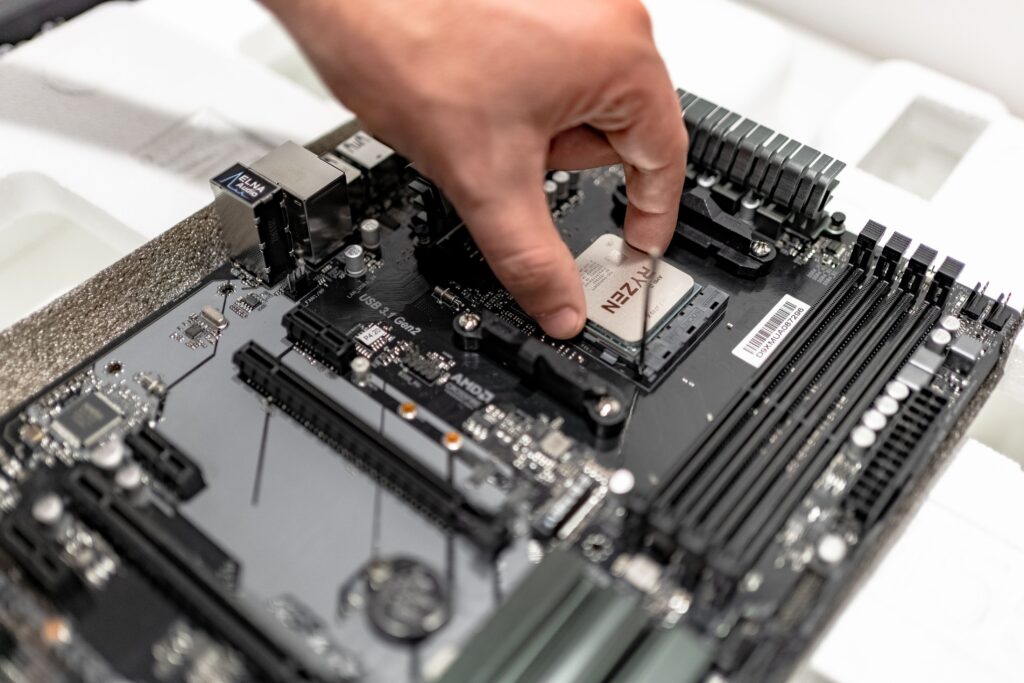
Remove the CPU cooler (unscrew the mounting bracket in a cross pattern — opposite corners first to release pressure evenly). Clean the CPU IHS and cooler base plate with 90%+ isopropyl alcohol and a lint-free cloth. Wipe in one direction — not circular — to avoid pushing paste residue into the IHS edge. Let both surfaces dry completely.

Apply a pea-sized dot of fresh paste to the centre of the CPU IHS. Reinstall the cooler and tighten the mounting bracket in the same cross pattern — gradually and evenly, not fully tightening one corner before moving to the next. How to Repaste Your GPU
The thermal paste guide on SpecClear covers the full application process with method comparisons for different CPU types. Check it before applying if this is your first repaste.
When to replace GPU thermal paste:
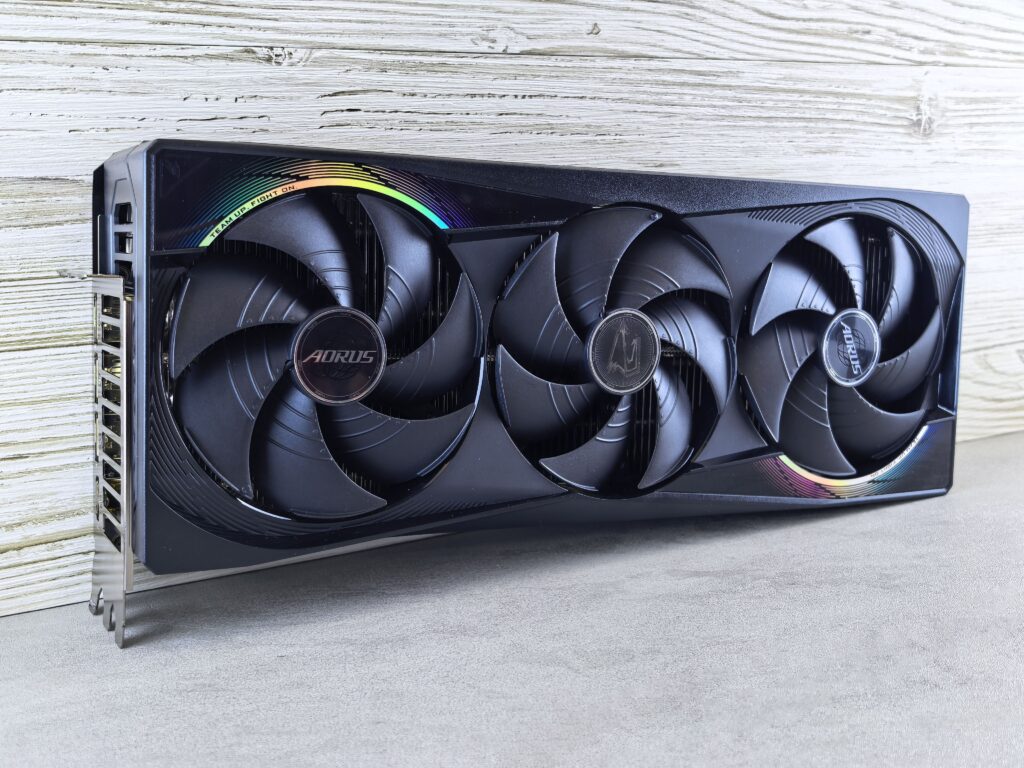
GPU repasting is more complex than CPU repasting because it requires partial disassembly of the GPU cooler. The process varies by GPU model — the SpecClear GPU repasting guide covers this in detail for modern Nvidia and AMD cards. Signs that the GPU needs repasting:
- GPU core temperature 10°C or more above initial levels without a change in case airflow or ambient temperature
- The GPU is 3+ years old and has been used daily
- The GPU was purchased used with no knowledge of maintenance history
Step 4 — BIOS Updates
Motherboard manufacturers release BIOS updates that fix compatibility issues, add support for new hardware, resolve stability problems, and occasionally improve performance. Skipping BIOS updates for two years means missing fixes that might be directly relevant to your hardware.
Check your current BIOS version: Enter the BIOS (Delete or F2 during POST) and note the version number on the main screen. Alternatively, open System Information in Windows (press Windows + R, type msinfo32) and look for BIOS Version/Date.
Check for updates: Go to your motherboard manufacturer’s website (asus.com, gigabyte.com, msi.com, asrock.com), navigate to Support → Downloads for your specific board model, and check the BIOS section. Compare the latest available version to your installed version. Read the changelog for the latest version — if it mentions fixes for your CPU, RAM compatibility, or stability improvements, update. How to Monitor GPU and CPU Temperatures
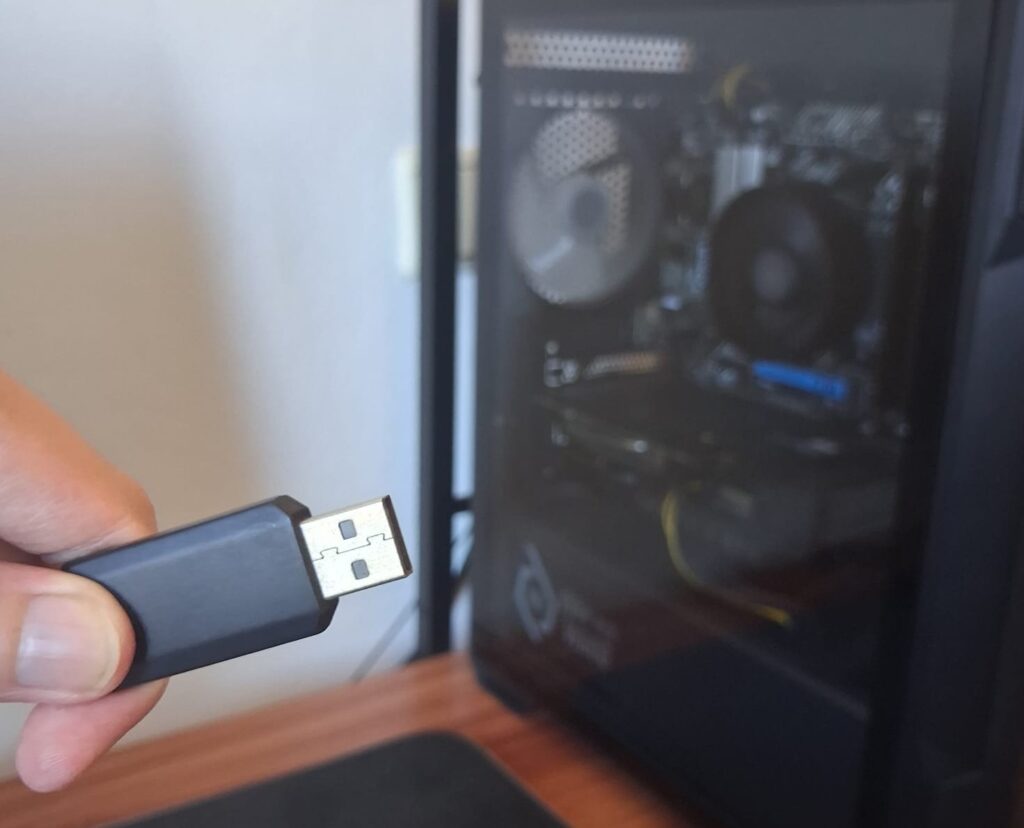
How to update: Most modern boards support BIOS updates from USB drive — download the update file, put it on a FAT32-formatted USB drive, enter the BIOS, and use the BIOS FlashBack or EZ Flash utility to apply the update. The board restarts automatically. Do not cut power during a BIOS update — this is the one operation where an interruption can cause a problem (most premium boards have dual BIOS chips that protect against this, but don’t rely on it).
When not to update: If your system is running perfectly stable with the current BIOS, there’s no urgent reason to update unless the changelog specifically addresses a problem you’re experiencing. “If it isn’t broken, don’t fix it” applies to BIOS updates — they’re generally safe but not without any risk of introducing new issues. How to Read Your PC’s BIOS
Step 5 — Driver Cleanup
Windows accumulates driver remnants over time — particularly GPU drivers, which are complex software packages that leave registry entries and files when updated. After two years of GPU driver updates, the accumulation can occasionally cause crashes, performance anomalies, or installation failures for new drivers.
GPU driver clean install: Download DDU (Display Driver Uninstaller) from Guru3D. Boot into Safe Mode (hold Shift while clicking Restart → Troubleshoot → Advanced Options → Startup Settings → Restart → Safe Mode without networking). Run DDU and select Clean and Restart for your GPU brand. After rebooting normally, download and install the latest stable GPU driver fresh. This removes all driver remnants and gives a completely clean installation.
Do this once a year or whenever you experience GPU-related crashes or unusual performance behaviour.
Windows optional driver updates: In Windows Update → Advanced Options → Optional Updates, Windows occasionally offers driver updates for various components. These are generally safe to apply and may include chipset driver updates that improve system stability. Apply these during your annual service. How to Diagnose a PC Crash

Chipset drivers: Download the latest chipset driver directly from AMD (for AM5 boards) or Intel (for LGA1851 boards) rather than relying on Windows Update to deliver them. The manufacturer’s direct download is often more current. Search “AMD chipset driver download” or “Intel chipset driver download” and install the current version.
Step 6 — Storage Health Check
Your NVMe SSD contains your operating system, games, and files. A failing drive gives warning signs months before it fails completely — if you check for them.
CrystalDiskInfo (free, download from crystalmark.info) reads SMART data from your drives — self-diagnostic data the drive records about its own health. Open it and check the health status of each drive.

Look for:
Reallocated Sectors Count: Should be zero on a healthy SSD. Any non-zero value indicates cells that have been moved from the active pool to a reserve area due to write errors. A small number isn’t immediate cause for concern, but it’s a signal to monitor and back up more frequently.
Uncorrectable Sector Count: Should be zero. Non-zero values indicate sectors the drive couldn’t successfully read or write even with error correction. This is a more serious warning than reallocated sectors.
Temperature: NVMe drives under sustained load run warm — 50-70°C is normal. Sustained temperatures above 70°C under light workloads indicate inadequate heatsink coverage or airflow around the M.2 slot.
Drive health percentage: CrystalDiskInfo shows an overall health rating. Caution or Bad health status warrants backing up immediately and planning drive replacement.

If you find drive warnings: Back up immediately. A drive showing SMART errors can continue functioning for months — or it can fail the next day. Don’t wait to back up. Replace the drive when convenient, not when it fails.
Step 7 — Cable Inspection
After a year of the system running — with fans vibrating, the case being moved, and heat cycling the components — cable connections can work slightly loose. During your annual service, check each connection:
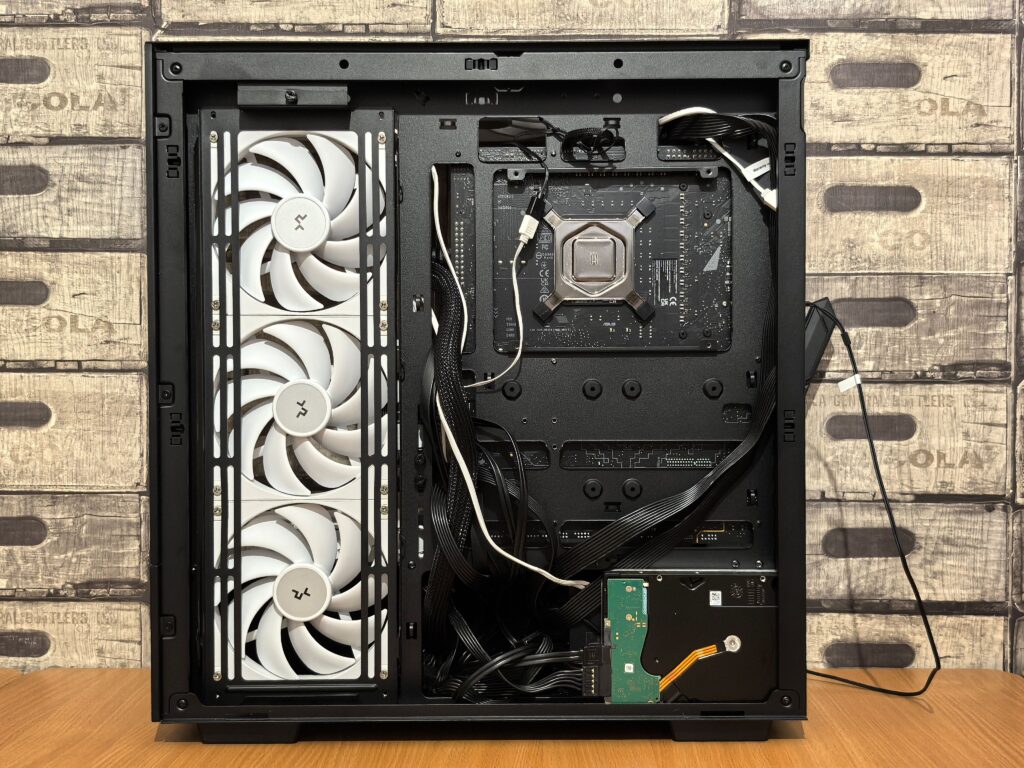
- 24-pin ATX power connector: firmly seated with the retention clip engaged
- EPS 8-pin CPU power connector(s): fully seated — a partially seated EPS connector is a common cause of CPU instability under heavy load
- PCIe power connectors to the GPU: fully seated with the 12VHPWR or 6+2 pin connectors clicked into place
- SATA data cables: these have the loosest retention mechanism and are most likely to work free. Press each one in until the clip clicks
- Front panel headers: these occasionally work loose over time. Check they’re seated on the correct pins per the motherboard manual
A loose EPS connector or PCIe power connector produces random crashes under load that look identical to RAM, PSU, or GPU failures. Ten seconds checking each connection saves hours of diagnosis.
The Six-Month Checklist

For builds in typical home environments:
Every 6 months:
- Clean dust filters
- Blow out case fans and heatsinks
- Listen for bearing noise
- Check CrystalDiskInfo drive health
Every 12 months:
- Full dust removal including GPU heatsink
- Check BIOS for updates
- DDU clean GPU driver install
- Update chipset drivers
- Inspect all cable connections
- Check CPU temperatures against your initial readings — if they’ve risen more than 5°C, consider repasting
Every 3-4 years:
- CPU thermal paste replacement
- GPU thermal paste replacement (if temperatures have risen significantly)
- AIO pump health assessment
A system maintained on this schedule stays within 2-3°C of its initial thermal performance indefinitely. The 45 minutes it takes twice a year is the cheapest performance upgrade available.