
Dust is the silent performance killer most builders ignore until their GPU hits 90°C or their CPU starts throttling mid-game. A PC that ran quietly at 65°C two years ago doesn’t suddenly develop a cooling problem it develops a dust problem that looks like a cooling problem. The fix takes twenty minutes and costs nothing if you already own a can of compressed air.
This how to clean your pc guide covers everything from tools to technique to how often you actually need to do it.
Why cleaning matters more than most people realise
Dust accumulates on heatsink fins, radiator surfaces, fan blades, and intake filters. It acts as insulation trapping heat between the cooler and the air that’s supposed to carry it away. A heavily dusted 360mm AIO radiator can lose 15°C or more of cooling capacity compared to a clean unit. A dusty GPU heatsink running the same workload that used to produce 72°C under load might now hit 85°C, causing the fans to spin faster and louder, and eventually triggering thermal throttling.
The specific failure mode worth understanding: GPUs don’t drop frames smoothly when they throttle. They stutter. A game that ran at consistent 120 FPS six months ago stuttering intermittently at the same settings isn’t always a driver problem or a GPU problem it’s frequently a temperature problem caused by dust build-up the owner hasn’t thought to check.
Clean your PC and the problem often disappears before you’ve replaced any hardware.
What you need
Compressed air is the primary tool. A standard can from any electronics or hardware store costs around $7–$10 and handles most cleaning tasks. Hold the can upright during use tilting it causes liquid propellant to spray rather than air, which can damage components. Short controlled bursts work better than sustained spraying.
An anti-static brush soft-bristled, purpose-built for electronics is useful for dislodging stubborn dust from heatsink fins and motherboard surfaces before blowing. A standard soft paintbrush works if you don’t have one.
Thermal paste is not strictly required for a cleaning session unless you’re removing the CPU cooler. If you do remove the cooler for cleaning access or maintenance, replace the thermal paste before remounting. Arctic MX-6, Thermal Grizzly Kryonaut, and Noctua NT-H2 are the standard recommendations.
Isopropyl alcohol at 90% or higher purity cleans old thermal paste off the CPU die and cooler base plate before applying fresh paste. Standard rubbing alcohol at lower concentrations leaves residue use 90%+ specifically.
You don’t need an air compressor. They work but introduce moisture risk if the compressor doesn’t have a moisture trap. Canned air is safer and sufficient for consumer PC maintenance.
Step 1 — Shut down and disconnect

Power off completely not sleep or hibernate. Switch off the PSU at the rear power switch. Unplug the power cable from the wall. Press the power button once after unplugging to discharge any residual current in the capacitors.How to Stress Test Your PC
Move the PC to a well-ventilated area or outdoors if possible. Cleaning generates a cloud of fine dust that you don’t want landing on your desk, monitor, or keyboard. Outdoors on a still day is ideal. A garage or utility room works if outside isn’t practical.
Remove the side panel. Most modern cases use thumbscrews or tool-free clips two screws at the rear or a sliding mechanism. Set the panel aside.
Step 2 — Hold the fans still before blowing
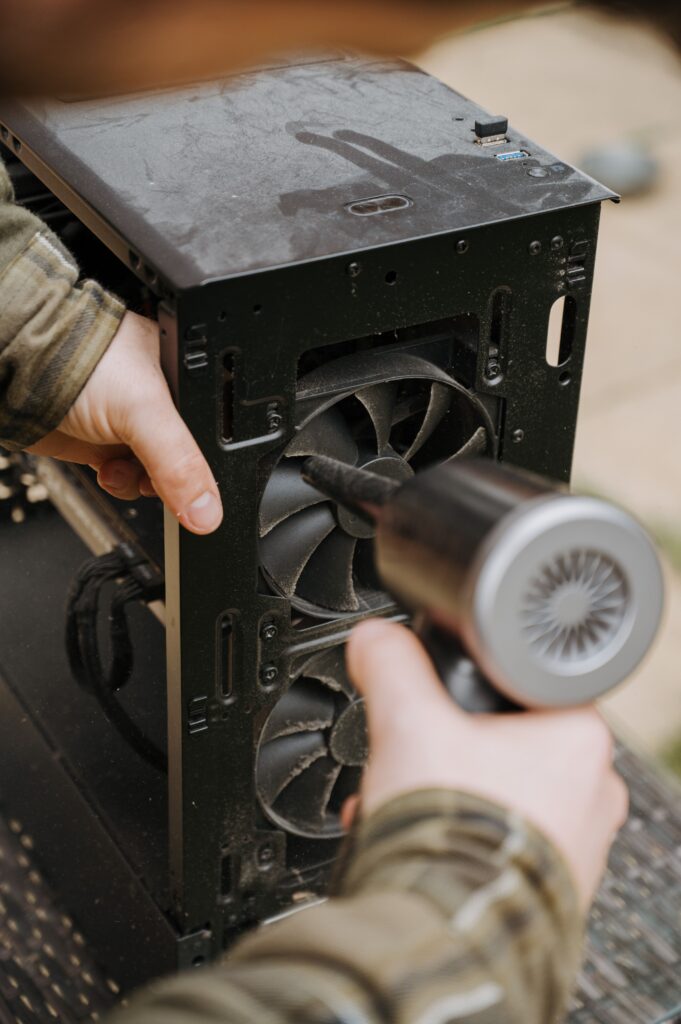
This is the step most people skip and shouldn’t. When you blow compressed air at a fan, the air pressure spins the blades. A fan spinning from air pressure rather than its own motor generates back-EMF a small electrical current that can damage the fan’s bearings or, in worst cases, travel back through the fan controller to the motherboard.How to Monitor Your PC Gaming Performance
Hold each fan still with a finger or a pencil before blowing air at it. This applies to CPU cooler fans, case fans, GPU fans, and AIO radiator fans. It takes five extra seconds per fan and eliminates a real risk.
Once the fan is held still, blow short bursts through the fan blades to dislodge dust from the heatsink fins or radiator behind it.
Step 3 — Clean the intake filters first
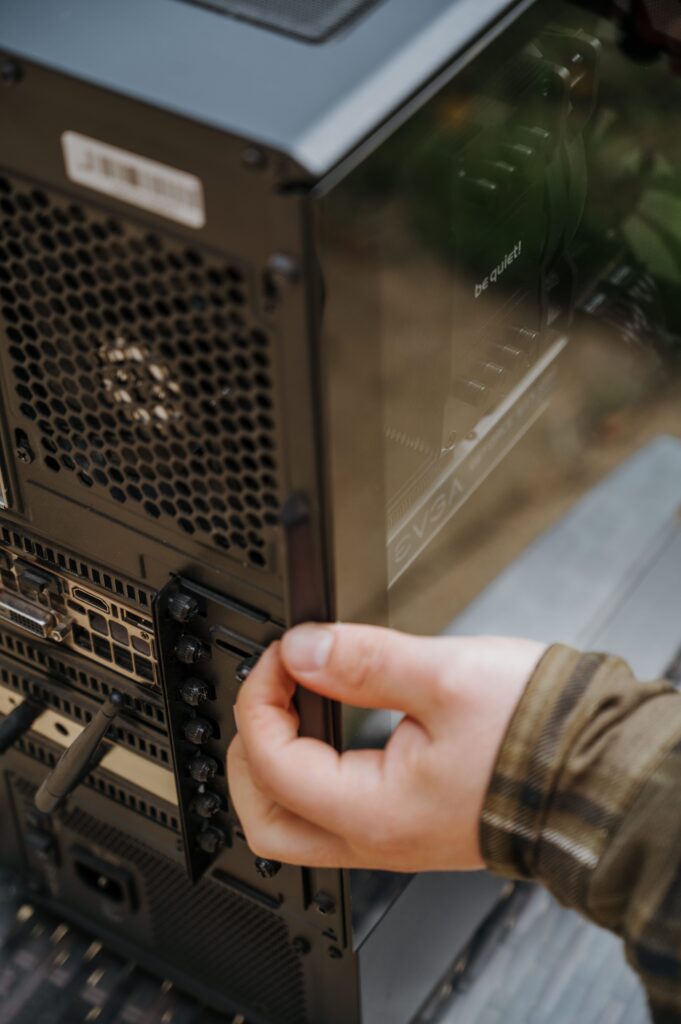
Most cases have magnetic dust filters on the front intake, bottom PSU intake, and sometimes the top. Remove these before cleaning the interior blowing air into a case with clogged intake filters just redistributes dust rather than removing it.
Most magnetic filters pull straight off. Tap them gently over a bin to dislodge loose dust, then rinse with water if heavily clogged, shake off the excess, and leave to dry completely before reinstalling. A damp filter reinstalled immediately is worse than a dusty one.
Step 4 — The CPU cooler
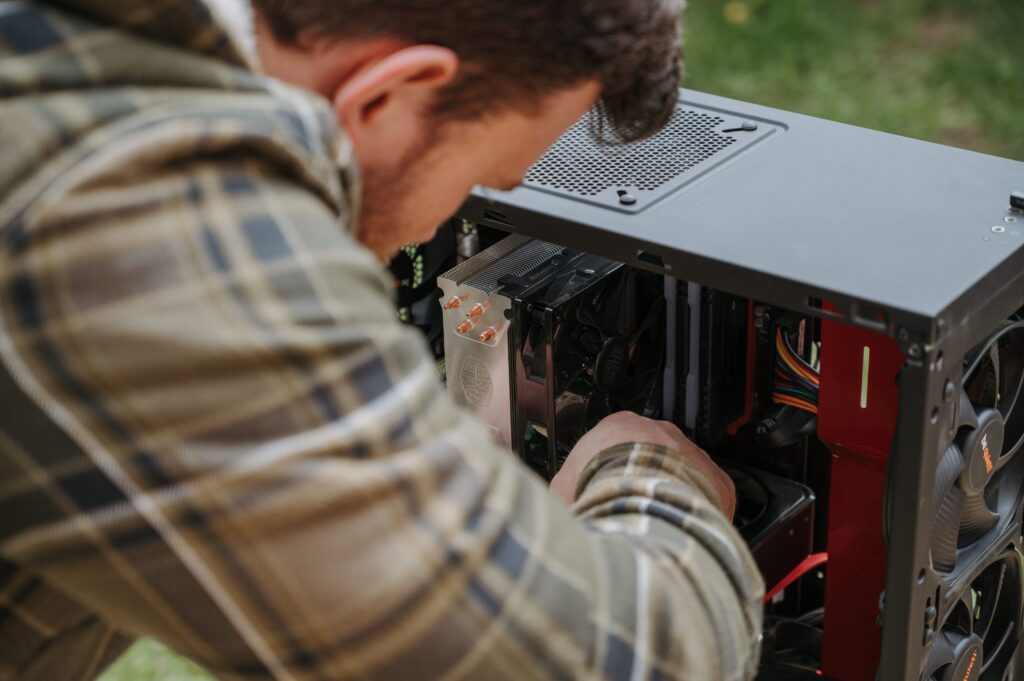
The CPU cooler accumulates more dust than any other component because it runs continuously. On an air cooler a tower heatsink with a fan dust packs into the fin stack between the heat pipes. On an AIO, dust packs into the radiator fins.
Hold the fan still and blow compressed air through the fin stack from both directions front to back and back to front. For particularly dense dust build-up, use the soft brush to loosen it before blowing. Work in short bursts rather than sustained spray to avoid the liquid propellant issue.
On a 360mm AIO radiator, run a brush along the fin rows to loosen dust before blowing. Dense radiator fins trap dust more tightly than tower heatsinks and benefit from the brush pass first.
Step 5 — The GPU
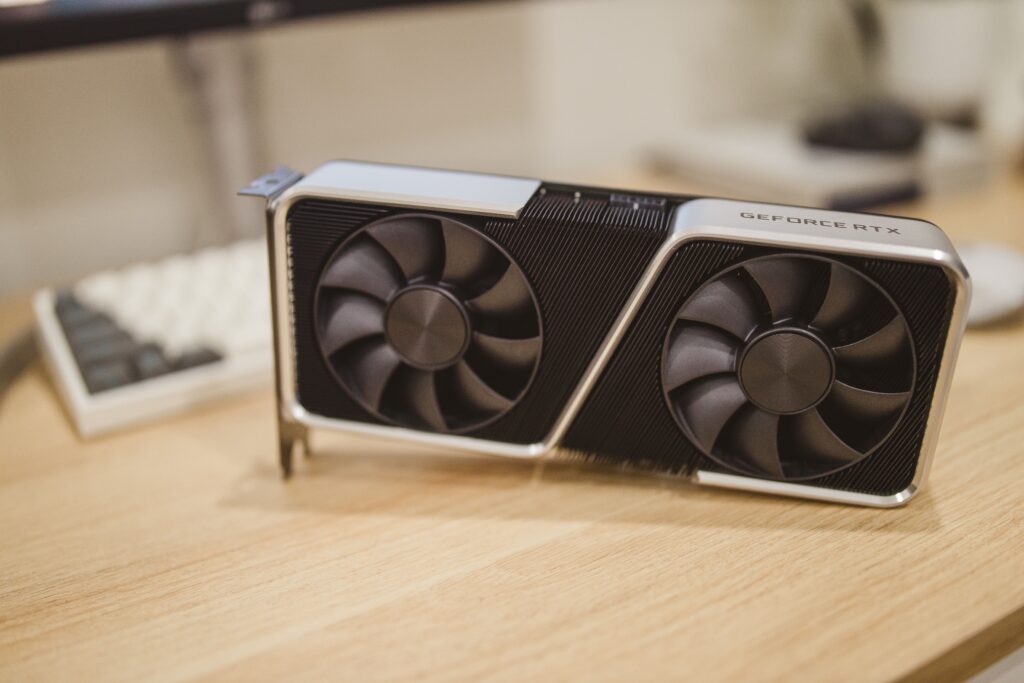
The GPU is the component most affected by dust in real-world gaming because it generates the most heat under sustained load. Dust accumulation here directly affects gaming temperatures.What Is Thermal Throttling and How Do You Fix It
Most GPUs have fans on the bottom face of the card that intake air and exhaust through the top and rear. Hold each fan still and blow through the heatsink from multiple angles. The fins inside the GPU cooler shroud are the target you’re trying to dislodge dust that’s packed between them.
If the GPU runs significantly hotter after cleaning than before, the thermal paste between the GPU die and the heatsink base plate may be dried out. GPU repasting is a more involved process it requires removing the cooler shroud, cleaning the die and base plate with isopropyl alcohol, and applying fresh paste but it can drop GPU temperatures by 10–15°C on cards over three years old. It’s worth researching for your specific card model if cleaning the fins alone doesn’t solve elevated temperatures.
Step 6 — Case fans
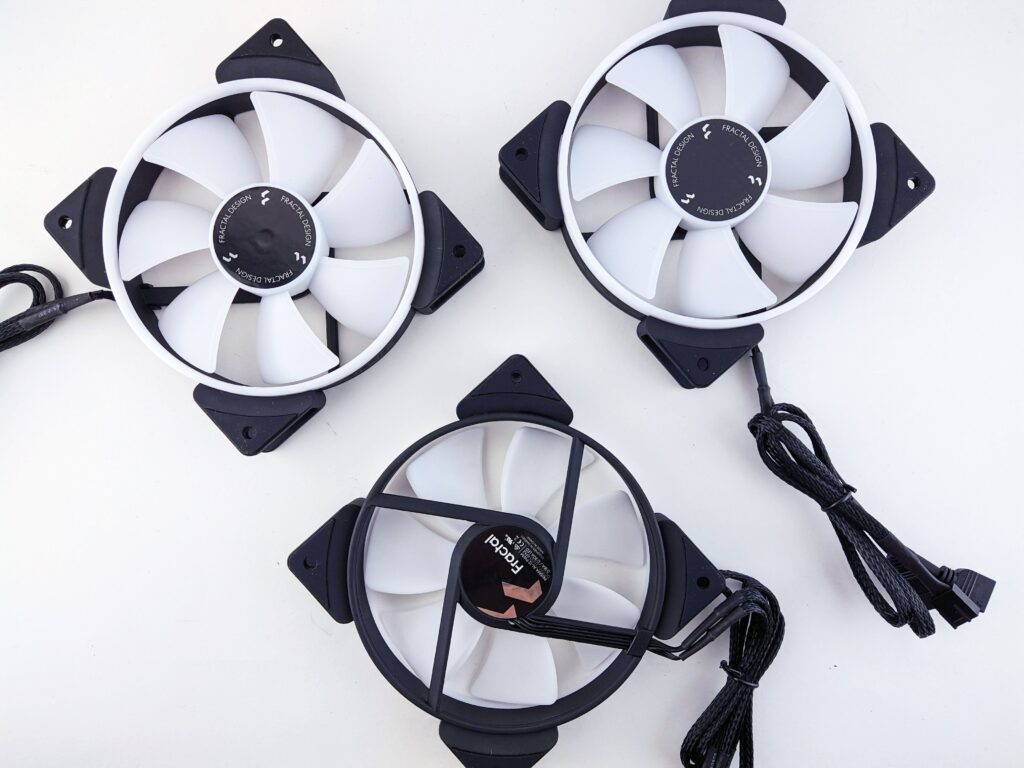
Hold each case fan still and blow through the blades from both sides. Pay particular attention to intake fans they accumulate significantly more dust than exhaust fans because they’re pulling air through the case, carrying whatever particles are in the ambient air with it.Air Cooler vs AIO CPU Cooler 2026
If case fans are removable most mount with four screws remove them for cleaning. A fan you can hold in your hand is easier to clean thoroughly than one mounted in a case.
Step 7 — The motherboard and other surfaces
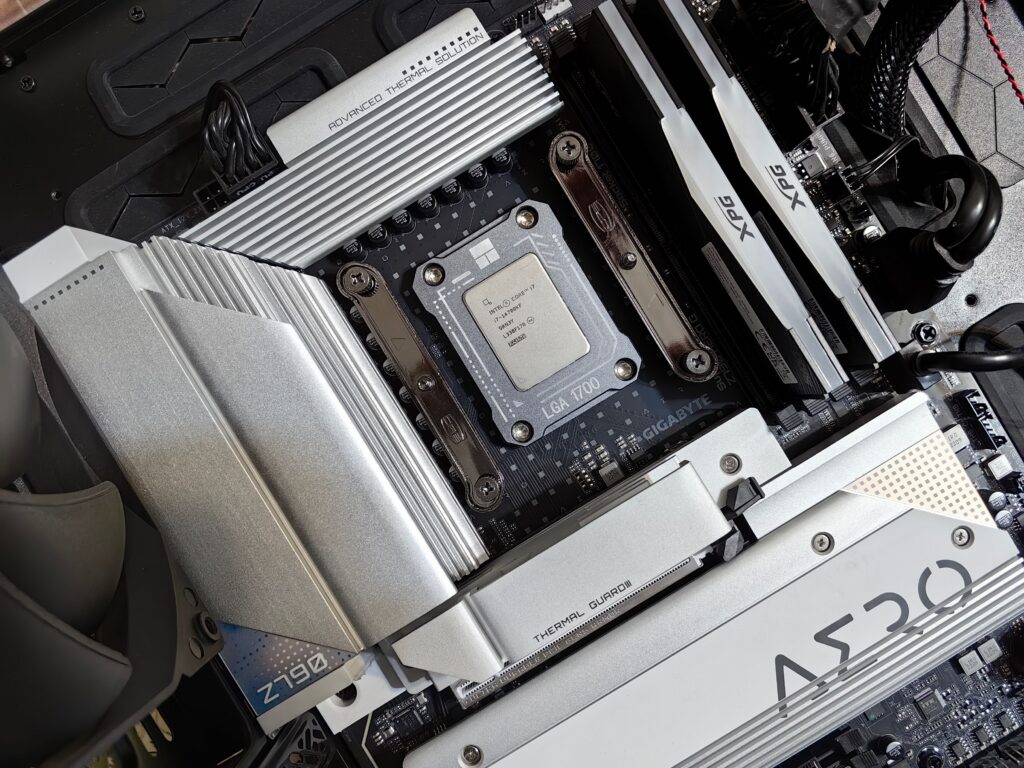
Blow lightly across the motherboard surface, PCIe slots, RAM slots, and M.2 slots. Use the brush to dislodge stubborn dust from around the VRM heatsinks and chipset heatsink. Be gentle around the CPU socket and any unseated expansion slots compressed air at close range and high pressure can knock small components off the board surface.
Clean the PSU intake grill if accessible. Most non-modular PSUs have a fan that pulls air through the bottom or rear dust accumulates here and reduces PSU cooling efficiency over time.
Step 8 — Reinstall everything and test
Replace the dust filters once they’re completely dry. Reinstall the side panel. Reconnect the power cable and flip the PSU switch back on.
Boot the system and run a monitoring tool — HWiNFO64 or MSI Afterburner while playing a demanding game for 15–20 minutes. Compare the temperatures to what you were seeing before cleaning. A significant drop confirms the cleaning addressed the thermal issue. A modest drop with temperatures still elevated suggests additional maintenance thermal paste replacement or a cooler upgrade may be warranted.If temperatures are still elevated after cleaning, run a full stress test to identify whether the issue goes deeper.
How often to clean
Every six months for most builds in typical home environments. Every three months if the PC sits on carpet, you have pets, or the room accumulates dust quickly. Once a year if the PC sits elevated on a desk in a clean room with good airflow.Best PC Cases for Airflow 2026
Don’t wait for symptoms. Preventive cleaning every six months keeps temperatures stable and prevents the gradual creep that turns a 65°C GPU into an 85°C GPU over eighteen months of neglect.If you want to go further than monitoring, a dedicated stress test gives you a controlled load to measure temperatures and stability against.
The filter clean is quicker and worth doing monthly pull the magnetic filters, tap them out over a bin, and reinstall. Two minutes. It significantly reduces how much dust makes it into the case and extends the time between full internal cleans.