
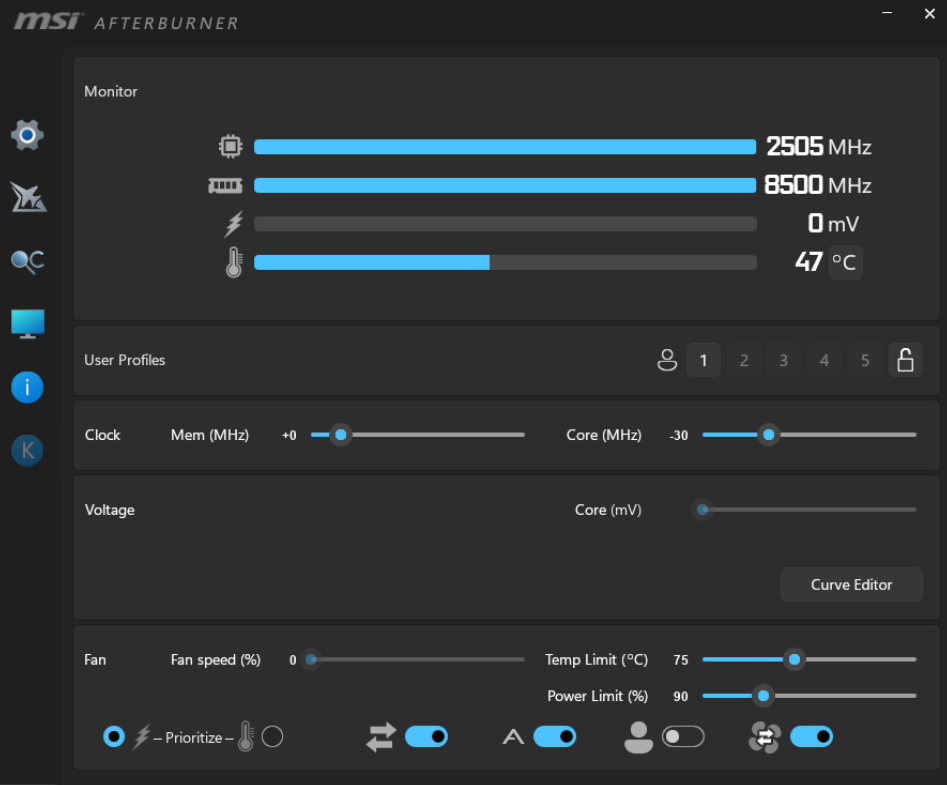
Traditional overclocking is mostly dead. You’re not going to take a modern Ryzen 9 9800X3D or a Core Ultra 9 285K, push the voltage up 0.1V, set a manual all-core frequency, and get meaningfully more performance. Modern CPUs ship from the factory already running close to their physical limits. The silicon headroom that made manual overclocking so rewarding in the Core 2 Duo era simply doesn’t exist at the same scale anymore.
What does exist, and what most people never touch, is the opposite: undervolting. Tuning the voltage curve downward so the CPU can hit and sustain higher boost clocks using less power, running cooler, and staying above thermal thresholds for longer. AMD’s Curve Optimizer and Precision Boost Overdrive, and Intel’s equivalent performance tuning tools, can produce 5-10% gaming performance gains while actually reducing operating temperatures. That’s not a trade-off; that’s just free performance you’re currently leaving in the BIOS.BIOS Settings Most People Never Check
That’s what this guide covers, starting with the one thing you should do right now that takes 30 seconds, through to Curve Optimizer for AMD builders and Adaptive Performance Optimization for Intel.
Step Zero: Enable XMP or EXPO First
Before touching anything else, your RAM is almost certainly running below its rated speed.
Every DDR5 kit ships in a low-power JEDEC default state, 4800 MHz regardless of whether the box says 6000 MHz, 6400 MHz, or 7200 MHz. This is a safety measure, not a feature. Until you explicitly enable the speed profile in your BIOS, you’re running your 6000 MHz kit at 4800 MHz and leaving a genuine 5-10% gaming performance gain on the table, particularly on AMD Ryzen systems where memory speed directly affects Infinity Fabric latency.G.Skill Flare X5 32GB DDR5-6000 CL30 ($479)

Enabling XMP on Intel platforms or EXPO on AMD takes thirty seconds and zero risk. The profile was validated by the RAM manufacturer on your specific kit. It’s not overclocking in any meaningful sense, it’s running the hardware at the speed you paid for.
Go to BIOS (Delete or F2 during POST on most boards). Find the memory settings, usually in the Tweaker, OC, or DOCP section depending on your motherboard brand. Enable XMP or EXPO, save and reboot, and you’re done.
For Ryzen 9000 series on AM5, the sweet spot is DDR5-6000 CL30. At 6000 MHz, the Infinity Fabric runs at 2000 MHz in a 1:1 ratio with the memory controller. That ratio is what matters. Push above DDR5-6400 and the Infinity Fabric drops into a 2:1 asynchronous mode, the memory runs faster but latency increases because the memory controller can no longer keep pace. Real-world gaming performance at DDR5-6400 in 2:1 mode is typically equal to or worse than DDR5-6000 in 1:1 mode despite the higher frequency number. Don’t chase 6400+ on AM5 expecting gains.
If your system doesn’t boot after enabling XMP or EXPO, the RAM and motherboard aren’t playing nicely at rated speed. Drop to a lower XMP profile if your kit offers multiple profiles, or manually set the frequency one step below rated speed (5600 MHz instead of 6000 MHz, for example) and tighten CAS latency by one step. That’s almost always enough to achieve stability.
AMD Ryzen: What Precision Boost Overdrive and Curve Optimizer Actually Do
AMD’s Precision Boost algorithm manages clock speeds automatically. It watches CPU temperature, socket power consumption, and voltage in real time, boosting individual cores as fast as the silicon can safely go within those limits. The problem is that AMD programs those limits conservatively, the power, thermal, and voltage curves have to cover every chip AMD makes, including the ones with slightly worse silicon quality. Your specific chip almost certainly tolerates higher power limits or lower voltage than the factory defaults assume.
Precision Boost Overdrive (PBO) relaxes those conservative limits. It raises the power, thermal, and electrical current ceilings so Precision Boost can boost faster and sustain those boosts longer. On a 9800X3D, enabling PBO with motherboard limits produces 3-6% better sustained gaming performance in CPU-sensitive titles because the CPU stays at its peak boost clock longer rather than pulling back when it approaches the factory power limit.Ryzen Master and Intel XTU Gaming Guide
Enable PBO in your BIOS under the AMD Overclocking or CPU section. Set it to “Enabled” or “Motherboard Limits” first, this gives the CPU access to the headroom your board is rated for without manually pushing numbers you haven’t tested. Run your system for a week with games and benchmarks. Check temperatures with HWiNFO64 overlay. If peak CPU temperature under gaming load stays under 90°C, you have thermal headroom. If it regularly touches 95°C, your cooler is the limiting factor before the CPU is.
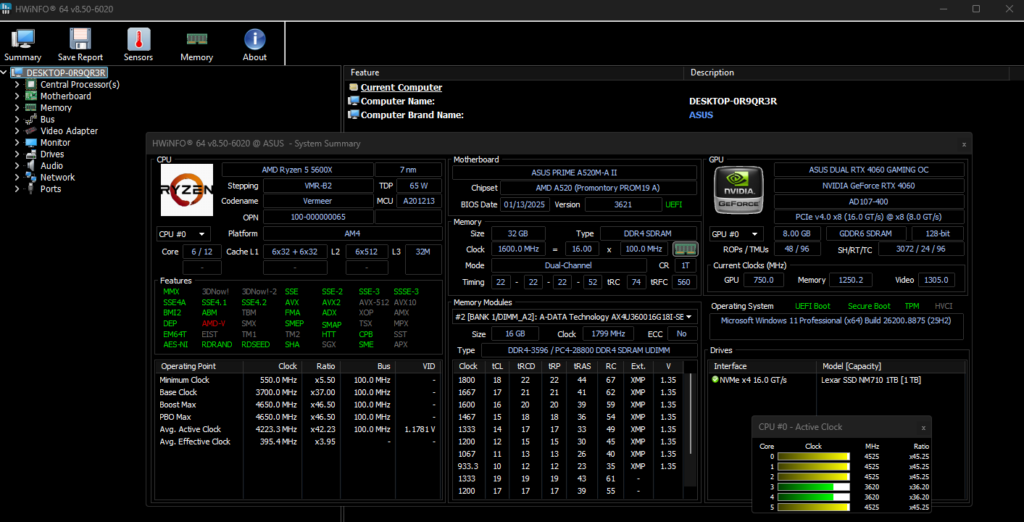
Curve Optimizer is the part most people skip and shouldn’t. It adjusts the voltage-frequency curve that controls how much voltage the CPU requests at a given clock speed. By pushing the curve in a negative direction (negative values mean lower voltage at each clock step), you’re telling the CPU it can hit the same clock speeds using less voltage. Less voltage means less heat. Less heat means the CPU can sustain its boost clock longer before the thermal limit pulls it back. Counter-intuitively, undervolting via Curve Optimizer typically produces higher sustained performance than stock because sustained performance on modern Ryzen is thermally limited, not voltage limited.
The starting point for Curve Optimizer is an all-core offset of -20 on each core. Navigate to AMD Overclocking in BIOS, find Curve Optimizer, set the mode to All Core, and enter -20. Save, reboot, run your system for a day. If the system is completely stable, no crashes, no application errors, no unexpected reboots, you can push further in increments of -5. Some chips tolerate -30 all-core. Some fall apart at -25. Silicon quality varies between individual chips, which is why no fixed number works for everyone.
If the system crashes or bluescreens after applying Curve Optimizer, you’ve pushed too far for your chip. Reset CMOS or load BIOS defaults and start at -10 instead of -20.
Per-core Curve Optimizer is the advanced version. Instead of one offset for all cores, you set individual offsets for each core based on its quality. The best cores on a Ryzen chip (the ones AMD’s algorithm favours for single-threaded boost) can often tolerate more aggressive negative offsets because they’re higher quality silicon. Your lesser cores may need less aggressive tuning to maintain stability. HWBOT’s Ryzen Master Utility and AMD’s own Ryzen Master both show per-core ranking. The chip’s best cores are numbered 0 and 1 in most implementations. Start with -20 on all cores, then push your top two cores to -25 or -30 while keeping the rest at -20.How to Stress Test Your PC
Curve Shaper is AMD’s newer addition that layers on top of Curve Optimizer. Where Curve Optimizer applies a fixed voltage offset across all operating conditions, Curve Shaper applies different offsets depending on temperature and load state. Under light load at low temperature, the CPU can run on very little voltage. Under heavy load at high temperature, it needs more. Curve Shaper lets you set 15 voltage offset points across the temperature and load range, tuning each scenario independently. It’s genuinely useful for chips that are stable under light workloads but occasionally crash under sustained all-core stress, Curve Shaper lets you add a small amount of voltage back in precisely the conditions that cause instability without affecting your undervolt in other scenarios.
For X3D chips specifically, the 9800X3D, 9950X3D, a critical rule: never apply a positive voltage offset. The 3D V-Cache die stacked on top of the CPU die is more voltage-sensitive than the base chip. Positive voltage offsets that are perfectly safe on a standard Ryzen chip can damage the cache die on an X3D chip over time. Keep all Curve Optimizer values negative or zero. Stick to PBO and Curve Optimizer tuning only.
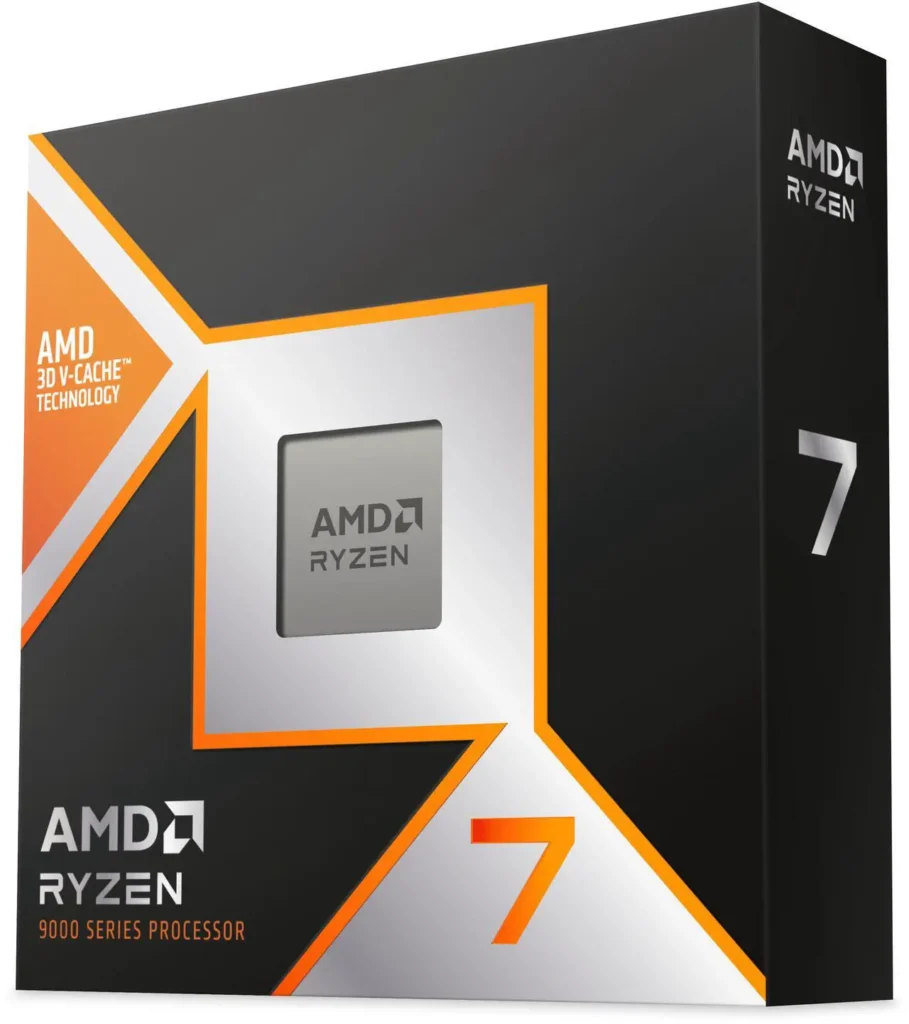
Intel Core Ultra: Application Performance Optimizer and Manual Tuning
Intel’s tuning story for Arrow Lake and Arrow Lake Refresh has two main paths.
Application Performance Optimizer (APO) is Intel’s version of AMD’s PBO. It’s a driver-level tool that identifies foreground applications and dynamically adjusts how the processor allocates performance between P-cores and E-cores for that specific workload. For gaming, it identifies CPU-sensitive titles and pushes more resources to the P-cores handling the game’s main thread. Intel claims 2-16% gaming performance improvement depending on the title, the real-world impact varies significantly but is most noticeable in CPU-sensitive games at 1080p where the main thread is the bottleneck.AMD Ryzen 9 9800X3D Review
Download APO from Intel’s website. Install it and reboot. It works silently in the background and doesn’t require any configuration beyond installation. Check your task manager to confirm it’s running as a service. That’s it. It’s the equivalent of “enable PBO” for Intel, low effort, real gains.

Intel XTU (Extreme Tuning Utility) goes further. The 2026 version includes an AI Assist mode that benchmarks your specific chip and suggests a safe tuning profile automatically. For K-series CPUs on Z890 boards, XTU can apply a performance profile that raises power limits, adjusts per-core boost ratios, and tightens timing parameters. The AI Assist result is a reasonable starting point. Run it, apply the suggested profile, then validate stability before pushing further.How to Monitor GPU and CPU Temperatures
Manual Intel CPU tuning follows the same principle as AMD but uses different terminology. Instead of Curve Optimizer, Intel’s equivalent is per-core ratio limits with adaptive voltage. Raise the P-core ratio limit in the BIOS by one step (from 58x to 59x, for example), set voltage to adaptive mode rather than manual override, and test for stability. If stable, increment again. The maximum safe P-core voltage on Arrow Lake Refresh is 1.40V, above that you’re shortening CPU lifespan measurably.
Intel K-series chips require Z-series chipset motherboards for overclocking. You can’t push CPU multipliers on a B860 board. If you bought a Core Ultra 7 270K Plus and a B860 motherboard, CPU overclocking isn’t available. Memory overclocking via XMP 3.0 is still possible on B860. For full CPU tuning headroom, you need Z890.
RAM Tuning Beyond XMP and EXPO
Enabling XMP or EXPO is step one. Manually tightening timings is step two, for builders who want to go further.
Every DDR5 kit has a rated XMP or EXPO profile that covers frequency, primary timings (CAS latency, tRCD, tRP, tRAS), and voltage. That profile is validated to work across a wide range of boards and CPUs, which means it’s deliberately conservative. Your specific board and chip combination almost certainly has margin beyond what the profile uses.
The primary timing to tighten first is CAS latency (CL). Dropping from CL36 to CL32 at the same frequency, or from CL32 to CL30, reduces memory access latency. In gaming, lower latency produces slightly better frame times in CPU-sensitive scenarios. The gaming performance difference between CL36 and CL30 at 6000 MHz is typically 1-3% in CPU-limited scenarios, real but not dramatic. Worth doing if you’re already in the BIOS.Best Motherboard for Gaming 2026
To tighten CAS latency: enable your XMP or EXPO profile first. Then manually reduce CL by one step. Reboot. If stable, reduce by another step. Validate with MemTest86 (two full passes) or TestMem5 before considering the setting permanent. Memory errors are subtle, the system may appear stable while silently corrupting data.
Never raise DDR5 voltage above 1.45V on consumer kits without active cooling on the DRAM modules. Sustained voltage above 1.45V accelerates DRAM degradation. Most XMP profiles run at 1.35-1.40V. Tightening timings at the stock profile voltage is safe. Raising voltage to chase higher frequencies or lower timings requires more caution.
DDR5-6000 CL30 on AM5 remains the value endpoint for most builders, it’s the sweet spot where you get the 1:1 Infinity Fabric ratio plus tight primary timings without needing to spend $350+ on a binned kit. G.Skill Flare X5 32GB DDR5-6000 CL30 is the standard recommendation. If your kit shipped with CL36 at 6000 MHz, try reducing to CL32 before spending money on a new kit.Best RAM for Gaming in 2026

Stability Testing: Don’t Skip This
Unstable overclocks or undervolts cause intermittent crashes and file system errors that are genuinely difficult to diagnose. A system that crashes twice a week might not obviously link back to a BIOS setting you applied three weeks ago. Test properly and you eliminate that risk.
HWiNFO64 monitors temperatures, voltages, and clock speeds in real time. Run it in sensor-only mode with the System Tray widget visible while gaming or benchmarking. Check for any WHEA (Windows Hardware Error Architecture) errors logged in the event viewer after stress testing, even one WHEA error indicates instability.

Cinebench 2024 is the standard CPU benchmark for validating overclock performance gains. Run single-core and multi-core tests at stock, then again after tuning. The difference tells you exactly what you gained. A 9800X3D with PBO enabled and Curve Optimizer at -20 all-core should show 3-6% better multi-core scores and slightly better single-core results versus stock with factory settings.
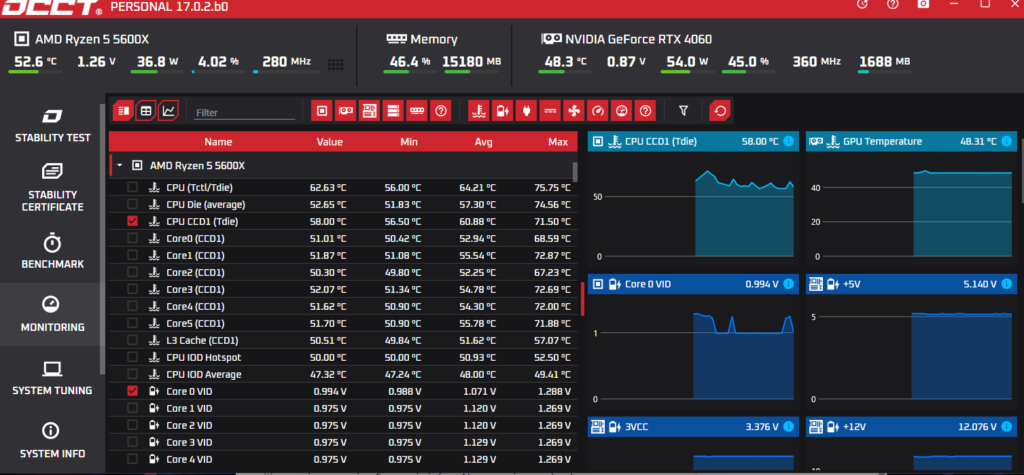
OCCT is the stability tester worth using. The CPU:OCCT test runs for one hour and applies consistent load to find instability that gaming workloads sometimes miss. If OCCT runs clean for one hour with no errors and temperatures stay within safe ranges, your configuration is stable enough for daily use.
MemTest86 runs before Windows boots, from a USB drive, and tests RAM at the hardware level. Two full passes with zero errors confirms your RAM tuning is stable. Don’t skip this after changing any memory timing.
The Honest Expectations
What you’ll realistically gain from a well-tuned AM5 system in 2026:
Enabling EXPO at DDR5-6000 CL30: 5-10% gaming performance improvement in CPU-sensitive scenarios versus stock 4800 MHz. Free. Takes 30 seconds.
PBO enabled with motherboard limits: 3-5% better sustained gaming performance in CPU-sensitive titles. Free. Takes two minutes.
Curve Optimizer at -20 all-core: lower temperatures under load (typically 5-8°C lower junction temperature), which sustains boost clocks longer. Indirect performance improvement, the chip boosts higher for longer because it’s cooler. Also free. Takes fifteen minutes to apply and a week of testing to validate.
Manual timing tightening from CL36 to CL30 at DDR5-6000: 1-3% better gaming performance in CPU-sensitive scenarios. Takes an hour of testing.
All four combined: a realistically tuned system running 8-15% faster than stock in CPU-sensitive gaming scenarios. Every gain is free. None require new hardware.
What you won’t gain: a 9800X3D running like a 9950X3D. A 9600X running like a 9800X3D. These chips have different core counts, cache configurations, and architectural capabilities. Tuning extracts what’s there. It doesn’t create capability that isn’t.