

Most thermal paste guides treat this as a five-minute topic. Put a dot on the chip, install the cooler, done. That’s basically correct, but it skips the things that actually cause problems: the wrong amount, applying over old paste without cleaning first, Not knowing that Intel’s LGA1851 socket has a bending issue that causes high temperatures regardless of how well you apply the paste. Using a CPU-sized blob instead of a pea-sized one.
This guide covers the complete process from start to finish, including the AMD and Intel differences that matter, the pastes worth buying, and the mistakes that send builders to forums wondering why their temperatures are 15°C higher than reviews show.Noctua NT-CP1 Carbon Nanotube Thermal Pad
What Thermal Paste Actually Does
Your CPU and its cooler both look flat, but neither of them is. Under a microscope, both surfaces have microscopic ridges, valleys, and imperfections. When you press a cooler onto a CPU without thermal paste, those surface irregularities create tiny air pockets between the two metal surfaces. Air is a terrible conductor of heat, roughly 8,000 times worse than thermal paste. Those air pockets insulate the CPU from the cooler and temperatures climb.
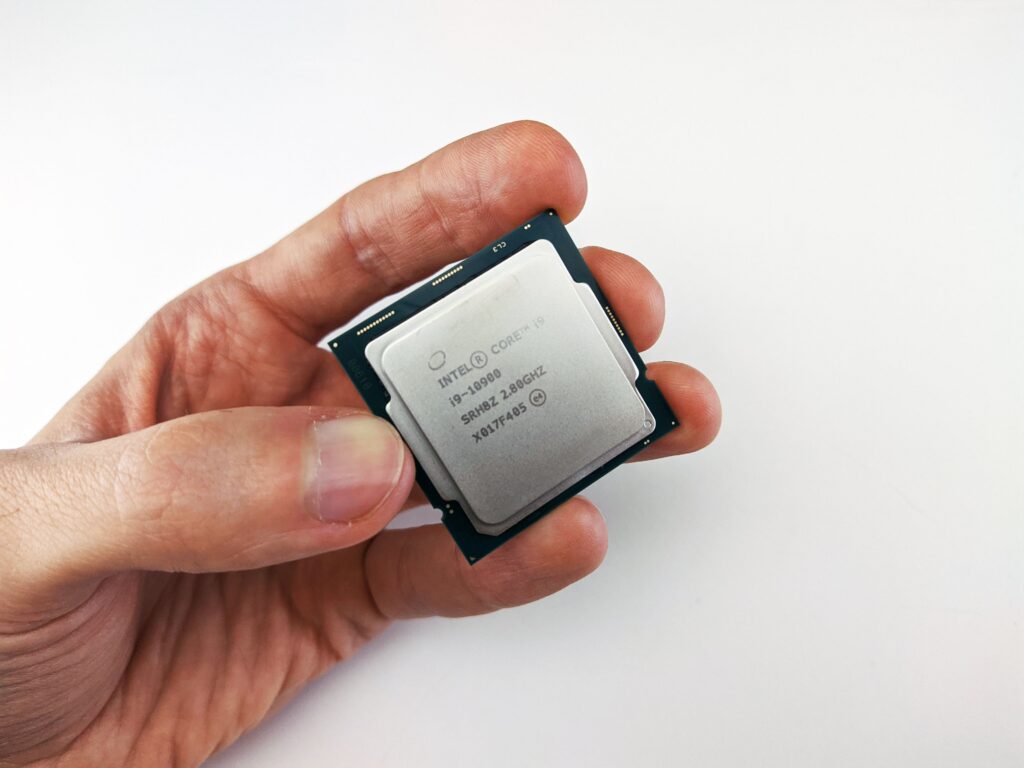
Thermal paste fills those microscopic gaps. It’s a thermally conductive compound, typically carbon-based, zinc-oxide based, or in high-end applications, liquid metal, that has dramatically better heat conductivity than air while remaining stable at CPU operating temperatures. The paste doesn’t do the cooling. It ensures heat moves efficiently from the CPU’s metal heat spreader (the flat metal lid you see when you look at a CPU) into the cooler’s metal base plate, where the cooler’s heatsink or water block does the actual thermal management.
This is why application method matters less than most content suggests. Any correct method, pea dot, line, X pattern, spreads the paste into complete coverage under cooler mounting pressure. The goal is thin, complete coverage without air bubbles or voids. How you start the paste on the chip is less important than achieving that end state.Custom Water Cooling Guide
Before You Start: Clean the Surfaces First
Every application guide should start here, and most skip it.

If you’re installing a cooler for the first time on a new CPU, the IHS is clean from the factory, so proceed directly to application. If you’re reapplying paste (replacing a cooler, remounting after removing a cooler, doing maintenance on an existing build, you must clean both the CPU IHS and the cooler’s contact plate first.
Old thermal paste dries out over time. It becomes brittle, develops micro-cracks, and starts trapping air rather than filling gaps. Applying new paste over dried old paste means you’re sandwiching a degraded thermal interface layer between two layers of fresh paste. The dried layer doesn’t bond properly to either surface and creates thermal resistance. Your temperatures after reapplication won’t improve and might actually be worse than before.
Clean with 90% isopropyl alcohol minimum, 99% preferred. Use a lint-free cloth or a coffee filter, not tissues or kitchen roll which leave fibres behind. Wipe the CPU IHS in one direction. Don’t scrub in circles, circular motion can push paste residue into the edges around the IHS. Let both surfaces dry completely for two to three minutes before applying fresh paste. The surfaces need to be clean and dry with no alcohol residue remaining.
Don’t use cotton buds on the contact plate of the cooler. The small surface area makes it tempting but cotton fibres get left in the fins of direct-touch heatpipe coolers. Use a lint-free cloth only.
How Much Paste: This Is Where Most Mistakes Happen
The correct amount is a pea-sized dot approximately 3-4mm in diameter placed in the centre of the CPU’s IHS.
That’s less than you think, and most people apply too much. Here’s what too much paste actually does: it creates a thicker layer than needed between the CPU and cooler, which adds thermal resistance rather than reducing it. It also squeezes out around the edges of the IHS when the cooler is mounted. For most non-conductive pastes this is messy but harmless, the excess paste sits on the PCB or socket rim. For electrically conductive pastes (liquid metal, some silver-based pastes) overflow onto PCB traces or into the socket causes electrical shorts. Components can be damaged or destroyed.
A pea-sized dot doesn’t overflow in normal use with a correctly seated cooler. It spreads under mounting pressure to cover most of the IHS contact area with a thin, even layer. That thin layer transfers heat better than a thick one.How to Repaste Your GPU
Too little paste is less of a problem than too much. An undersized application might leave small uncovered areas at the edges of the IHS, which shows as slightly higher temperatures and mild thermal variance across cores. It won’t cause throttling or high temperatures in normal gaming use. If you accidentally apply slightly too little, it’s fine, don’t add more paste without removing and recleaning.
The Methods: Pea Dot, Line, and X Pattern
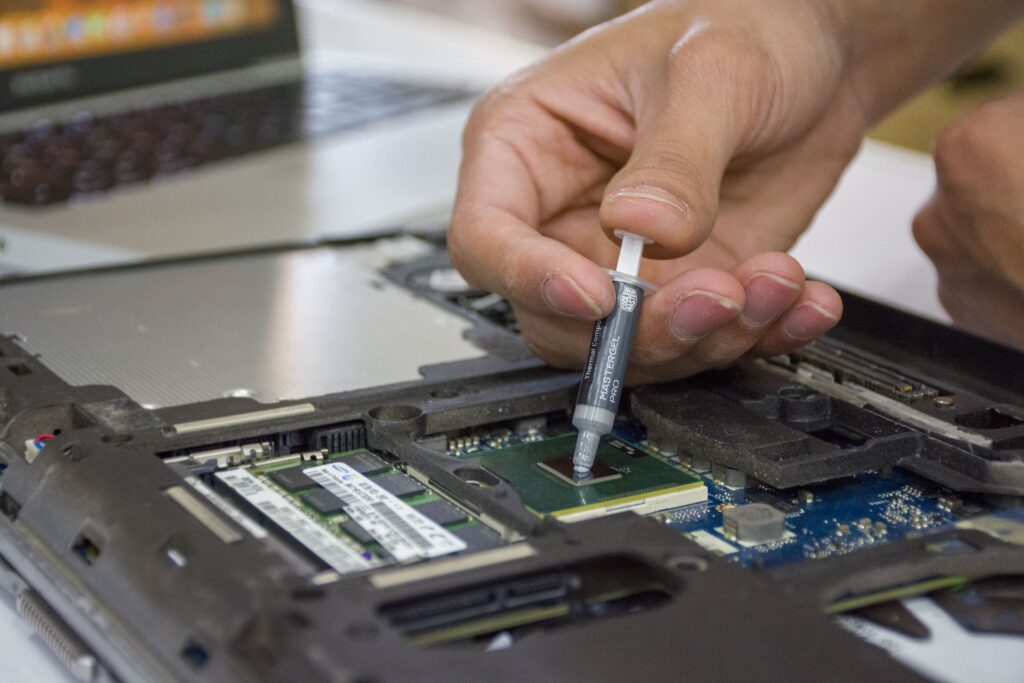
Pea dot (recommended for AM5 and most builds): a 3-4mm diameter dot in the absolute centre of the IHS. When the cooler is pressed down and the mounting screws are tightened, the paste spreads outward from the centre under pressure. On AMD AM5 chips, the IHS has distinctive cutouts at the corners, the irregular shape means paste applied off-centre doesn’t spread symmetrically. Always centre the dot precisely on AM5. The pea method on AM5 produces coverage of roughly 70-80% of the IHS surface area under standard cooler mounting pressure, which is sufficient for correct thermal performance.
Line method (recommended for Intel LGA1851): Intel’s Core Ultra 200S series chips use a rectangular IHS rather than a square one. The die inside is offset toward one end of the rectangle. A single pea dot centred on the full IHS doesn’t spread as efficiently as on a square chip because the mounting pressure doesn’t push paste toward the corners of a rectangle as evenly. A thin line of paste roughly 2mm wide running along the longer axis of the IHS, covering approximately 70% of the length, spreads more consistently under the cooler’s rectangular contact surface. Keep the line centred on the short axis.
X pattern (for large square IHS chips like Threadripper or when using direct-touch heatpipe coolers): two thin crossing lines forming an X across the IHS. The crossed lines create spreading paths toward all four corners simultaneously and work better than a single dot on large IHS surfaces where a pea dot’s radial spread doesn’t reliably reach the edges. For standard Ryzen 5000, 7000, and 9000 chips, the X pattern is unnecessary: the IHS is small enough that a pea dot covers it. For Threadripper with IHS dimensions over 50x50mm, the X pattern is correct.
Manual spread (skip it for beginners): some builders use a plastic card or the included applicator to spread paste manually across the entire IHS before installing the cooler. Done correctly, this achieves excellent thin coverage. Done incorrectly, it introduces air bubbles and uneven thickness. There’s no thermal performance benefit over the pea method for standard CPUs that justifies adding complexity, so skip it.
The Intel LGA1851 Problem You Need to Know About
If you’re building on Intel’s Core Ultra 200S (Arrow Lake Refresh) and your temperatures after a correct paste application are 5-10°C higher than reviews show on the same chip, the paste probably isn’t the problem.Air Cooler vs AIO CPU Cooler 2026
Intel’s LGA1851 socket uses an ILM (Independent Loading Mechanism) that applies uneven pressure across the CPU IHS. Under the ILM’s clamping force, the CPU IHS bends very slightly, the centre makes good contact with the cooler base plate but the edges lift away. The result is that paste fills the gap at the centre but there’s no contact at the edges, creating thermal resistance exactly where a high-TDP chip generates the most heat.
This isn’t a failure or defect, it’s a design characteristic of LGA1851 that affects a proportion of chips to varying degrees. You won’t see it by looking at the CPU. The evidence is temperatures consistently 5-10°C above what hardware review sites show for your chip under identical cooler and paste conditions.
The fix is an aftermarket contact frame, a precision-machined metal bracket that replaces or supplements the stock ILM and distributes mounting pressure more evenly across the IHS. Thermal Grizzly Contact Frame for LGA1851 and Thermalright LGA1851 Contact Frame both run $15-$30 on Newegg. Installation takes ten minutes. Temperature drops of 5-10°C are consistent across users who install them on affected chips.Thermalright LGA1851 Contact Frame
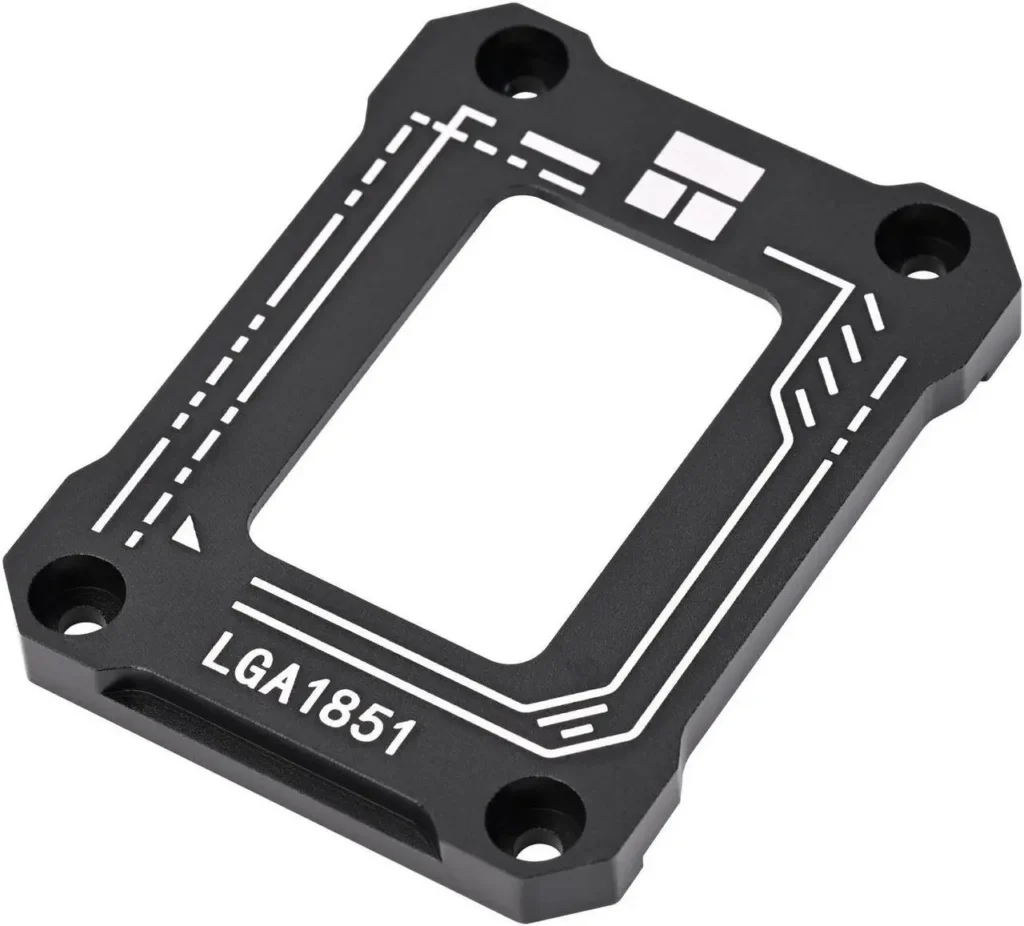
Not every LGA1851 chip bends enough to cause measurable temperature increases. If your temperatures match review data after correct paste application, you don’t need it. If they’re consistently 5-10°C above what reviews show, buy the contact frame before trying a different paste or a different cooler.
AM5 doesn’t have this problem. AMD’s socket design distributes mounting pressure evenly by default.
The Paste Brands Worth Buying
The thermal paste market has three tiers that matter for builders in 2026.
Budget tier ($19): Arctic MX-6

MX-6 is the standard recommendation for anyone who wants correct paste at minimum cost. 4 W/mK thermal conductivity, non-conductive (safe if it overflows onto PCB), stable for three to five years before needing replacement, available in 4g and 8g tubes. The 8g tube is enough for four to six applications, useful if you build multiple systems or anticipate reapplying. Arctic MX-6
It won’t produce the absolute lowest temperatures in a review benchmark but the difference between MX-6 and a premium paste on a mainstream chip under gaming load is typically 1-3°C. Unless you’re running a flagship chip under sustained all-core workloads where every degree matters, MX-6 is all you need.
Mid tier ($21): Thermal Grizzly Kryonaut
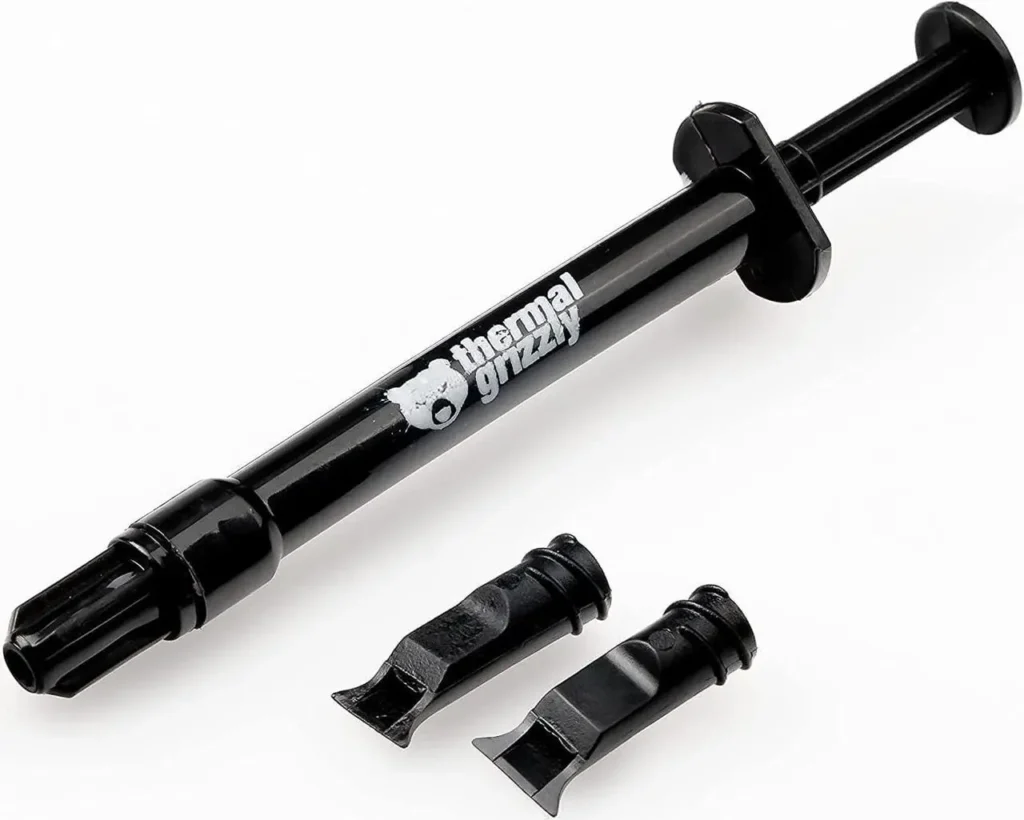
Kryonaut has been the enthusiast community’s reference paste for years because it offers genuinely better conductivity than budget options, 12.5 W/mK versus MX-6’s 4 W/mK, and remains non-conductive and safe for standard application. It performs 2-5°C better than MX-6 on high-TDP chips like the 9950X3D or Core Ultra 9 285K under sustained all-core load.Thermal Grizzly Kryonaut
The limitation is longevity. Kryonaut begins to dry and degrade faster than MX-6 above 80°C continuous operation, which matters for workstation chips running render workloads 24/7 but is irrelevant for gaming builds that rarely sustain 100% CPU utilisation for hours at a time. For a gaming build, Kryonaut is the correct step-up choice. For a continuously loaded workstation, consider Kryonaut Extreme or a phase-change pad instead.How to Monitor GPU and CPU Temperatures
High end ($17): Thermal Grizzly Conductonaut (liquid metal): with caveats

Liquid metal pastes achieve 50-80 W/mK conductivity, dramatically higher than carbon-based options. In real-world CPU applications, this translates to 5-10°C lower temperatures versus Kryonaut on high-TDP chips. On a 9950X3D or a Core Ultra 9 pushing 250W under sustained load, that’s a meaningful difference.Thermal Grizzly Conductonaut
The caveats are serious. Liquid metal is electrically conductive, any overflow onto PCB traces or into the socket will cause a short that damages the motherboard, CPU, or both. Application requires a brush (included), slow careful coverage of the IHS surface, and masking of the socket area with tape. Clean-up if you need to remove the cooler requires careful technique.
Do not use liquid metal on AMD AM5 chips. The AM5 IHS uses aluminium in its construction, liquid metal reacts with aluminium through galvanic corrosion, damaging the IHS over time. Liquid metal is safe on Intel LGA1851’s nickel-coated IHS. On AM5, use Kryonaut or MX-6.How to Stress Test Your PC
Do not use liquid metal unless you’re confident in careful application. The temperature gains are real but the risk of a catastrophic short on a $500+ CPU and $200+ motherboard is not theoretical.
Phase-change pads (Noctua NT-CP1): the low-maintenance alternative
Noctua’s NT-CP1 carbon nanotube thermal pad is a solid at room temperature and transitions to paste-like consistency at operating temperatures. You cut it to size with scissors, place it on the IHS, and install the cooler. No spreading, no application skill required. Performance is close to Kryonaut. It’s re-usable and repositionable during installation, which is useful when working with difficult cooler mounting mechanisms.What Is Thermal Throttling and How Do You Fix It
At $25-$30 for enough material for two to three applications, it’s more expensive per application than MX-6 but costs less per application than Kryonaut if you’re building multiple systems. The genuine advantage is that it doesn’t require technique, you can take the cooler off, inspect the contact, and reposition without the paste smearing and requiring a full clean-and-reapply cycle.
The Application Process: Step by Step
Step one: Remove the cooler from the CPU if reapplying. Set it aside on a clean surface with the contact plate facing up.
Step two: Clean both surfaces with 90%+ isopropyl alcohol and a lint-free cloth. Let dry completely.
Step three: Orient your CPU in the socket and confirm it’s correctly seated and locked. On AM5, the retention arm clicks down. On LGA1851, the ILM levers close in sequence, CPU lever first, then IHS lever.
Step four: Apply a pea-sized dot of paste (3-4mm diameter) to the dead centre of the CPU IHS. For Intel LGA1851, apply a thin line along the long axis of the IHS instead.
Step five: Position your cooler over the CPU, aligning the mounting holes with the backplate or retention mechanism. Lower it straight down, don’t drag it sideways across the IHS, which smears paste unevenly.
Step six: Tighten the mounting screws in a cross pattern. If your cooler has four mounting screws, tighten diagonally, top-left, bottom-right, top-right, bottom-left. This distributes pressure evenly across the IHS. Tighten each screw incrementally rather than fully tightening one before moving to the next. Stop when you feel firm resistance. Don’t overtighten, cracked cooler brackets and cracked IHS corners are both real consequences of excessive force.
Step seven: Boot the system and enter BIOS. Check CPU temperature at idle, it should read 30-50°C above ambient at idle on a correctly mounted cooler. Run a short stress test using Cinebench 2024 or OCCT and check peak temperature. A well-mounted 9800X3D under gaming load should stay under 85°C. A 9600X under all-core stress should stay under 90°C. A Core Ultra 7 265K under gaming should stay under 80°C.
If temperatures are significantly higher than those reference points, check whether the cooler is seated correctly and whether the mounting screws are fully tightened. Remove and remount before assuming the paste application was wrong.
When to Replace Thermal Paste
Thermal paste degrades over time as the oils in the compound dry out and the material loses its ability to fill microscopic gaps effectively. The evidence is a gradual increase in idle and load temperatures over months, not a sudden spike, but a slow trend upward over six to twelve months.
Most quality pastes, MX-6, Kryonaut, are rated for three to five years under normal desktop operating conditions. Gaming builds that rarely sustain 100% CPU load run cooler on average and the paste degrades more slowly. Workstation builds running sustained loads run hotter and paste degrades faster.
Replace the paste when you see idle temperatures 5°C or more above what they were at initial installation, or when you remove the cooler for any other reason, component swap, cleaning, maintenance. The cost of fresh paste is under $10. The cost of degraded paste is a CPU running 8-12°C hotter than it should, which reduces sustained boost clocks and accelerates component degradation over the long term.